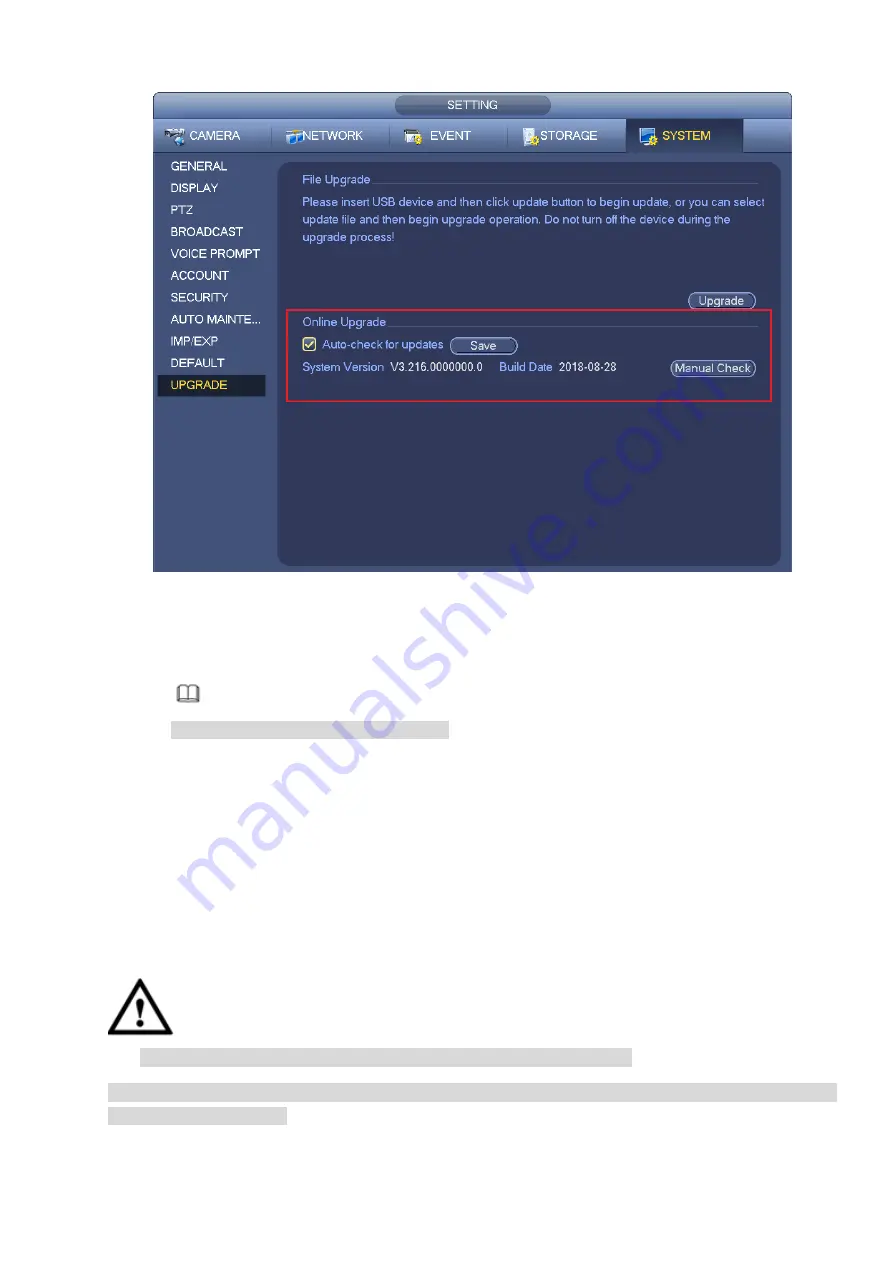
Figure 3-241
Step 2 Version check.
Auto check: Select the Auto check for updates check box and click Save.
Note
System enables this function by default.
Manual check: Click Manual Check.
System starts to search new version and displays the result after the check is completed.
When system displays that it is the latest version, the current version is the latest one and
you do not need to upgrade it.
When system displays the new version information ( including release date and upgrade
notes), new version is available and go to Step 3.
Step 3 Click Upgrade to upgrade the system.
3.13.11.3 Uboot
When NVR boots up, during the uboot process, NVR automatically detects there is USB device and there
is upgrade file on the USB device or not. If the detection result is OK, NVR automatically begins upgrade.
CAUTION
The USB device shall contain two files: u-boot.bin.img and update.img.
The USB device shall connected to the USB port at the front panel. Otherwise, NVR cannot properly
detect the file or upgrade.
3.14 Logout
/Shutdown/Restart
Содержание ELITE Network IP Series
Страница 1: ...64 Channel 4K Hot Swap NVR NVR ELHS 64 4K DH...
Страница 43: ...Figure 3 14 Step 2 Click Add new holiday button and device displays the following interface See Figure 3 15...
Страница 108: ...Figure 3 92 Figure 3 93...
Страница 131: ...Figure 3 111 Figure 3 112 Figure 3 113...
Страница 144: ...Figure 3 126 Figure 3 127...
Страница 146: ...Figure 3 129 Click draw button to draw the zone See Figure 3 130 Figure 3 130...
Страница 149: ...Figure 3 133 Click Draw button to draw a zone See Figure 3 134 Figure 3 134...
Страница 154: ...Figure 3 139 Click draw button to draw the zone See Figure 3 140...
Страница 165: ...Figure 3 151 Step 2 Add surveillance scene 1 Click Add The Add interface is displayed See Figure 3 152...
Страница 172: ...Figure 3 157 Figure 3 158...
Страница 173: ...Figure 3 159 Figure 3 160...
Страница 176: ...Figure 3 164 Figure 3 165...
Страница 211: ...Figure 3 199...
Страница 218: ...Figure 3 206 Step 2 Click Add user button in Figure 3 206 The interface is shown as in Figure 3 207 Figure 3 207...
Страница 234: ...Figure 3 227 Step 2 Click Add group Enter add group interface See Figure 3 228 Figure 3 228...
Страница 298: ...Figure 4 56 Figure 4 57...
Страница 304: ...Figure 4 62 Figure 4 63...
Страница 305: ...Figure 4 64 Figure 4 65...
Страница 330: ...Figure 4 101 Figure 4 102...
Страница 339: ...Figure 4 115 Figure 4 116...
Страница 359: ...Figure 4 144 Note For admin you can change the email information See Figure 4 145...


