Device supports blacklist/whitelist import/export function via the USB device. The import file supports .csv
and xlsx. The export file is .csv.
Import blacklist/whitelist: Set the type as blacklist or whitelist and then click Import button. Select the
corresponding file and then click Open button to import.
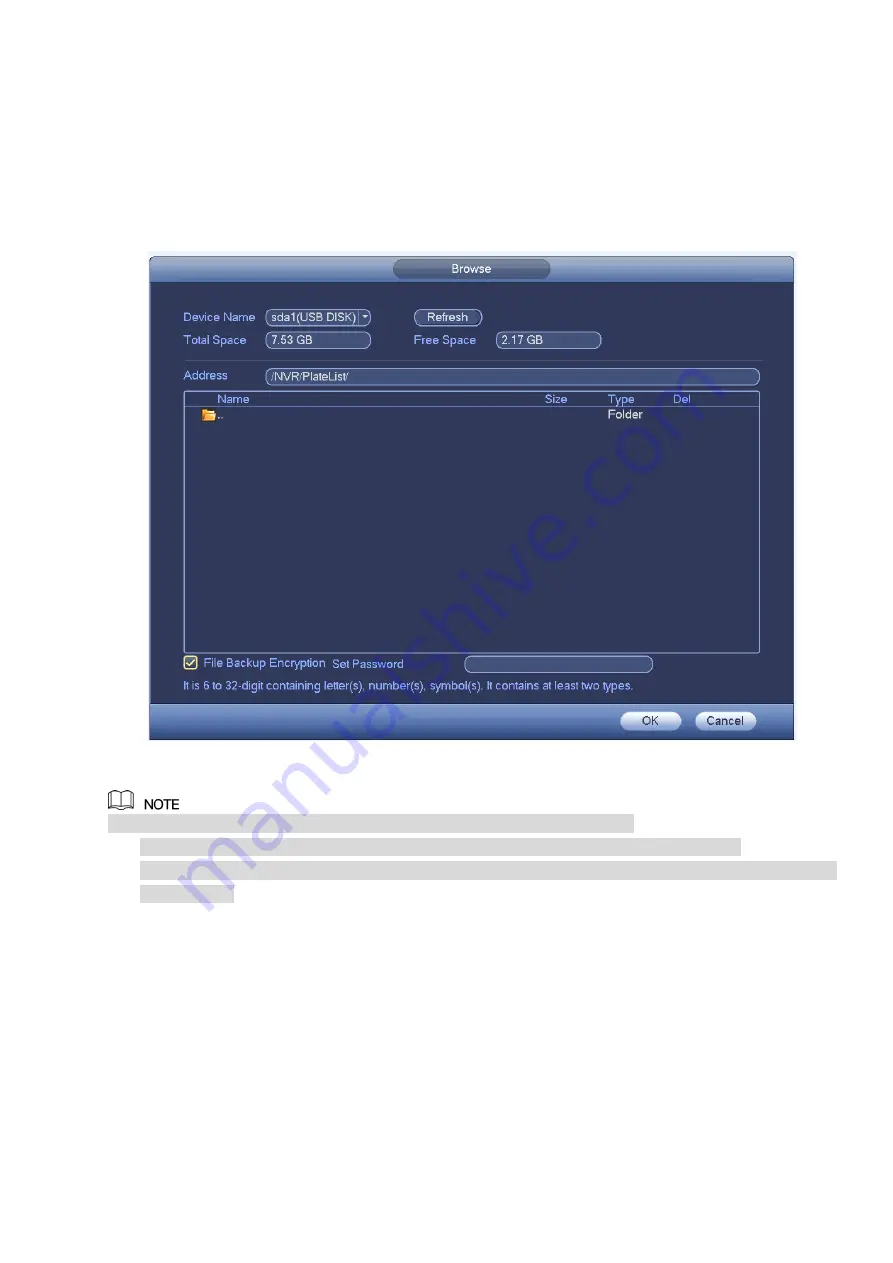
Export blacklist/whitelist: Set the type as blacklist or whitelist and then click Export button. The
Browse interface is displayed. See Figure 3-149. Select the file save path, enter the encryption
password, and then click Save.
Figure 3-149
Backup encryption is enabled by default when exporting the black/white list.
If file backup encryption is enabled, the extension name of the exported file is .backup.
If the backup encryption is disabled, the extension name of the exported file is .csv. It might lead to
data leakage.
3.10.8
Audio Detect
System can generate an alarm once it detect the audio is not clear, the tone color has changed or the is
abnormal or audio volume changes.
From main menu->Setting->Event->Audio detect, you can see an interface shown as in Figure 3-150.
Input abnormal: Check the box here, system can generate an alarm once the audio input is
abnormal.
Intensity change: Check the box here, system can generate an alarm once the audio volume
becomes strong.
Содержание ELITE Network IP Series
Страница 1: ...64 Channel 4K Hot Swap NVR NVR ELHS 64 4K DH...
Страница 43: ...Figure 3 14 Step 2 Click Add new holiday button and device displays the following interface See Figure 3 15...
Страница 108: ...Figure 3 92 Figure 3 93...
Страница 131: ...Figure 3 111 Figure 3 112 Figure 3 113...
Страница 144: ...Figure 3 126 Figure 3 127...
Страница 146: ...Figure 3 129 Click draw button to draw the zone See Figure 3 130 Figure 3 130...
Страница 149: ...Figure 3 133 Click Draw button to draw a zone See Figure 3 134 Figure 3 134...
Страница 154: ...Figure 3 139 Click draw button to draw the zone See Figure 3 140...
Страница 165: ...Figure 3 151 Step 2 Add surveillance scene 1 Click Add The Add interface is displayed See Figure 3 152...
Страница 172: ...Figure 3 157 Figure 3 158...
Страница 173: ...Figure 3 159 Figure 3 160...
Страница 176: ...Figure 3 164 Figure 3 165...
Страница 211: ...Figure 3 199...
Страница 218: ...Figure 3 206 Step 2 Click Add user button in Figure 3 206 The interface is shown as in Figure 3 207 Figure 3 207...
Страница 234: ...Figure 3 227 Step 2 Click Add group Enter add group interface See Figure 3 228 Figure 3 228...
Страница 298: ...Figure 4 56 Figure 4 57...
Страница 304: ...Figure 4 62 Figure 4 63...
Страница 305: ...Figure 4 64 Figure 4 65...
Страница 330: ...Figure 4 101 Figure 4 102...
Страница 339: ...Figure 4 115 Figure 4 116...
Страница 359: ...Figure 4 144 Note For admin you can change the email information See Figure 4 145...


