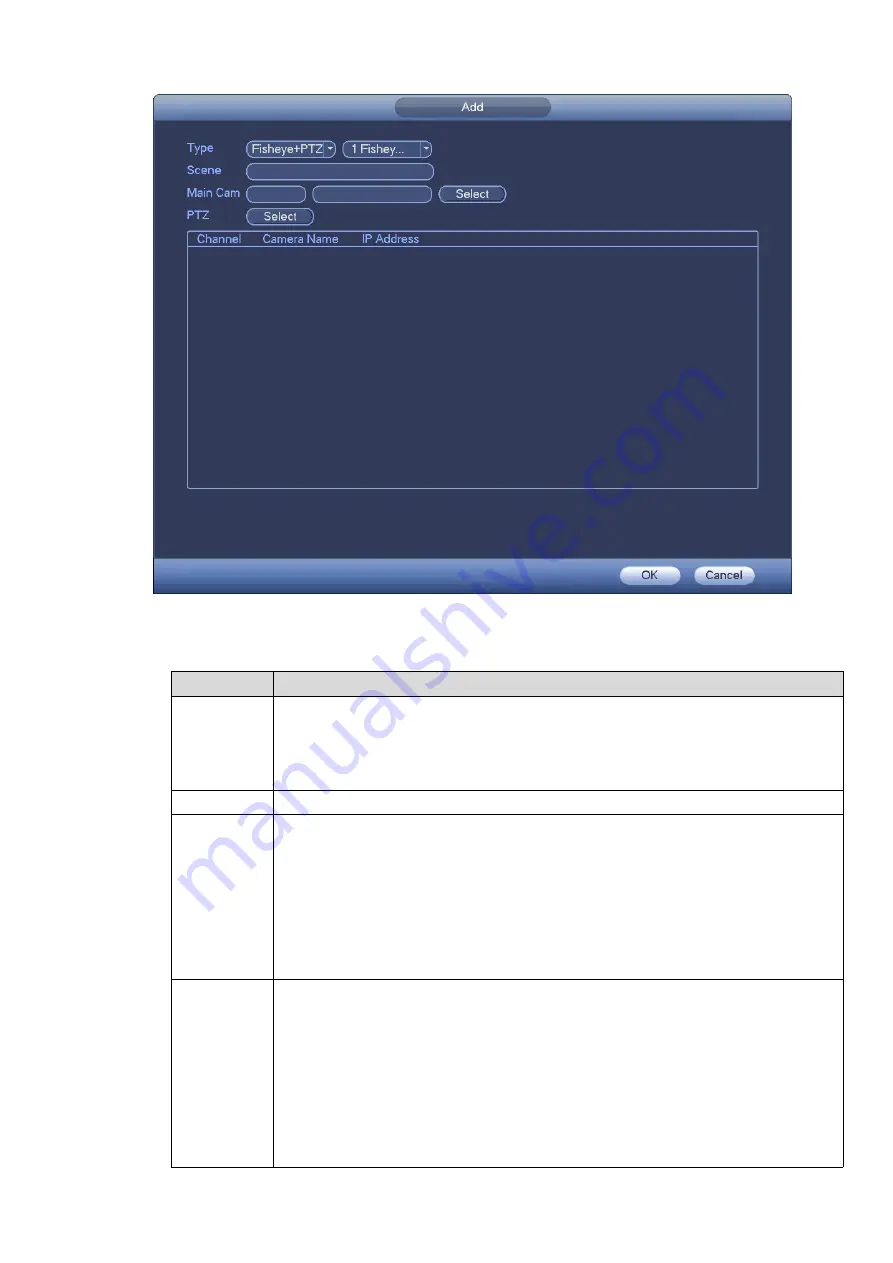
Figure 3-152
2.
Configure the parameters. For details, see the following table.
Parameter
Description
Type
Select f PTZ and select the type according to the PTZ camera number.
1 F 1 PTZ
1 F 2 PTZ
1 F 3 PTZ
Scene
Customize the scene name.
Main Cam
Select the corresponding channel for the fisheye according to the actual
situation. Steps are shown as follows:
1.
Click Select corresponding to Main Cam item.
2.
In the displayed Fisheye dialogue box, select the fisheye camera.
3.
Click OK.
In the text boxes behind the Main Cam item, the system displays the channel
number and device name.
PTZ
Select the corresponding channel for PTZ camera according to the actual
situation. Steps are shown as follows:
1.
Click Select corresponding to PTZ item.
2.
In the displayed PTZ dialogue box, select the PTZ camera(s) according to
the selected type.
3.
Click OK.
The system displays the PTZ channel number, channel name and IP address in
the list.
Содержание ELITE Network IP Series
Страница 1: ...64 Channel 4K Hot Swap NVR NVR ELHS 64 4K DH...
Страница 43: ...Figure 3 14 Step 2 Click Add new holiday button and device displays the following interface See Figure 3 15...
Страница 108: ...Figure 3 92 Figure 3 93...
Страница 131: ...Figure 3 111 Figure 3 112 Figure 3 113...
Страница 144: ...Figure 3 126 Figure 3 127...
Страница 146: ...Figure 3 129 Click draw button to draw the zone See Figure 3 130 Figure 3 130...
Страница 149: ...Figure 3 133 Click Draw button to draw a zone See Figure 3 134 Figure 3 134...
Страница 154: ...Figure 3 139 Click draw button to draw the zone See Figure 3 140...
Страница 165: ...Figure 3 151 Step 2 Add surveillance scene 1 Click Add The Add interface is displayed See Figure 3 152...
Страница 172: ...Figure 3 157 Figure 3 158...
Страница 173: ...Figure 3 159 Figure 3 160...
Страница 176: ...Figure 3 164 Figure 3 165...
Страница 211: ...Figure 3 199...
Страница 218: ...Figure 3 206 Step 2 Click Add user button in Figure 3 206 The interface is shown as in Figure 3 207 Figure 3 207...
Страница 234: ...Figure 3 227 Step 2 Click Add group Enter add group interface See Figure 3 228 Figure 3 228...
Страница 298: ...Figure 4 56 Figure 4 57...
Страница 304: ...Figure 4 62 Figure 4 63...
Страница 305: ...Figure 4 64 Figure 4 65...
Страница 330: ...Figure 4 101 Figure 4 102...
Страница 339: ...Figure 4 115 Figure 4 116...
Страница 359: ...Figure 4 144 Note For admin you can change the email information See Figure 4 145...


