Parameter
Function
Import
It is to import the local setup files to the system.
Export
It is to export the corresponding WEB setup to your local PC.
4.6.6.9 Default
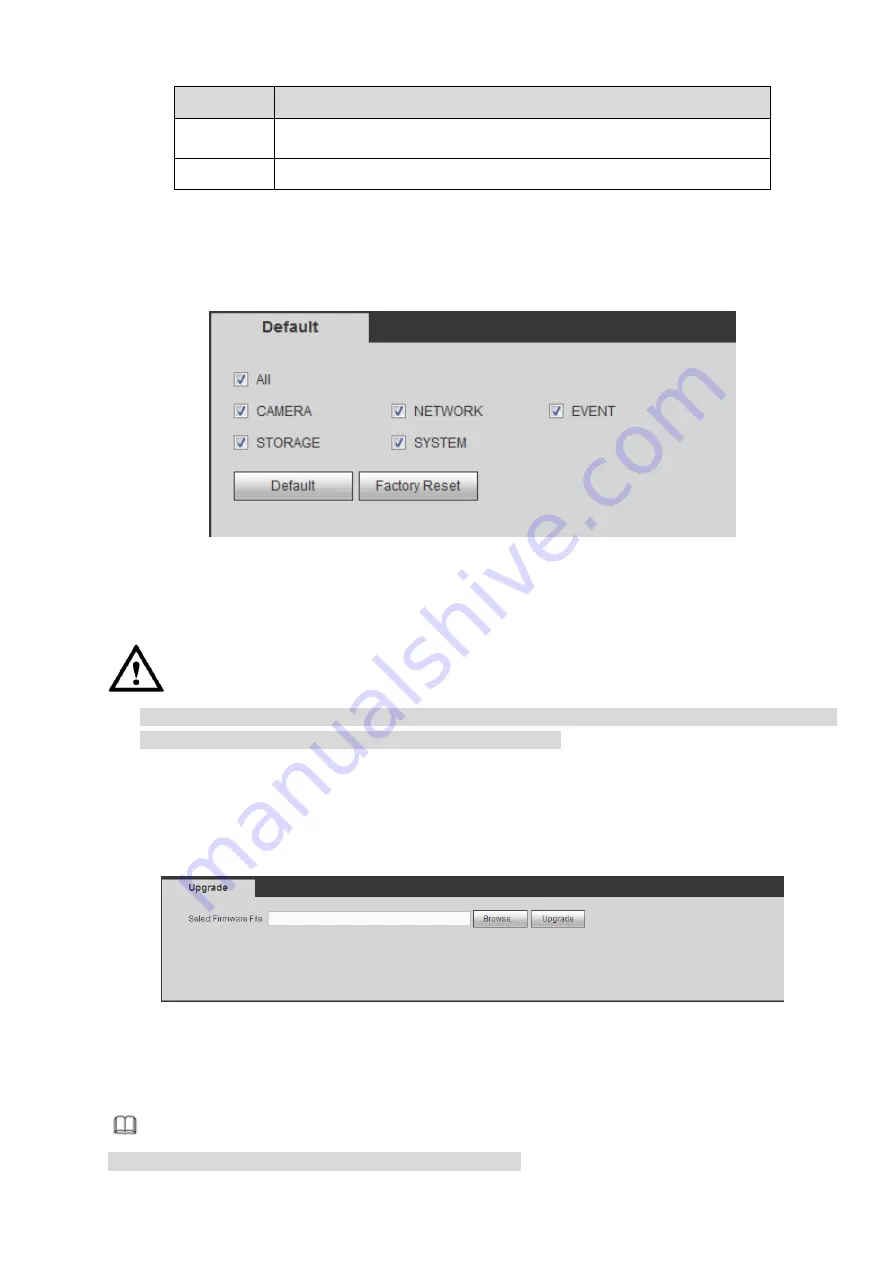
The default setup interface is shown as in Figure 4-156.
Here you can select Network/Event/Storage/Setting/Camera. Or you can check the All box to select all
items.
Figure 4-156
4.6.6.10 Upgrade
CAUTION
During the upgrade process, do not unplug the power cable, network cable, or shutdown the device.
Improper upgrade program may result in device malfunction!
There are two upgrade modes: file upgrade and online upgrade.
4.6.6.10.1 File Upgrade
The upgrade interface is shown as in Figure 4-157.
Please select the upgrade file and then click the update button to begin update. Please note the file name
shall be as *.bin.
Figure 4-157
4.6.6.10.2 Cloud Upgrade
When the NVR is online, you can use the cloud upgrade to update the firmware.
Note
Make sure the NVR has properly connected to the network.
Содержание ELITE Network IP Series
Страница 1: ...64 Channel 4K Hot Swap NVR NVR ELHS 64 4K DH...
Страница 43: ...Figure 3 14 Step 2 Click Add new holiday button and device displays the following interface See Figure 3 15...
Страница 108: ...Figure 3 92 Figure 3 93...
Страница 131: ...Figure 3 111 Figure 3 112 Figure 3 113...
Страница 144: ...Figure 3 126 Figure 3 127...
Страница 146: ...Figure 3 129 Click draw button to draw the zone See Figure 3 130 Figure 3 130...
Страница 149: ...Figure 3 133 Click Draw button to draw a zone See Figure 3 134 Figure 3 134...
Страница 154: ...Figure 3 139 Click draw button to draw the zone See Figure 3 140...
Страница 165: ...Figure 3 151 Step 2 Add surveillance scene 1 Click Add The Add interface is displayed See Figure 3 152...
Страница 172: ...Figure 3 157 Figure 3 158...
Страница 173: ...Figure 3 159 Figure 3 160...
Страница 176: ...Figure 3 164 Figure 3 165...
Страница 211: ...Figure 3 199...
Страница 218: ...Figure 3 206 Step 2 Click Add user button in Figure 3 206 The interface is shown as in Figure 3 207 Figure 3 207...
Страница 234: ...Figure 3 227 Step 2 Click Add group Enter add group interface See Figure 3 228 Figure 3 228...
Страница 298: ...Figure 4 56 Figure 4 57...
Страница 304: ...Figure 4 62 Figure 4 63...
Страница 305: ...Figure 4 64 Figure 4 65...
Страница 330: ...Figure 4 101 Figure 4 102...
Страница 339: ...Figure 4 115 Figure 4 116...
Страница 359: ...Figure 4 144 Note For admin you can change the email information See Figure 4 145...


