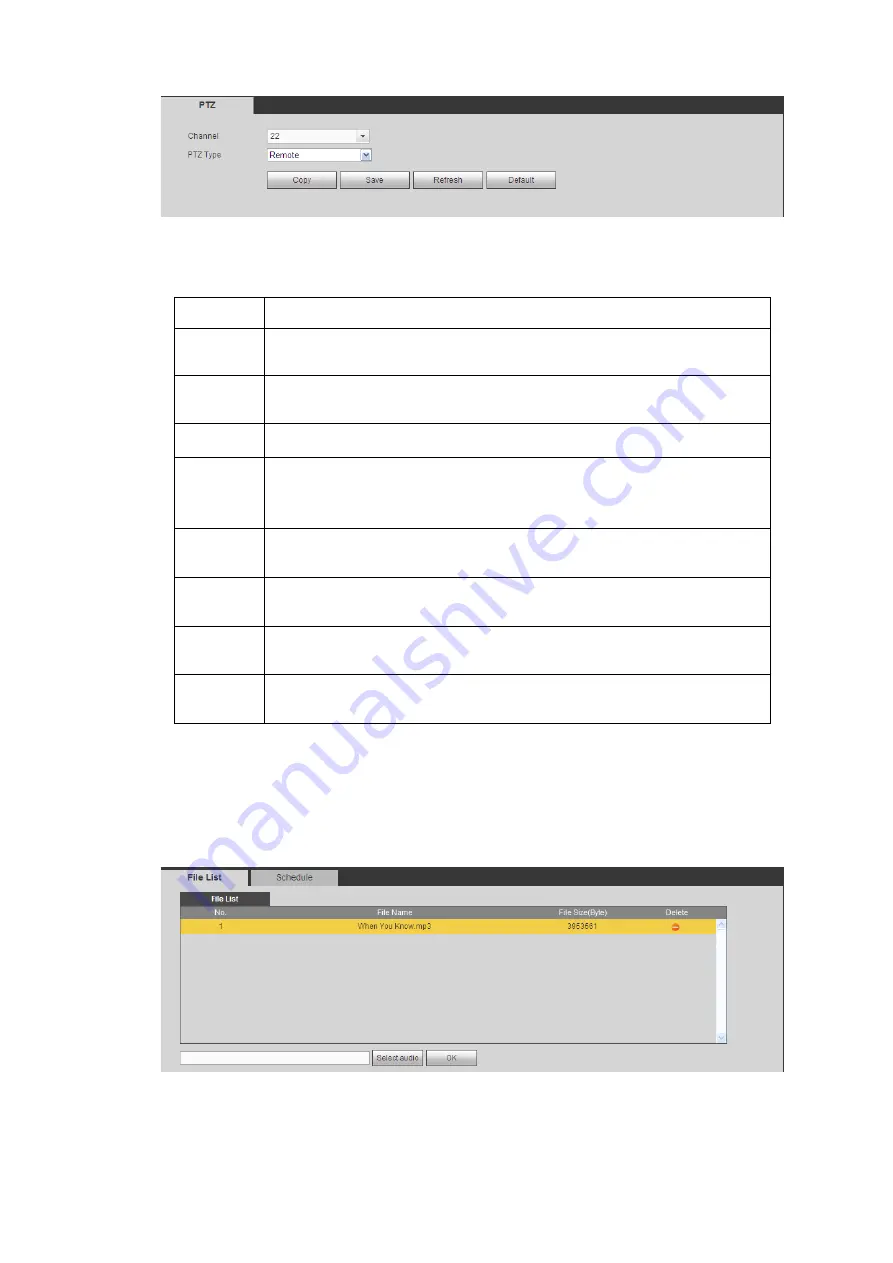
Figure 4-138
Please refer to the following sheet for detailed information.
Parameter Function
Channel
Select speed dome connected channel.
PTZ Type
There are two options: local/remote.
Please select remote type if you are connecting to the network PTZ.
Protocol
Select the corresponding dome protocol such as PELCOD.
Address
Set corresponding dome address. Default value is 1.
Please note
your setup here shall comply with your dome address; otherwise
you can not control the speed dome.
Baud
Rate
Select the dome baud rate. Default setup is 9600.
Data Bit
Default setup is 8. Please set according to the speed dome dial switch
setup.
Stop bit
Default setup is 1. Please set according to the speed dome dial switch
setup.
Parity
Default setup is none. Please set according to the speed dome dial
switch setup.
4.6.6.4 Voice
The audio function is to manage audio files and set schedule play function. It is to realize audio broadcast
activation function.
4.6.6.4.1
File List
From main menu->Setup->System->Voice->File list, here you can add audio file, or delete audio file. See
Figure 4-139
Click Add button, you can add audio file and import the audio file via the local computer. See Figure
Содержание ELITE Network IP Series
Страница 1: ...64 Channel 4K Hot Swap NVR NVR ELHS 64 4K DH...
Страница 43: ...Figure 3 14 Step 2 Click Add new holiday button and device displays the following interface See Figure 3 15...
Страница 108: ...Figure 3 92 Figure 3 93...
Страница 131: ...Figure 3 111 Figure 3 112 Figure 3 113...
Страница 144: ...Figure 3 126 Figure 3 127...
Страница 146: ...Figure 3 129 Click draw button to draw the zone See Figure 3 130 Figure 3 130...
Страница 149: ...Figure 3 133 Click Draw button to draw a zone See Figure 3 134 Figure 3 134...
Страница 154: ...Figure 3 139 Click draw button to draw the zone See Figure 3 140...
Страница 165: ...Figure 3 151 Step 2 Add surveillance scene 1 Click Add The Add interface is displayed See Figure 3 152...
Страница 172: ...Figure 3 157 Figure 3 158...
Страница 173: ...Figure 3 159 Figure 3 160...
Страница 176: ...Figure 3 164 Figure 3 165...
Страница 211: ...Figure 3 199...
Страница 218: ...Figure 3 206 Step 2 Click Add user button in Figure 3 206 The interface is shown as in Figure 3 207 Figure 3 207...
Страница 234: ...Figure 3 227 Step 2 Click Add group Enter add group interface See Figure 3 228 Figure 3 228...
Страница 298: ...Figure 4 56 Figure 4 57...
Страница 304: ...Figure 4 62 Figure 4 63...
Страница 305: ...Figure 4 64 Figure 4 65...
Страница 330: ...Figure 4 101 Figure 4 102...
Страница 339: ...Figure 4 115 Figure 4 116...
Страница 359: ...Figure 4 144 Note For admin you can change the email information See Figure 4 145...


