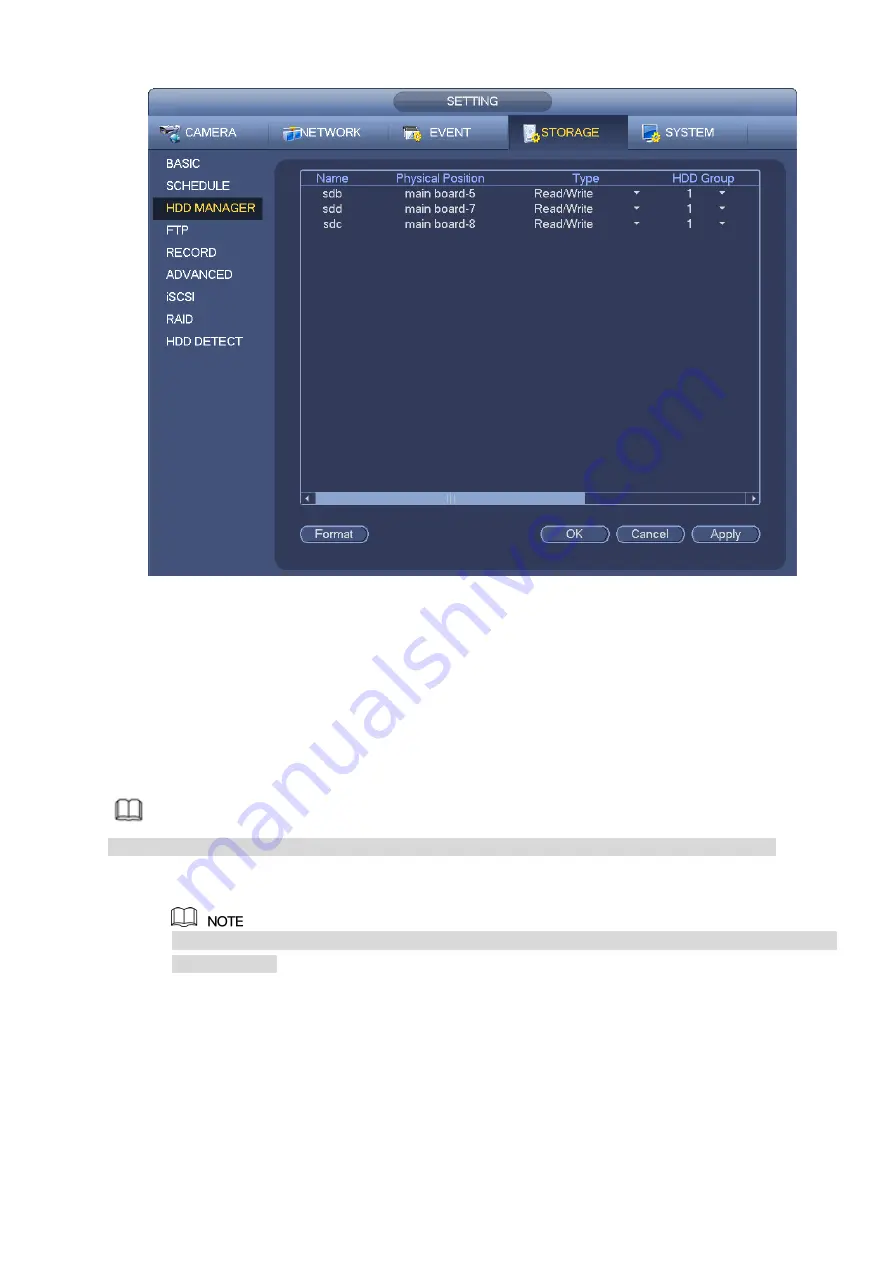
Figure 3-192
Step 2 Select a HDD and then select an time from the dropdown list. Click Execute button.
Step 3 Click OK button to complete the setup. You can see system needs to restart to activate current
setup if you want to format the HDD.
3.12.4
FTP
It is to backup record file or image to the FTP to storage or view.
Before the operation, please download or purchase the FTP service tool and install on the PC.
Note
For the FTP user, please set FTP folder write right, otherwise system cannot upload the image.
Step 1 From main menu->Setting->Storage->FTP, enter FTP interface. See Figure 3-193.
Step 2 Select the Enable check box to enable FTP function. Select FTP type.
FTP transmits data with clear text mode and SFTP transmits data with encrypted mode. SFTP is
recommended.
Step 3 Set parameters.
Here you can input FTP server address, port and remote directory. When remote directory is null, system
automatically creates folders according to the IP, time and channel.
IP address: The host IP you have installed the FTP server.
Port: The default SFTP port number is 22 and the default FTP port number is 21.
User name/Password: The account for you to access the FTP server.
Remote directory: The folder you created under the root path of the FTP according to the
corresponding rule.
Содержание ELITE Network IP Series
Страница 1: ...64 Channel 4K Hot Swap NVR NVR ELHS 64 4K DH...
Страница 43: ...Figure 3 14 Step 2 Click Add new holiday button and device displays the following interface See Figure 3 15...
Страница 108: ...Figure 3 92 Figure 3 93...
Страница 131: ...Figure 3 111 Figure 3 112 Figure 3 113...
Страница 144: ...Figure 3 126 Figure 3 127...
Страница 146: ...Figure 3 129 Click draw button to draw the zone See Figure 3 130 Figure 3 130...
Страница 149: ...Figure 3 133 Click Draw button to draw a zone See Figure 3 134 Figure 3 134...
Страница 154: ...Figure 3 139 Click draw button to draw the zone See Figure 3 140...
Страница 165: ...Figure 3 151 Step 2 Add surveillance scene 1 Click Add The Add interface is displayed See Figure 3 152...
Страница 172: ...Figure 3 157 Figure 3 158...
Страница 173: ...Figure 3 159 Figure 3 160...
Страница 176: ...Figure 3 164 Figure 3 165...
Страница 211: ...Figure 3 199...
Страница 218: ...Figure 3 206 Step 2 Click Add user button in Figure 3 206 The interface is shown as in Figure 3 207 Figure 3 207...
Страница 234: ...Figure 3 227 Step 2 Click Add group Enter add group interface See Figure 3 228 Figure 3 228...
Страница 298: ...Figure 4 56 Figure 4 57...
Страница 304: ...Figure 4 62 Figure 4 63...
Страница 305: ...Figure 4 64 Figure 4 65...
Страница 330: ...Figure 4 101 Figure 4 102...
Страница 339: ...Figure 4 115 Figure 4 116...
Страница 359: ...Figure 4 144 Note For admin you can change the email information See Figure 4 145...


