PiXtend V2 -L- Hardware Manual
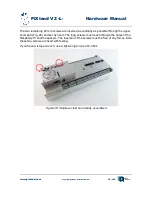
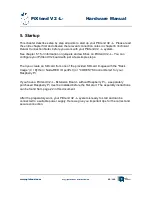
The two remaining 20 mm screws are inserted as vertically as possible through the upper
hood part (Fig. 26) and set by hand. The long screws must reach through the holes of the
Raspberry Pi and the spacers. The insertion of the screws must be free of any forces. Also
these two screws are fixed with feeling.
If you have a torque wrench, use a tightening torque of 0.4 Nm.
www.pixtend.com
Copyright by Qube Solutions GmbH
39 / 146
Figure 26: Stainless steel hood ready assembled

