148
8.
Install the fan in the direction so that the fan cable will be
on the right side of the head front.
Fasten the screws (M4, depth 45 mm) (4 screws for 1
fan) from the top of the fan guard to secure the fan to the
head.
Tightening torque: 1.0 N·m
ワㄐㄕㄊㄆ
• Be careful not to let the cable get caught while installing.
9.
Connect the connector for the fan. (One connector for
one fan)
10.
Install the panel and filter, and attach the screws onto the front panel.
Tightening torque: 0.3 N·m
ワㄐㄕㄊㄆ
• Route the cable so as not to let it get caught while installing the panel.
11.
If you replaced the fans to new one, reset the
runtime information in Laser Marker NAVI smart.
Open “Runtime data” panel in “Maintenance” view and click
“Reset” of the head fan.
Steps for cleaning (Daily maintenance) and replacement of controller air-cooling fan (for
exhaust)
Clean the air-cooling fan regularly according to the usage environment.
1.
Turn OFF the key switch of the controller, and disconnect the AC power cable.
2.
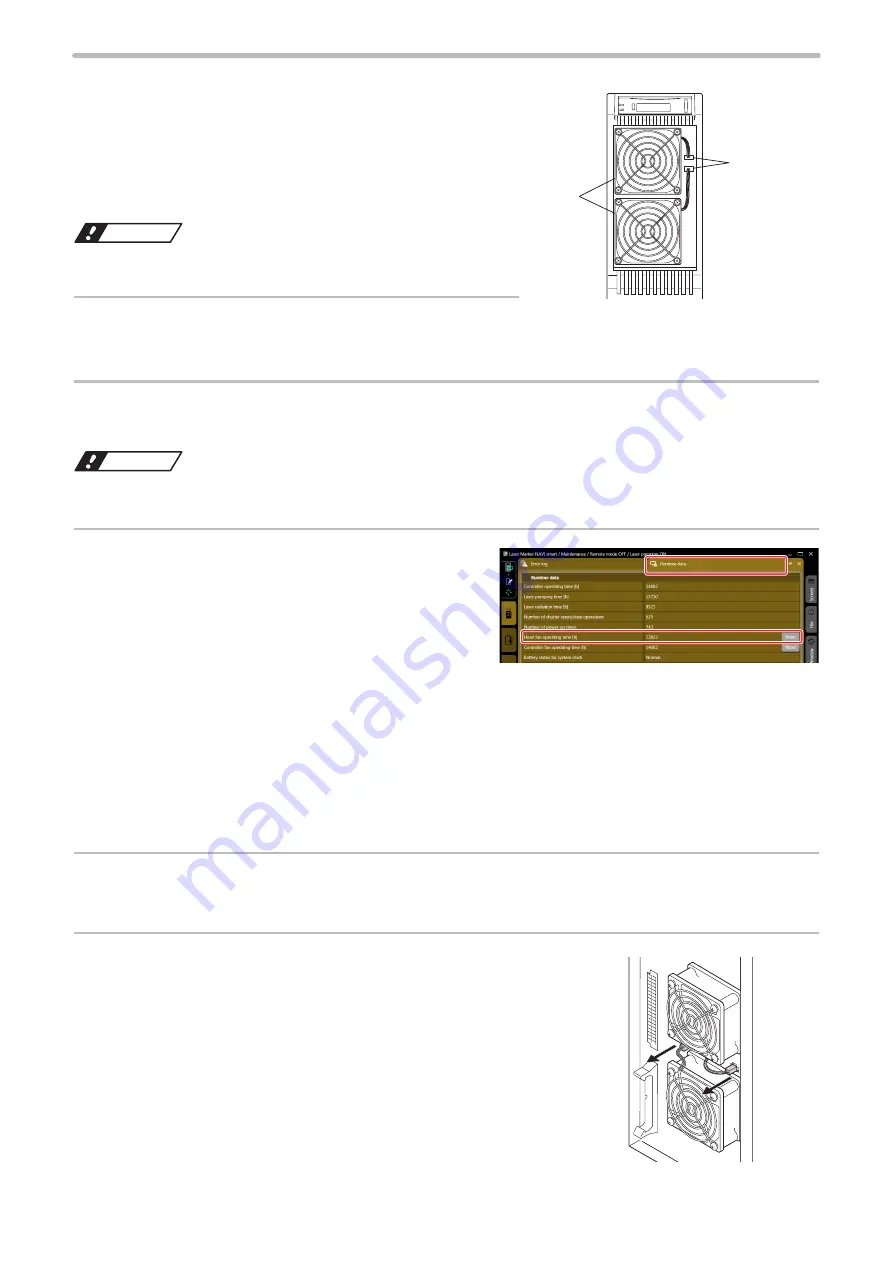
Remove the two connectors of the fans on the controller.
(One connector for one fan)
Fan
Connector
ME-LPGS-SM-8
Содержание LP-GS Series
Страница 17: ...1 Product Overview ME LPGS SM 8 ...
Страница 32: ...2 Laser Marker Installation ME LPGS SM 8 ...
Страница 48: ...3 Operation Method ME LPGS SM 8 ...
Страница 68: ...4 External Control Using I O ME LPGS SM 8 ...
Страница 107: ...5 External Control by Communication Commands ME LPGS SM 8 ...
Страница 116: ...6 Link Control with External Devices ME LPGS SM 8 ...
Страница 141: ...7 Maintenance ME LPGS SM 8 ...
Страница 161: ...161 MEMO ME LPGS SM 8 ...
Страница 162: ...Troubleshooting ME LPGS SM 8 ...
Страница 186: ...Index ME LPGS SM 8 ...
Страница 188: ...188 Unit power cable 26 USB 30 45 V Vibration resistance 33 W Warning 177 Z Z axis adjustment module 154 ME LPGS SM 8 ...
Страница 189: ......
Страница 190: ... Panasonic Industrial Devices SUNX Co Ltd 2014 2019 April 2019 ...


