


Control Bar
SECTION 1 Graphics Editor
20
status. To de activate it, repeat the procedure (the check mark is removed),
and the Control Bar is no longer displayed. The various tools on the control
bar allow the properties of objects to be modified.
A control may be activated with more than one object selected to change a
particular attribute of all of the selected objects, e.g. when all graphical objects
on a page are selected and the Rotate button is pushed in and the desired
angle specified, all selected objects are rotated.
An illustration of the Control Bar is as follows:
The Control Bar may vary slightly from this according to the display resolution
currently in use - the number of buttons displayed depends on the available
space - at higher resolutions more buttons are displayed.
The Control Bar can be removed from the display at any time by selecting
Control Bar from the View menu.
A tick next to the name indicates that it is currently displayed. CX-Supervisor
saves the settings when it is exited and restores them when it is next run.
The specific operation of the controls on the Control Bar is described in the
following paragraphs.
1-4-1
Object Identification
When an object is created, CX-Supervisor gives it a unique identifier. This
identifier consists of the object type and a sequential number (starting at 1).
For example, a text object could have an identifier of TEXT_1; a polygon
object could have an identifier of POLYGON_3 etc. The Object Identification
field displays a list of all current objects on a page.
The identification of an object can be changed by clicking on the entry in the
Object Identification control, typing over the entry and pressing <Return>. A
confirmation box is provided to double check the operation, click the OK
button to proceed with the name change or the Cancel button to abort the
operation.
It can at times be difficult to select a particular object if it is mostly obscured by
other graphic objects. The Object Identification control allows an object to be
selected by simply selecting its name from the presented list. click the arrow
button to display the list and select the desired object. On selection the object
is highlighted.
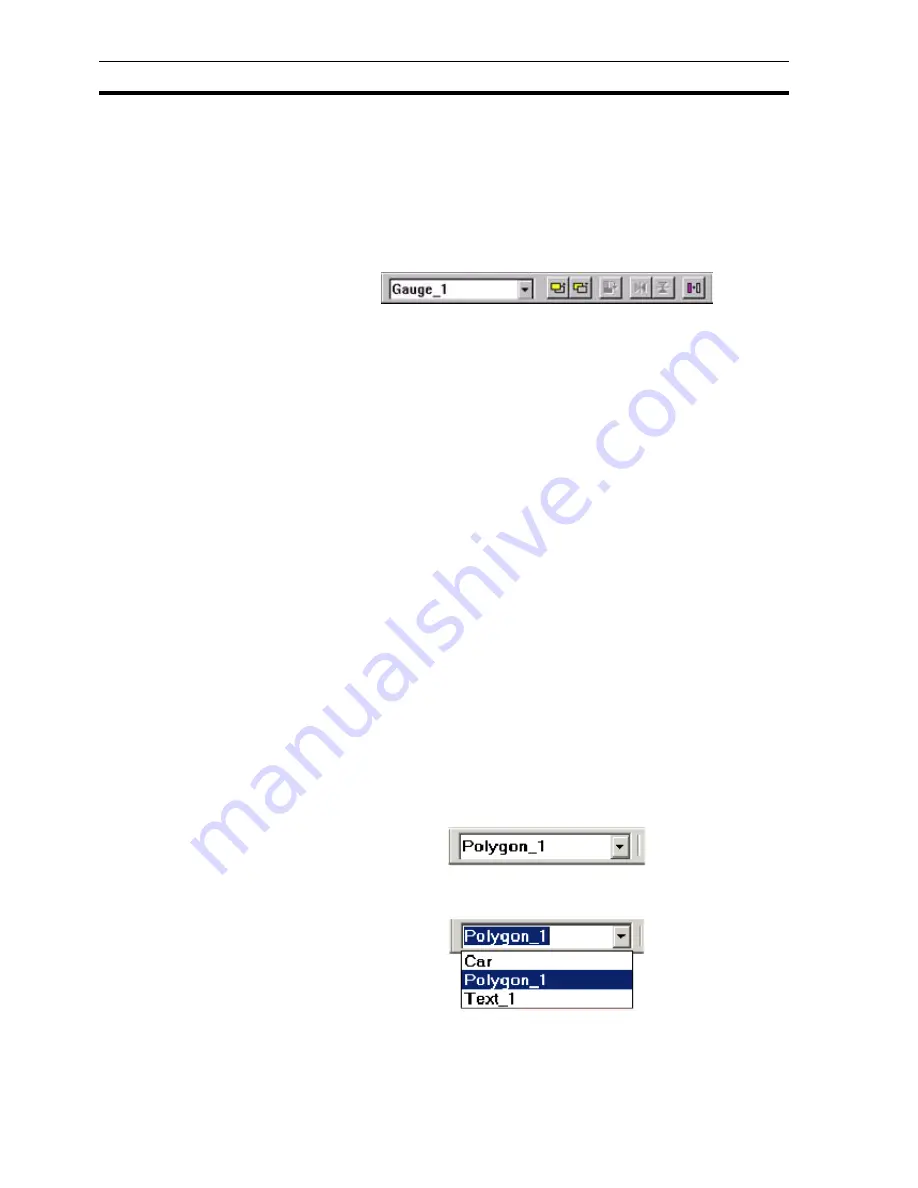
The following illustration shows the Object Identification control in de-selected
state:
The following illustration shows the Object Identification control in selected
state:
Содержание CX-Supervisor
Страница 1: ...CX Supervisor Software Cat No W10E EN 01 User Manual Software Release 3 1...
Страница 3: ...Copyright Notice 2...
Страница 16: ...15...
Страница 17: ...16...
Страница 27: ...Tip of the Day SECTION 1 Graphics Editor 26...
Страница 35: ...CX Supervisor Preferences SECTION 2 Pages 34...
Страница 79: ...Responding to Events SECTION 5 ActiveX Objects 78...
Страница 115: ...Printing the Graphics Library SECTION 7 Graphics Library 114...
Страница 181: ...Data Logging SECTION 11 Data Logging 180...
Страница 201: ...Examples SECTION 12 Databases 200...
Страница 243: ...Performance Monitor SECTION 16 Application Analysis Performance Monitor 242...
Страница 253: ...Using with Omron s CX Server OPC SECTION 17 Using CX Supervisor as an OPC Cli 252...
Страница 259: ...Creating a CX Supervisor Client application SECTION 18 Connecting to a remote CX 258...
Страница 263: ...Adding a Point Linked to a Parameter SECTION 19 Connecting to Omron Industrial 262...
Страница 271: ...Data Logging SECTION 20 Best Practices 270...
Страница 275: ...Configuring a Server PC running Windows NT or 2000 Appendix A Configuring a PC 274...
Страница 277: ...Appendix B Frequently Asked Questions 276...
Страница 296: ...Appendix B Frequently Asked Questions 295...
Страница 297: ...Appendix B Frequently Asked Questions 296...
Страница 298: ...Appendix B Frequently Asked Questions 297...
Страница 299: ...Appendix B Frequently Asked Questions 298...
Страница 333: ...Revision history 332...


