


Project Editor
SECTION 6 Projects
107
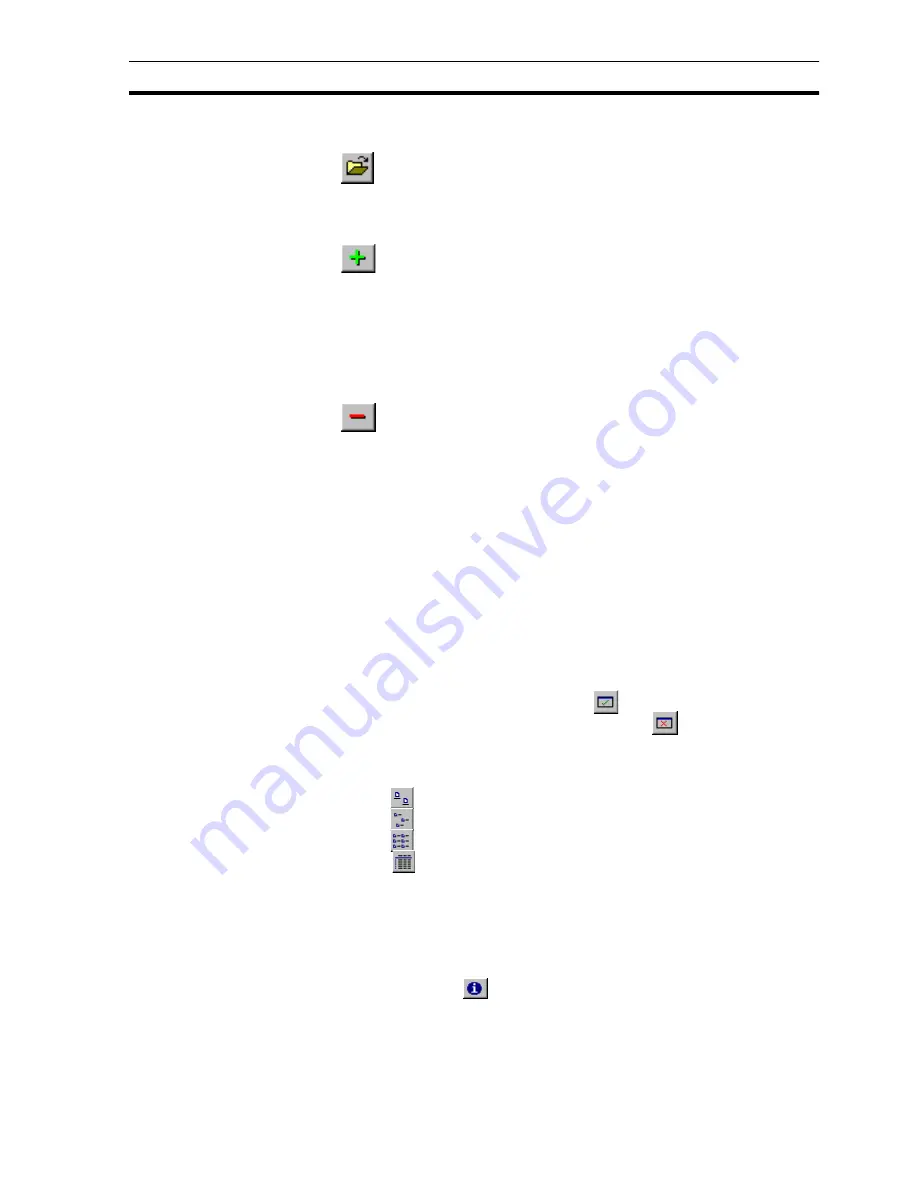
6-21-3 Opening a Page via the Project Editor
To open pages via the
Project Editor
, click the ‘Project Editor’
button.
6-21-4 Adding Pages to a Project
When a new page is created, it is automatically registered in the
Project Editor but its details are not saved. When the page is saved
as a .PAG file, a message opens requiring confirmation to add this
page to the project. Click the Yes button to add the page or the No
button to save the page without adding to the project. If the page was not
added to the project when saving, it can be added later by using the ‘Add Page
to Project’ button.
6-21-5 Removing Pages From a Project
To remove pages from a project, select the page by clicking its
description on the Project Editor and click the ‘Remove Page from
Project’ button. A message opens asking 'Do you want to remove
(name and path of page) from the project?'. Click the Yes button to
delete the page, or click the No or Cancel button to keep it and return to the
Project Editor.
6-21-6 Linking Pages in a Project
A number of pages may be linked together within a project. Linking allows a
main page containing active elements (e.g. buttons) to be loaded and
depending upon the actions performed (i.e. which buttons are clicked) allow
other pages to be loaded on demand. For further details of showing pages on
demand, refer to chapter 9, Animation.
6-21-7 Selecting Pages for Display on Run
When a project is run the first pages to be displayed can be selected. To
display a page when a project is run, open the Project Editor, select the page
by clicking on its description and click the
button.
To stop a page being displayed on run, click the
button on the Project
Editor toolbar.
6-21-8 Changing the View Mode
Click the
button to view details with large icons.
Click the
button to view details with normal icons.
Click the
button to view details as a list.
Click the
button to view details as a list including page name, page path,
project status, runtime display and load status information. The details can be
sorted in ascending order by clicking once or in descending order by clicking
twice, in the appropriate field.
6-21-9 Viewing Project Details
To open the Project Details dialog box and view the project name and
description, click the
button on the Project Editor toolbar.
Содержание CX-Supervisor
Страница 1: ...CX Supervisor Software Cat No W10E EN 01 User Manual Software Release 3 1...
Страница 3: ...Copyright Notice 2...
Страница 16: ...15...
Страница 17: ...16...
Страница 27: ...Tip of the Day SECTION 1 Graphics Editor 26...
Страница 35: ...CX Supervisor Preferences SECTION 2 Pages 34...
Страница 79: ...Responding to Events SECTION 5 ActiveX Objects 78...
Страница 115: ...Printing the Graphics Library SECTION 7 Graphics Library 114...
Страница 181: ...Data Logging SECTION 11 Data Logging 180...
Страница 201: ...Examples SECTION 12 Databases 200...
Страница 243: ...Performance Monitor SECTION 16 Application Analysis Performance Monitor 242...
Страница 253: ...Using with Omron s CX Server OPC SECTION 17 Using CX Supervisor as an OPC Cli 252...
Страница 259: ...Creating a CX Supervisor Client application SECTION 18 Connecting to a remote CX 258...
Страница 263: ...Adding a Point Linked to a Parameter SECTION 19 Connecting to Omron Industrial 262...
Страница 271: ...Data Logging SECTION 20 Best Practices 270...
Страница 275: ...Configuring a Server PC running Windows NT or 2000 Appendix A Configuring a PC 274...
Страница 277: ...Appendix B Frequently Asked Questions 276...
Страница 296: ...Appendix B Frequently Asked Questions 295...
Страница 297: ...Appendix B Frequently Asked Questions 296...
Страница 298: ...Appendix B Frequently Asked Questions 297...
Страница 299: ...Appendix B Frequently Asked Questions 298...
Страница 333: ...Revision history 332...


