Creating and Editing Control Objects
SECTION 4 Objects
55
To split a straight line into two, click at the point on the line where the split is
required then drag the mouse. CX-Supervisor creates a new handle which
may be moved to the desired point. To remove a red handle and the vertex on
which it rests, click on it with the delete key held down on the keyboard.
4-3-6
Polyline
To create a polyline, click the
button. click the page to draw vertices. To
finish creating the polyline, click the right mouse button.
To edit a polyline, obtain the red grab handles. Click on an edge to add a
vertex. Press the <Delete> key whilst moving a vertex to delete it.
To finish editing, click elsewhere on the page.
4-3-7
Rectangle
Rectangles can be transparent or filled with a colour or pattern. To create a
filled rectangle, click the
button.
To create a rectangle frame, click the
button. Alternatively, select a filled
rectangle and click the Transparency button.
click the page to draw a square, or click and drag to create a rectangle of the
required size. Once created, rectangles can be edited exactly like polygons.
To finish editing, click elsewhere on the page.
4-3-8
Round Rectangle
Rounded rectangles can be transparent or filled with a colour or pattern. To
create a filled rounded rectangle, click the
button from the Tool Bar.
To create a rounded rectangle frame, click the
button. Alternatively, select a
filled round rectangle and click the Transparency button from the Control Bar.
click the page to draw a rounded square, or click and drag to create a rounded
rectangle of the required size.
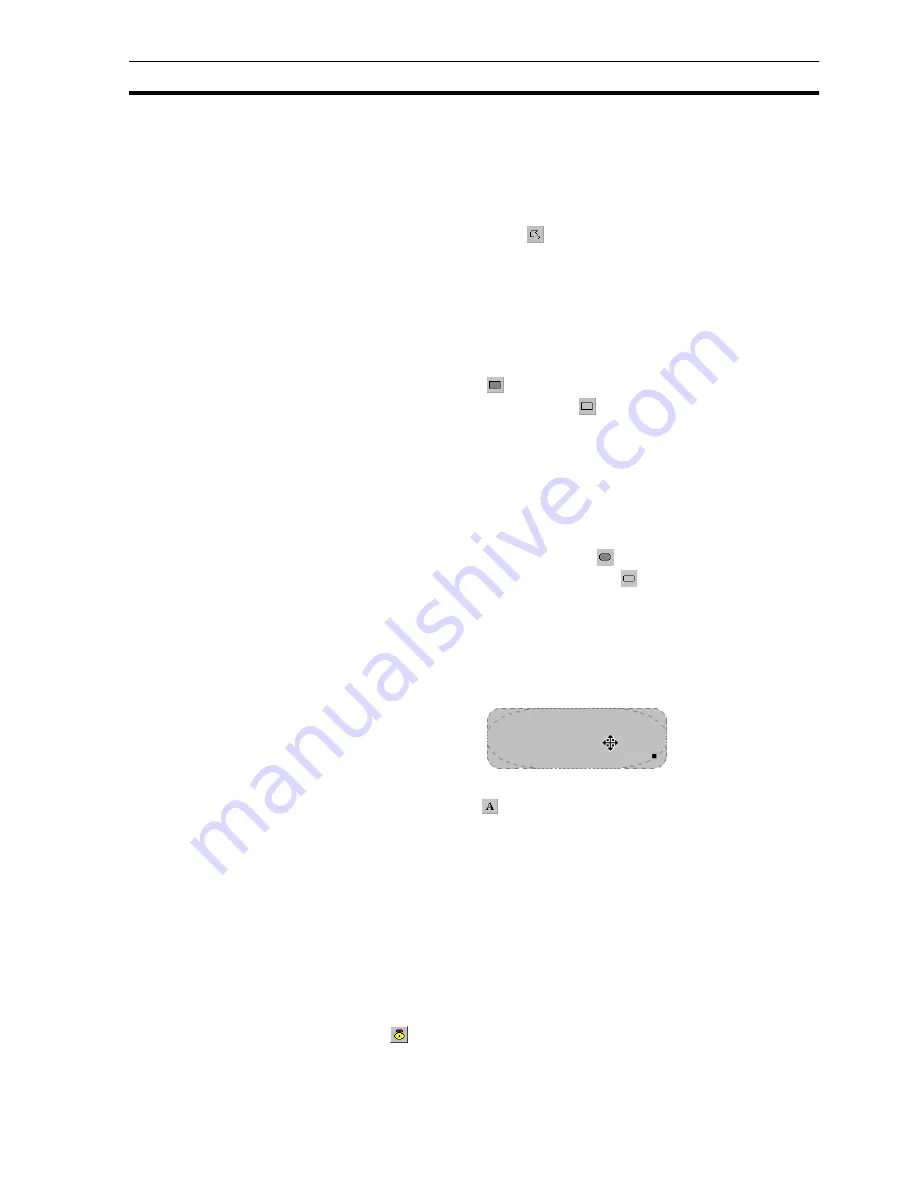
To edit the rounded rectangle, obtain the red grab handles. The radius of
curvature of the rounding can be adjusted by clicking on the single red grab
handle and dragging it:
4-3-9
Text
To insert text, click the
button. click the page and type inside the red edit
box. The cursor is moved round the text using the arrow keys. Standard text
editing tools and the keyboard can be used, and their effect applies to the
whole content of the object.
To edit text, double click on it. A box opens round the text.
Press <Return> to finish editing and create a new text object on the line below.
To finish editing, click elsewhere on the page.
4-4
Creating and Editing Control Objects
4-4-1
Alarm Object
Click the
button, then click or click and drag on the page to insert the alarm
object.
Содержание CX-Supervisor
Страница 1: ...CX Supervisor Software Cat No W10E EN 01 User Manual Software Release 3 1...
Страница 3: ...Copyright Notice 2...
Страница 16: ...15...
Страница 17: ...16...
Страница 27: ...Tip of the Day SECTION 1 Graphics Editor 26...
Страница 35: ...CX Supervisor Preferences SECTION 2 Pages 34...
Страница 79: ...Responding to Events SECTION 5 ActiveX Objects 78...
Страница 115: ...Printing the Graphics Library SECTION 7 Graphics Library 114...
Страница 181: ...Data Logging SECTION 11 Data Logging 180...
Страница 201: ...Examples SECTION 12 Databases 200...
Страница 243: ...Performance Monitor SECTION 16 Application Analysis Performance Monitor 242...
Страница 253: ...Using with Omron s CX Server OPC SECTION 17 Using CX Supervisor as an OPC Cli 252...
Страница 259: ...Creating a CX Supervisor Client application SECTION 18 Connecting to a remote CX 258...
Страница 263: ...Adding a Point Linked to a Parameter SECTION 19 Connecting to Omron Industrial 262...
Страница 271: ...Data Logging SECTION 20 Best Practices 270...
Страница 275: ...Configuring a Server PC running Windows NT or 2000 Appendix A Configuring a PC 274...
Страница 277: ...Appendix B Frequently Asked Questions 276...
Страница 296: ...Appendix B Frequently Asked Questions 295...
Страница 297: ...Appendix B Frequently Asked Questions 296...
Страница 298: ...Appendix B Frequently Asked Questions 297...
Страница 299: ...Appendix B Frequently Asked Questions 298...
Страница 333: ...Revision history 332...


