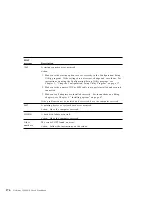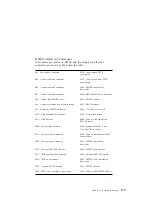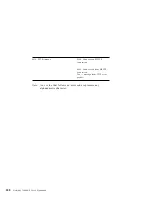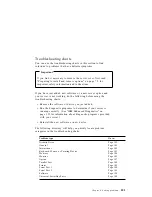
POST
message
Description
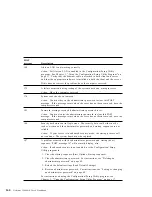
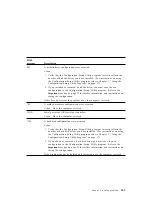
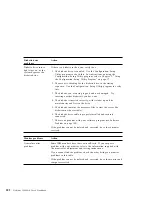
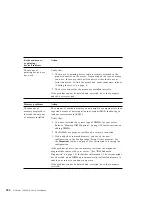
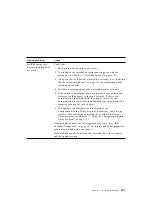
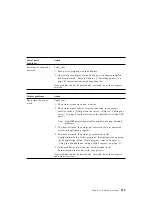
1884
A Plug and Play adapter has requested a memory address that is not available.
Action:
1. Make sure that all ISA legacy adapters are set correctly in the
Configuration/Setup Utility program. If the memory address settings are
not correct, change and save the settings. Setting the resources used by ISA
legacy adapters to ISA Resource enables the Plug and Play function to
configure around the legacy adapters.
For background information on PCI, ISA, Plug and Play, and legacy
(non-Plug and Play) adapters, refer to Chapter 5, “Installing options” on
page 67. For information about required memory resource settings for ISA
legacy adapters, refer to the documentation that comes with these adapters.
For instructions on using the Configuration/Setup Utility program, see
Chapter 3, “Using the Configuration/Setup Utility Program” on page 17.
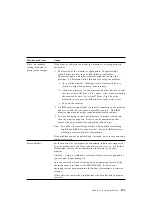
2. Make sure that switches on all ISA legacy adapters are set correctly. For
information about switch settings, refer to the documentation that comes
with the ISA legacy adapters.
3. If all memory addresses are being used by ISA legacy adapters, you might
need to remove an ISA legacy adapter to make a memory address available
to the Plug and Play adapter you want to install. For instructions on
removing adapters, see Chapter 5, “Installing options” on page 67.
Note: If you remove an ISA legacy adapter, set the memory address used
by the removed adapter to Available before installing another
adapter.
4. If you have other PCI or Plug and Play adapters installed, you might need
to remove one of these adapters to make a memory address available to the
Plug and Play adapter you want to install.
If the problem cannot be isolated and corrected, have the computer serviced.
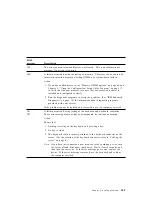
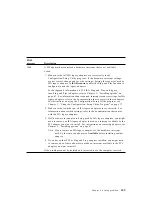
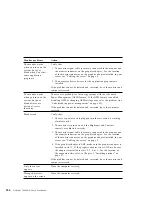
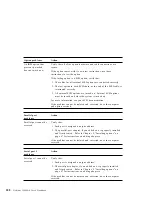
1885
A Plug and Play adapter read-only memory (ROM) error occurred.
Action: Remove all of the Plug and Play adapters that are not required for
system startup and reinstall them one at a time, powering on after each is
reinstalled. When this message displays, replace the adapter just installed.
If the problem cannot be isolated and corrected, have the computer serviced.
174
Netfinity 3500 M10 User's Handbook
Содержание Netfinity 3500 M10
Страница 1: ...Netfinity 3500 M10 User s Handbook...
Страница 2: ......
Страница 3: ...Netfinity 3500 M10 User s Handbook IBM...
Страница 14: ...xii Netfinity 3500 M10 User s Handbook...
Страница 18: ...xvi Netfinity 3500 M10 User s Handbook...
Страница 80: ...62 Netfinity 3500 M10 User s Handbook...
Страница 86: ...Interrupt and DMA resources 144 Interrupt resources 144 DMA resources 146 68 Netfinity 3500 M10 User s Handbook...
Страница 145: ...1 Use a tool such as a screwdriver to remove the two metal knockouts Metal Knockouts Chapter 5 Installing options 127...
Страница 228: ...210 Netfinity 3500 M10 User s Handbook...
Страница 236: ...System board switches 218 Netfinity 3500 M10 User s Handbook...
Страница 256: ...238 Netfinity 3500 M10 User s Handbook...
Страница 267: ......
Страница 268: ...IBM Part Number 37L6687 Printed in U S A July 1999 37L6687...

