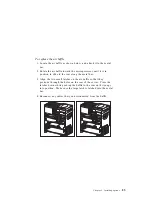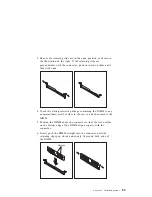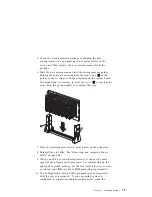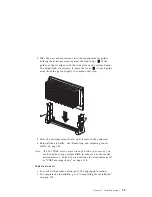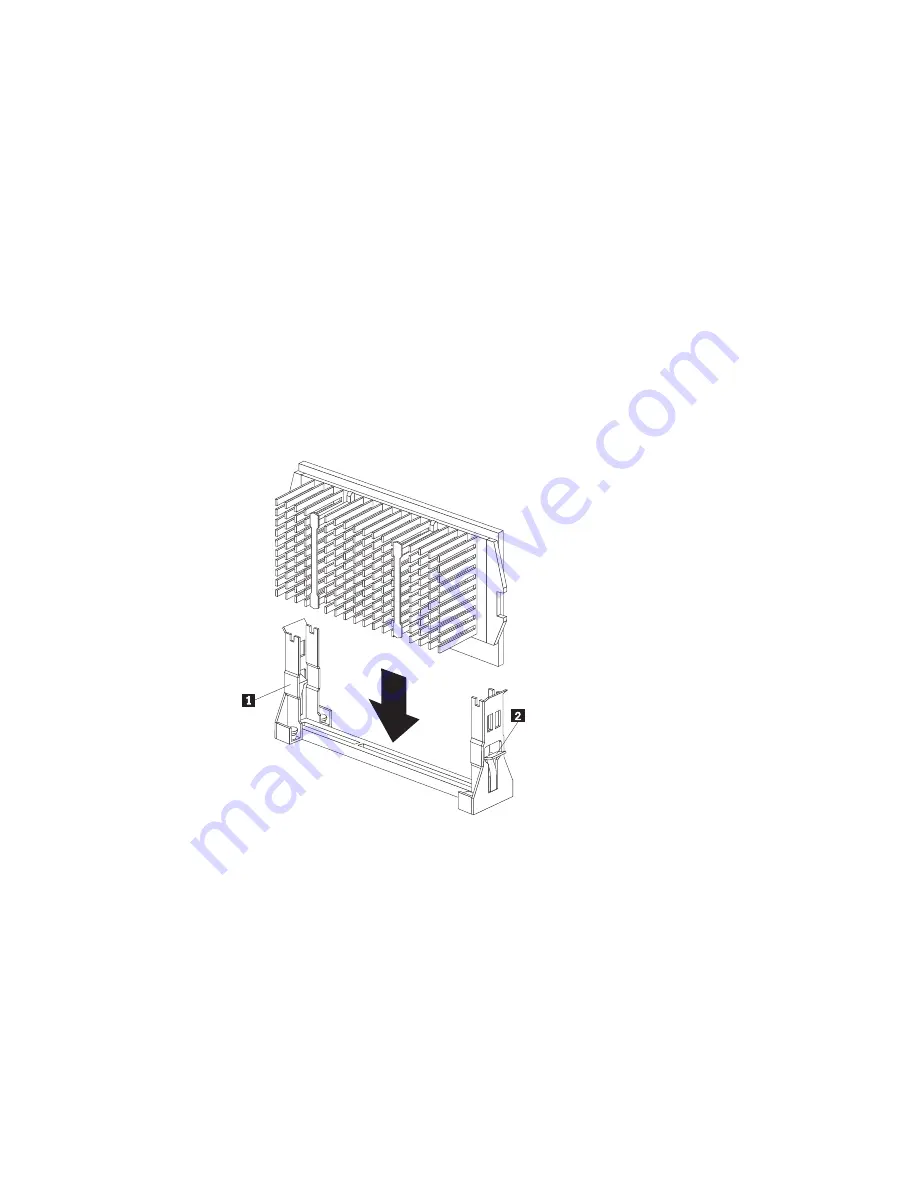
2. Slide the new microprocessor into the microprocessor guides,
holding the microprocessor against the front edge
.1/
of the
guides so that it aligns with the connector on the system board.
You might find it necessary to press the lever
.2/
on each guide
away from the guide slightly to complete this step.
3. Press the microprocessor down until it seats in the connector.
4. Reinstall the air baffle. See “Removing and replacing the air
baffle” on page 84.
Note: If a 167 POST error occurs when you start your server, you
need to update your system BIOS in order to use the second
microprocessor. Follow the instructions for error message 167
in “POST message charts” on page 156.
What to do next:
To work with another option, go to the appropriate section.
To complete the installation, go to “Completing the installation”
on page 134.
Chapter 5. Installing options
99
Содержание Netfinity 3500 M10
Страница 1: ...Netfinity 3500 M10 User s Handbook...
Страница 2: ......
Страница 3: ...Netfinity 3500 M10 User s Handbook IBM...
Страница 14: ...xii Netfinity 3500 M10 User s Handbook...
Страница 18: ...xvi Netfinity 3500 M10 User s Handbook...
Страница 80: ...62 Netfinity 3500 M10 User s Handbook...
Страница 86: ...Interrupt and DMA resources 144 Interrupt resources 144 DMA resources 146 68 Netfinity 3500 M10 User s Handbook...
Страница 145: ...1 Use a tool such as a screwdriver to remove the two metal knockouts Metal Knockouts Chapter 5 Installing options 127...
Страница 228: ...210 Netfinity 3500 M10 User s Handbook...
Страница 236: ...System board switches 218 Netfinity 3500 M10 User s Handbook...
Страница 256: ...238 Netfinity 3500 M10 User s Handbook...
Страница 267: ......
Страница 268: ...IBM Part Number 37L6687 Printed in U S A July 1999 37L6687...

