3860/80 User’s Manual
7-2
Change the Auto Head Gap Adjustment
If the print head gap is consistently too tight or loose, as the ribbon wears, or as printing
becomes lighter, the print head gap offset may be adjusted from the LCD menu. To make
adjustments to the print gap use the following procedure:
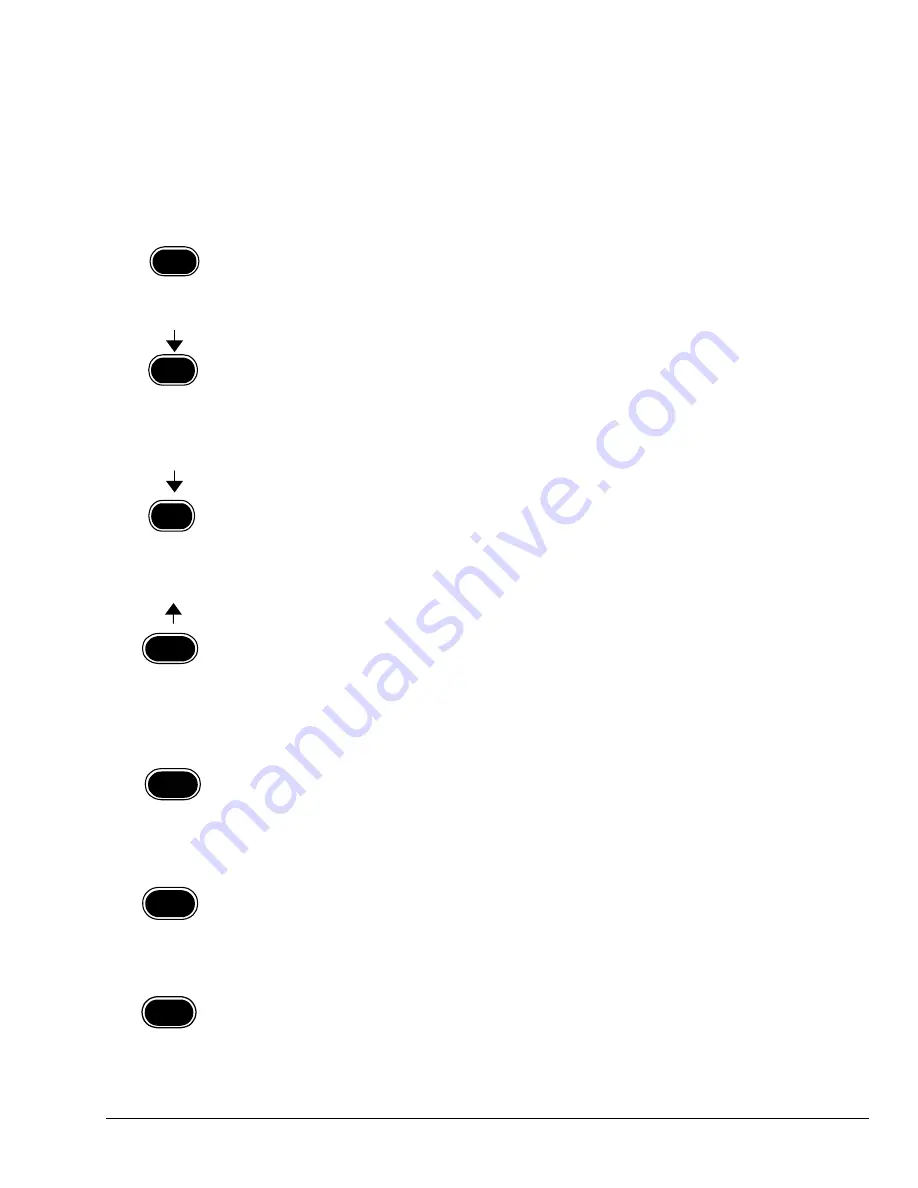
Make sure the printer is in local mode (the On Line light is off). Press the MENU Key. The
LCD will display
EXIT
.
Press the DOWN arrow until
Head Gap
is displayed. Press the ENTER key.
Press the DOWN arrow until
Automatic
is displayed. Press the ENTER key,
Gap Adj
will
blink and
Automa> XX
will be displayed, where
XX
number will be between 1 and 20.
If printing is too light, decrease the number by using the UP arrow key. If printing is
smearing, increase the number by using the DOWN arrow key. Make the change in small
increments.
To test the new setting, press the PRINT QUALITY key,
Test * Running
will be displayed
and the printer will start printing a test pattern. To stop the printing, press the PRINT
QUALITY key again (a few lines will print before the printer stops printing). To view the
printing, press the TEAROFF key,
Tearoff
will be displayed. If the print gap still needs
adjusting, press the TEAROFF key again, the UP or DOWN arrow key and test it again.
To save the change, press the ENTER key, the display will blink with
Gap Adj
and stop
with
Automatic
. Press the CLEAR key,
Exit
will display. Press the DOWN arrow key to
Save. Press the ENTER key twice, Format X, where X is 1 to 4 will blink and the new
setting has been saved to the specified format.
Press the CLEAR key,
Exit
will be displayed. Press the ENTER key to exit the Program
Mode.
Menu
Enter
8
3
Quality
Menu
Enter
Clear
First
9
9


