Control Panel
3-3
LCD Menu
There are two menus in the printer: the LCD menu and the Printed Menu. The language of the
LCD messages can be changed by using the LCD menu.
The LCD menu includes the items that are changed most frequently. The LCD menu is
convenient when running preprinted forms to manaully change configurations.
There are submenus under the main LCD menu selections. The features that may be
modified are located at the last level of a submenu. At the feature level, a selection is
displayed preceded by the greater-than symbol “>”, or the arrow. The arrow indicates that this
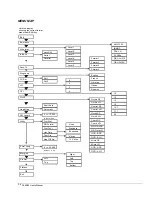
is the current selection. See “LCD Menu Map” in this chapter.
The automatic head gap offsets and the semiautomatic head gap settings are accessible only
from the LCD menu. See Chapter 7 for more information.
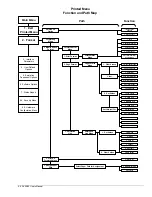
The LCD menu selections and others are available in the Printed Menu. See Chapter 4 for
additional information. The Printed Menu allows the user to see a list choices before selecting
one, and to some extent provides a hard-copy record of what was changed. The Printed
Menu is accessed through the LCD menu.
To access the LCD menu
The ON LINE light must be out.
If not, then press the ON LINE key.
Format 4
The LCD should show the last format that was selected. The number can be from 1 to 4.
If a fault message is displayed ...
The LCD shows what the problem is. Clear the fault.
If some other message is displayed ...
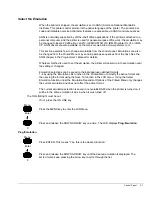
The printer is probably somewhere in the LCD menu. Press FIRST and then ENTER to exit.
Menu
Enter
Press MENU to get into the LCD menu.
Prog:Exit
This message indicates the top level of the LCD menu. Pressing ENTER now will exit the
menu mode.
8
9
The UP ARROW and DOWN ARROW keys step through circular lists of 18 selections.
When the desired selection is displayed, press ENTER.

