882 Video Test Instrument User Guide (Rev A.35)
91
8. Next you will be prompted to hit the
Clone Capture button
(
Tools -> System -> Clone
-> Capture
.) This will cause the generator to back up the internal files to the
PCMCIA/Compact Flash card. When this process is complete, insert the card into the
computer and click on
Next
.
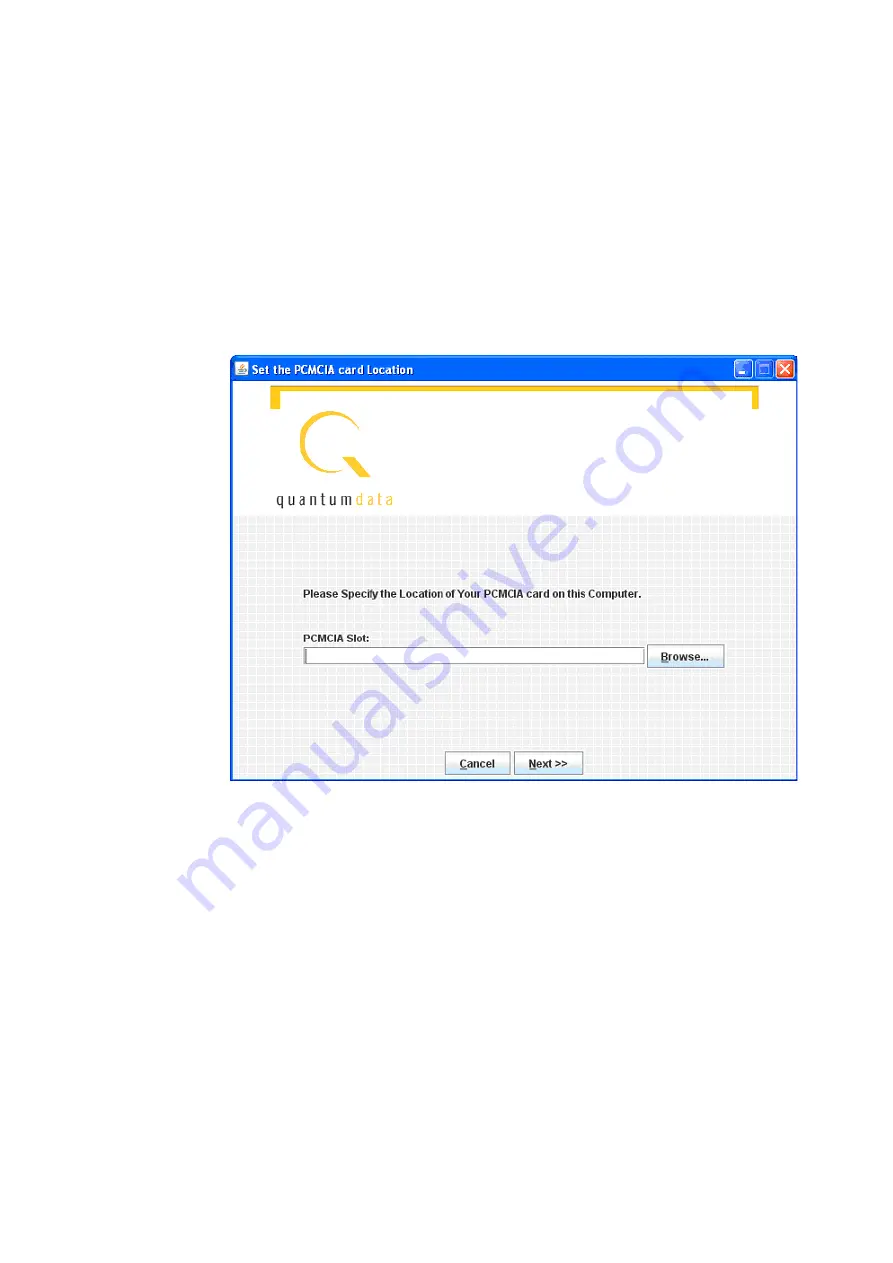
9. Then you will be asked to specify the location of the PCMCIA/Compact Flash drive on
the computer. You can type the drive letter into the space provided (such as G:\) or you
can browse to the location. In either case, you must specify the root of the
PCMCIA/Compact Flash card.
Summary of Contents for 881
Page 1: ...881 882 Video Test Instrument User Guide 882E for HDMI ...
Page 12: ...10 Contents ...
Page 50: ...38 Chapter 1 Getting Started ...
Page 84: ...72 Chapter 2 Testing Video Displays ...
Page 99: ...882 Video Test Instrument User Guide Rev A 35 87 ...
Page 102: ...90 Chapter 3 Administrative Tasks ...
Page 107: ...882 Video Test Instrument User Guide Rev A 35 95 ...
Page 216: ...204 Chapter 5 Working with Formats ...
Page 248: ...236 Chapter 7 Working with Images ...
Page 264: ...252 Chapter 8 Working with Test Sequences ...
Page 382: ...40 Chapter 11 Testing EDID for HDMI 2 Expand the EDID Block in the navigation view ...
Page 446: ...104 Chapter 12 CEC Interactive Troubleshooting Environment ITE ...
Page 493: ...882 Video Test Instrument User Guide Rev A 35 151 ...
Page 591: ...882 Video Test Instrument User Guide Rev A 35 213 Commands by name ...
Page 687: ...882 Video Test Instrument User Guide Rev A 35 309 Example DVIC 23 FMTU ...
Page 1018: ...580 Appendix B Image Reference The EMITest5 image is shown below ...
Page 1094: ...656 Appendix B Image Reference ...
Page 1124: ...686 Appendix C Error Messages ...
Page 1140: ...702 Appendix D Format Reference ...


