


Settings
SECTION 6 Projects
90
6-10-2 Runtime Settings
The Runtime Settings option is selected from the Project menu.
The settings discussed in the following paragraphs help to configure runtime
environment applications and have no effect in the development environment.
Settings that affect the development environment are discussed in chapter 2,
Pages.
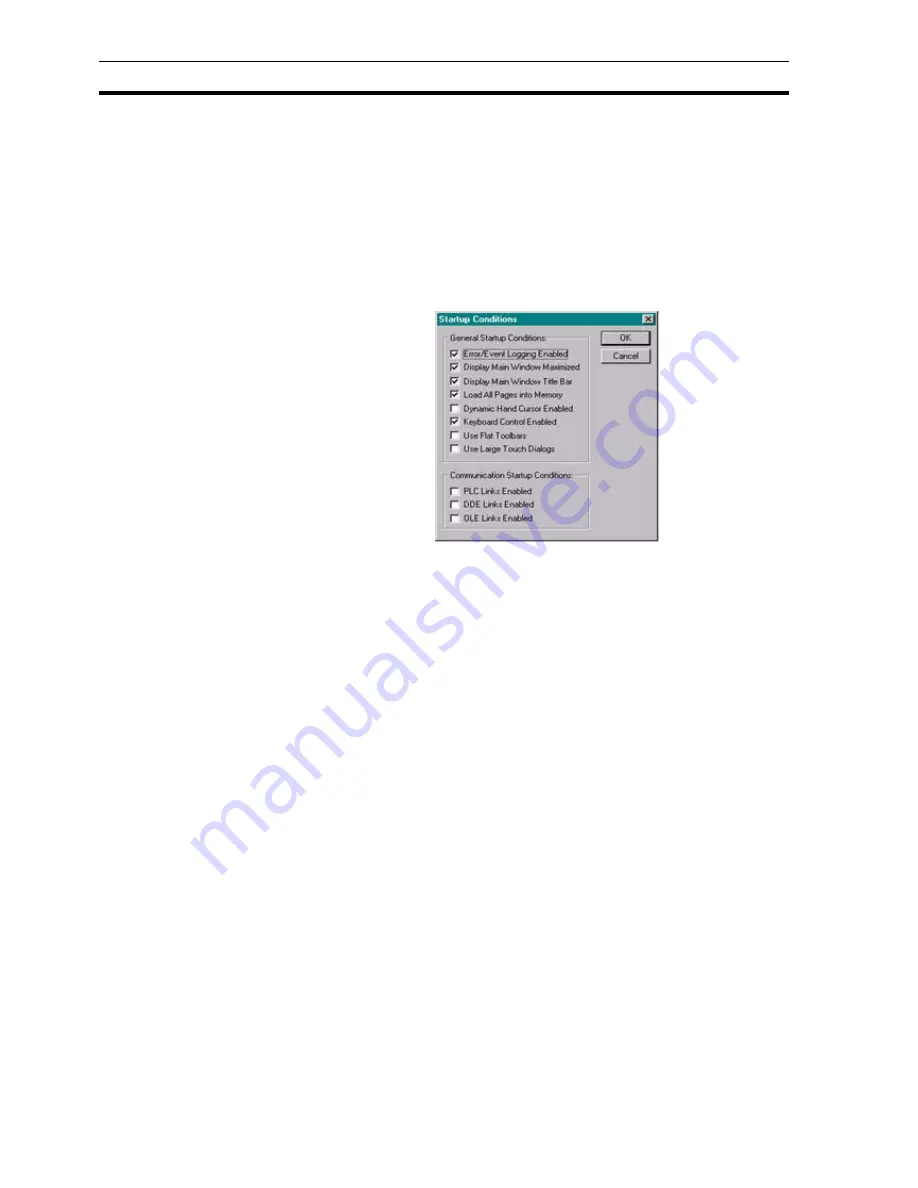
6-10-2-1 Startup Conditions
To open the
Startup Conditions
dialog box, select Startup Conditions from
the Runtime Settings menu.
Click the settings to enable/disable
General Startup Conditions
and
Communication Startup Conditions
. Click the
OK
button to accept the
settings or the
Cancel
button to abort.
When Keyboard Control is enabled, a focus rectangle becomes visible around
the currently selected object. The cursor keys and <Tab> key can then be
used to navigate around the selectable objects on a page. When an object is
selected certain actions can then be applied, depending on the object's type.
The most common action is to simulate a left mouse button click.
The following list shows all the possible facilities with Keyboard Control
enabled.
•
Moving Around Selectable Objects Using Cursor Keys. The cursor keys
can be used to move around the objects in the respective direction.
•
With an object selected, if the right cursor key is pressed, then the closest
object is selected from within an area bounded by lines drawn diagonally
upwards and diagonally downwards (and to the right) from the centre of
the object. If no object is found then the current object remains selected.
A similar rule also applies when using the left cursor key, and the up and
down cursor keys.
•
Moving Around Selectable Objects Using <Tab> Key. The <Tab> key can
be used to move around all the objects in the order in which they are
drawn (this can be varied using the 'raise object' and 'lower object' editing
facilities). The <Shift>+<Tab> key can be used to move around the objects
in the reverse order.
Note:
Selectable items must have a left mouse button event defined or have a
default action.
Summary of Contents for CX-Supervisor
Page 1: ...CX Supervisor Software Cat No W10E EN 01 User Manual Software Release 3 1...
Page 3: ...Copyright Notice 2...
Page 16: ...15...
Page 17: ...16...
Page 27: ...Tip of the Day SECTION 1 Graphics Editor 26...
Page 35: ...CX Supervisor Preferences SECTION 2 Pages 34...
Page 79: ...Responding to Events SECTION 5 ActiveX Objects 78...
Page 115: ...Printing the Graphics Library SECTION 7 Graphics Library 114...
Page 181: ...Data Logging SECTION 11 Data Logging 180...
Page 201: ...Examples SECTION 12 Databases 200...
Page 243: ...Performance Monitor SECTION 16 Application Analysis Performance Monitor 242...
Page 253: ...Using with Omron s CX Server OPC SECTION 17 Using CX Supervisor as an OPC Cli 252...
Page 259: ...Creating a CX Supervisor Client application SECTION 18 Connecting to a remote CX 258...
Page 263: ...Adding a Point Linked to a Parameter SECTION 19 Connecting to Omron Industrial 262...
Page 271: ...Data Logging SECTION 20 Best Practices 270...
Page 275: ...Configuring a Server PC running Windows NT or 2000 Appendix A Configuring a PC 274...
Page 277: ...Appendix B Frequently Asked Questions 276...
Page 296: ...Appendix B Frequently Asked Questions 295...
Page 297: ...Appendix B Frequently Asked Questions 296...
Page 298: ...Appendix B Frequently Asked Questions 297...
Page 299: ...Appendix B Frequently Asked Questions 298...
Page 333: ...Revision history 332...


