


Viewing Points in the Point Editor
SECTION 3 Points
36
3-3-1
Filtering the Points in the View by Group
Points are separated into groups. To select a group, pick an entry from the
Group field.
All points can be displayed by selecting <All Groups> from this list.
3-3-2
Filtering the Points in the View by Point Type
A selection of points can be displayed based on the point type. Selection of the
All Points button displays points of all types.
The Boolean Points button only displays points of a Boolean type. The Integer
Points button, the Real Points button and Text Points button, once selected,
react in the same way.
3-3-3
Sorting the Points in the View by I/O Type
Points can also be filtered by I/O type. Respectively, these buttons display All
Points, Memory Points, Input Points, Output Points or Input/Output Points.
3-3-4
Sorting the Points in the View
Individual listed points are sorted, based on a designated field type: name,
type, input/output type or description. By clicking on the Name button, the
points are sorted alphanumerically by name.
The Type button, the I/O Type button, the Address button and Description
button, once selected, react in the same way. In the previous Point Editor
example the list is sorted by Name.
The widths of the point fields can be widened or narrowed as required using
the mouse to drag the column boundaries:
A double click the text boundaries causes the column to autosize.
3-3-5
Changing the Viewing Mode
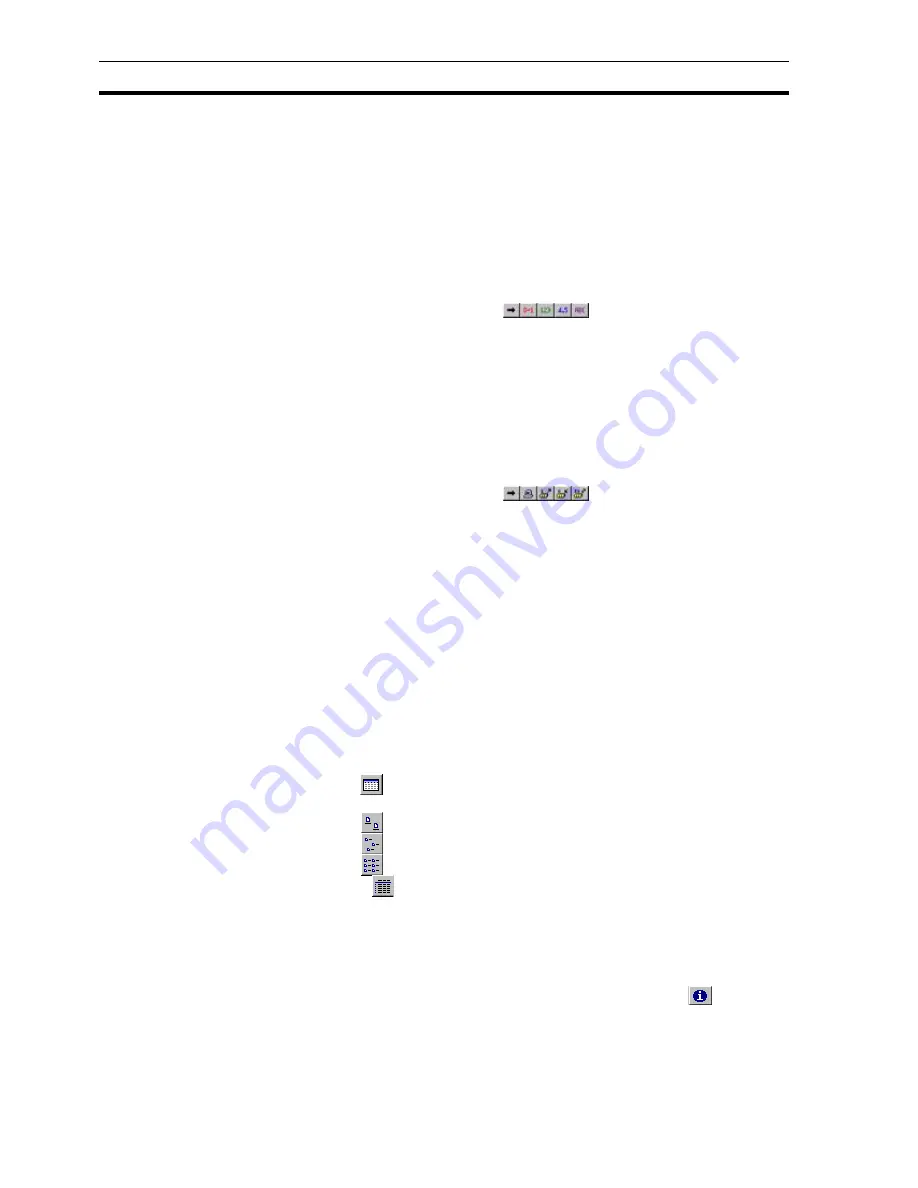
Click the
button to configure which columns of information are displayed in
the
Point Editor
.
Click the
button to view details with large icons.
Click the
button to view details with normal icons.
Click the
button to view details as a list.
Select the
button to view details as a list including name, type, I/O type,
address and description information. The details can be sorted in ascending
order by clicking once or in descending order by clicking twice, in the
appropriate field.
3-3-6
Summary of Point Information
A summary of point information is available by selecting the
button. The
resultant Point Information dialog box shows an overall summary, a
breakdown on the number of points per type and the input/output type. To exit
the dialog box, click the Close button. The Point Information dialog box is
shown as follows:
Summary of Contents for CX-Supervisor
Page 1: ...CX Supervisor Software Cat No W10E EN 01 User Manual Software Release 3 1...
Page 3: ...Copyright Notice 2...
Page 16: ...15...
Page 17: ...16...
Page 27: ...Tip of the Day SECTION 1 Graphics Editor 26...
Page 35: ...CX Supervisor Preferences SECTION 2 Pages 34...
Page 79: ...Responding to Events SECTION 5 ActiveX Objects 78...
Page 115: ...Printing the Graphics Library SECTION 7 Graphics Library 114...
Page 181: ...Data Logging SECTION 11 Data Logging 180...
Page 201: ...Examples SECTION 12 Databases 200...
Page 243: ...Performance Monitor SECTION 16 Application Analysis Performance Monitor 242...
Page 253: ...Using with Omron s CX Server OPC SECTION 17 Using CX Supervisor as an OPC Cli 252...
Page 259: ...Creating a CX Supervisor Client application SECTION 18 Connecting to a remote CX 258...
Page 263: ...Adding a Point Linked to a Parameter SECTION 19 Connecting to Omron Industrial 262...
Page 271: ...Data Logging SECTION 20 Best Practices 270...
Page 275: ...Configuring a Server PC running Windows NT or 2000 Appendix A Configuring a PC 274...
Page 277: ...Appendix B Frequently Asked Questions 276...
Page 296: ...Appendix B Frequently Asked Questions 295...
Page 297: ...Appendix B Frequently Asked Questions 296...
Page 298: ...Appendix B Frequently Asked Questions 297...
Page 299: ...Appendix B Frequently Asked Questions 298...
Page 333: ...Revision history 332...


