


Printing the Graphics Library
SECTION 7 Graphics Library
112
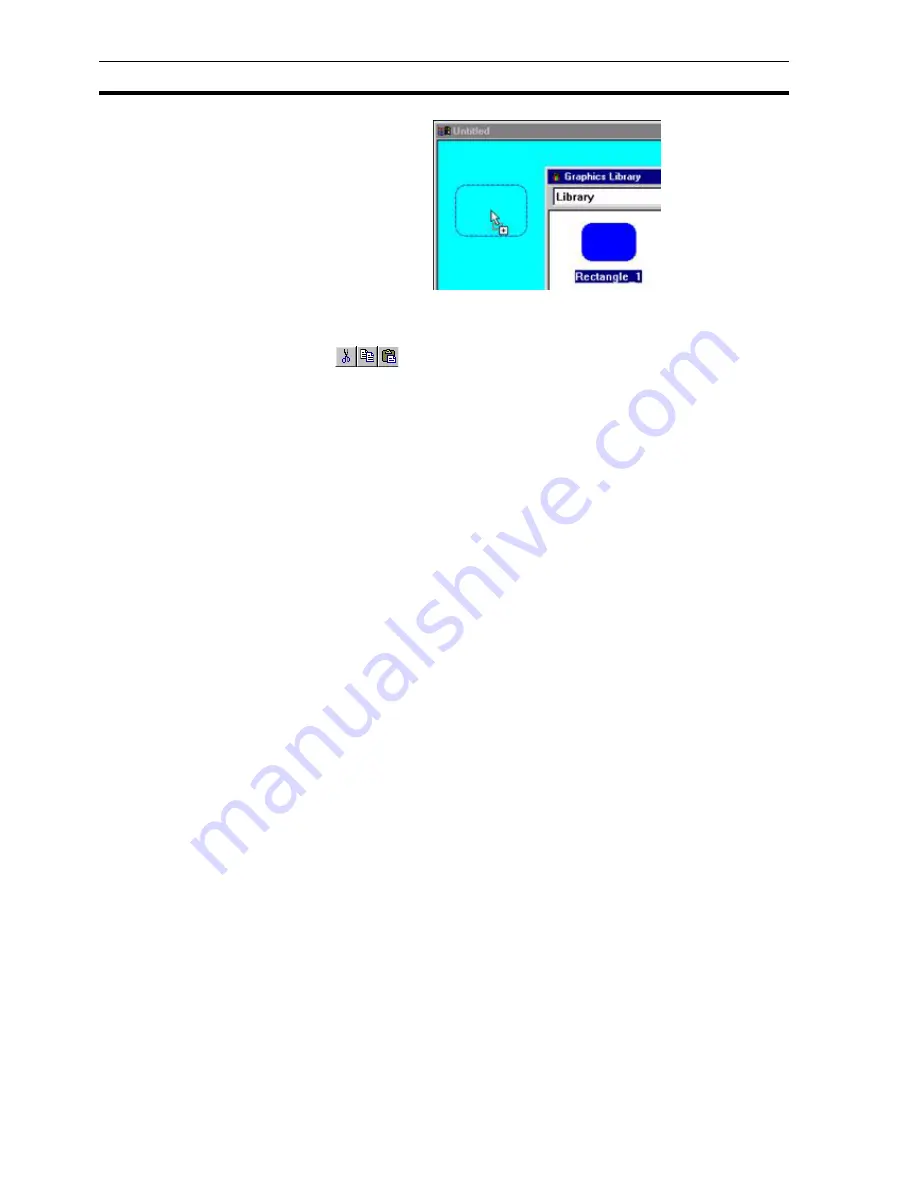
The gauge object can be stretched to suit the needs of the page, and other
objects can be applied on top of, or in addition to the gauge. A library object
can also be ungrouped by selecting Ungroup from the Edit menu.
The
buttons on the toolbar can be used as an alternative to
dragging.
7-3-5
Point Substitution
If the library object includes animation actions the Point Substitution dialog box
will be automatically displayed. This allows the points associated with the
object to be quickly updated for use in the current project. For full details on
Point Substitution refer to Chapter 4 (Objects).
7-3-6
Default Graphic Library Objects
CX-Supervisor contains default, ready-to-use libraries. They cannot be added
to (this is denoted by the 'READ ONLY' statement at the bottom of the
Graphics Library Editor), although they can be applied to a page and tailored
in the usual way.
7-3-7
Conversion to Individual Page Objects
The majority of items in the default CX-Supervisor Graphics Libraries are
metafiles and so support conversion into CX-Supervisor objects. This allows
you to break apart the image and animate it's sub-parts.. See 'Metafile
Conversion to CX-Supervisor Objects' for further details.
7-3-8
Sharing Graphic Libraries
Graphic Libraries, including the default Graphic Libraries, can be shared by
other users at other PCs running CX-Supervisor. Each library has its own
*.MAT file (e.g. PANELS.MAT for the panels library). The *.MAT files reside in
the same directory as the CX-Supervisor application. Using file utilities on the
PC, it is possible to copy one or more *.MAT files onto a diskette or a network,
and transfer them to a CX-Supervisor directory on another PC. Consult the
Microsoft Windows User Guide for details on copying files.
7-4
Printing the Graphics Library
The Graphics Library can be printed in the same way pages can. Before
printing, ensure that the printer has been set up correctly. To check the printer
settings, refer to chapter 2, Pages.
7-4-1
Print Preview
To preview the page before printing, select
Print Preview
from the
File
menu.
Refer to chapter 2, Pages regarding the use of the Print Preview dialog box.
Summary of Contents for CX-Supervisor
Page 1: ...CX Supervisor Software Cat No W10E EN 01 User Manual Software Release 3 1...
Page 3: ...Copyright Notice 2...
Page 16: ...15...
Page 17: ...16...
Page 27: ...Tip of the Day SECTION 1 Graphics Editor 26...
Page 35: ...CX Supervisor Preferences SECTION 2 Pages 34...
Page 79: ...Responding to Events SECTION 5 ActiveX Objects 78...
Page 115: ...Printing the Graphics Library SECTION 7 Graphics Library 114...
Page 181: ...Data Logging SECTION 11 Data Logging 180...
Page 201: ...Examples SECTION 12 Databases 200...
Page 243: ...Performance Monitor SECTION 16 Application Analysis Performance Monitor 242...
Page 253: ...Using with Omron s CX Server OPC SECTION 17 Using CX Supervisor as an OPC Cli 252...
Page 259: ...Creating a CX Supervisor Client application SECTION 18 Connecting to a remote CX 258...
Page 263: ...Adding a Point Linked to a Parameter SECTION 19 Connecting to Omron Industrial 262...
Page 271: ...Data Logging SECTION 20 Best Practices 270...
Page 275: ...Configuring a Server PC running Windows NT or 2000 Appendix A Configuring a PC 274...
Page 277: ...Appendix B Frequently Asked Questions 276...
Page 296: ...Appendix B Frequently Asked Questions 295...
Page 297: ...Appendix B Frequently Asked Questions 296...
Page 298: ...Appendix B Frequently Asked Questions 297...
Page 299: ...Appendix B Frequently Asked Questions 298...
Page 333: ...Revision history 332...


