Object Packager
Appendix F Obsolete Features
320
1, 2, 3…
1. On return to the Change Icon dialog box, select the required icon from
those presented.
2. Change the icon's label (if required).
3. Click the Open button to return to the Insert Object dialog box.
4. On return to the Insert Object dialog box click the OK button to return to
the current page and embed the selected object into it at the current
insertion point.
F.7.2 Creating an Object From a File
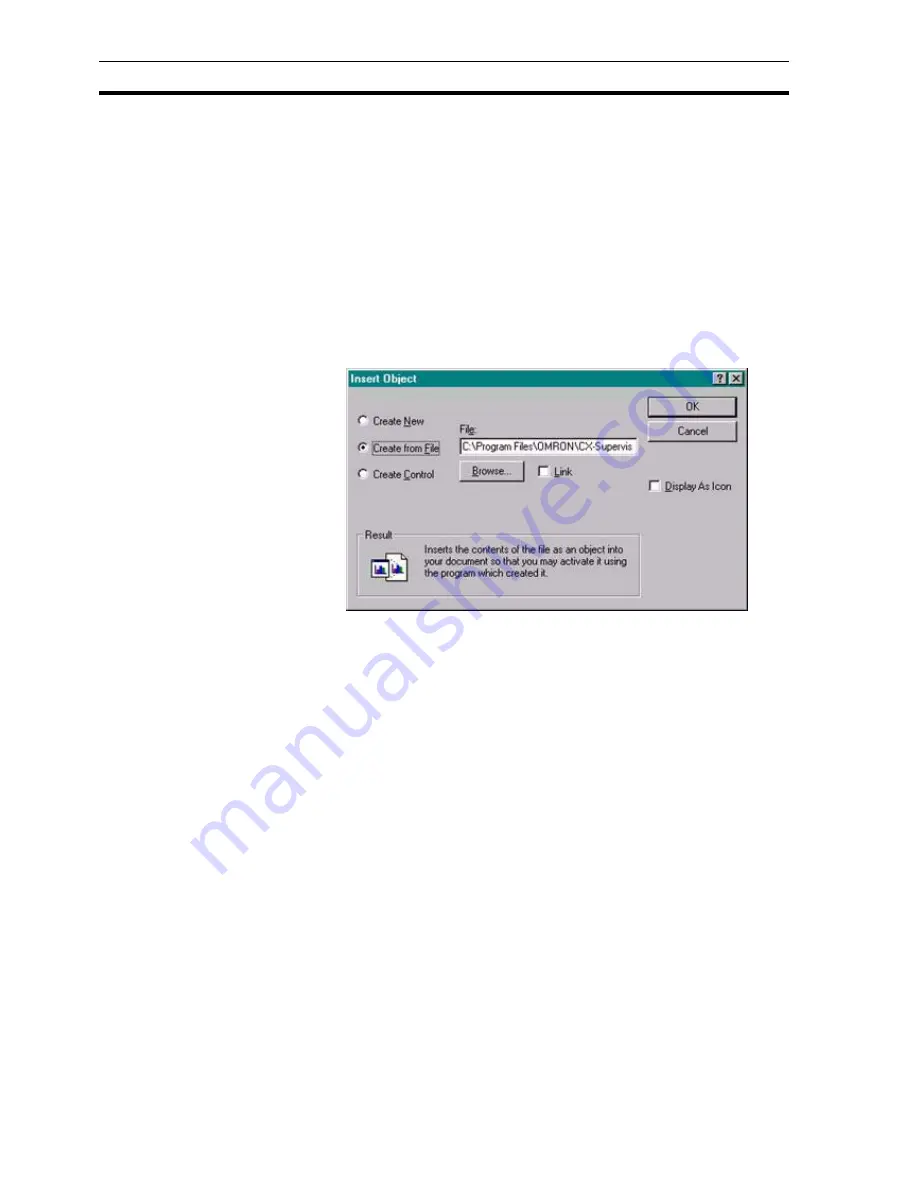
Creating an object from a file allows linking or embedding of objects created at
sometime in the past. As before, select Insert New Object from the Edit menu,
and the Insert Object dialog box opens. Click the Create From File: setting and
the dialog box changes to a format similar to that of the following:
Type the full path of the file containing the object to be inserted, ending with
the full file name, into the Create from File: field. To locate an existing file
name or a different path, click the Browse button to display the Browse dialog
box.
A Browse dialog box similar to that used for changing an object's icon opens,
the difference being that the List Files of Type field has a single entry of All
Files (extension .*).
1, 2, 3…
1. Use the Look in: field to navigate to the appropriate location.
2. Select the file from the list offered and click the Open button to return to
the Insert Object dialog box.
3. On return to the Insert Object dialog box click the OK button to return to
the current page and embed the selected object into it at the current
insertion point.
To display the object as an icon, follow the procedure detailed in the previous
chapter and click the OK button to return to the current page and embed the
selected object, in icon form, into it at the current insertion point.
It is often more appropriate to link to an object rather than embedding it in the
current page. By linking to an object rather than embedding it CX-Supervisor
always has access to the most up-to-date copy of the object every time the
page containing it is opened.
Placing a check mark in the Link field forges a link between the page and the
file containing the object.
All other activities are carried out in an identical manner to those explained
previously.
Summary of Contents for CX-Supervisor
Page 1: ...CX Supervisor Software Cat No W10E EN 01 User Manual Software Release 3 1...
Page 3: ...Copyright Notice 2...
Page 16: ...15...
Page 17: ...16...
Page 27: ...Tip of the Day SECTION 1 Graphics Editor 26...
Page 35: ...CX Supervisor Preferences SECTION 2 Pages 34...
Page 79: ...Responding to Events SECTION 5 ActiveX Objects 78...
Page 115: ...Printing the Graphics Library SECTION 7 Graphics Library 114...
Page 181: ...Data Logging SECTION 11 Data Logging 180...
Page 201: ...Examples SECTION 12 Databases 200...
Page 243: ...Performance Monitor SECTION 16 Application Analysis Performance Monitor 242...
Page 253: ...Using with Omron s CX Server OPC SECTION 17 Using CX Supervisor as an OPC Cli 252...
Page 259: ...Creating a CX Supervisor Client application SECTION 18 Connecting to a remote CX 258...
Page 263: ...Adding a Point Linked to a Parameter SECTION 19 Connecting to Omron Industrial 262...
Page 271: ...Data Logging SECTION 20 Best Practices 270...
Page 275: ...Configuring a Server PC running Windows NT or 2000 Appendix A Configuring a PC 274...
Page 277: ...Appendix B Frequently Asked Questions 276...
Page 296: ...Appendix B Frequently Asked Questions 295...
Page 297: ...Appendix B Frequently Asked Questions 296...
Page 298: ...Appendix B Frequently Asked Questions 297...
Page 299: ...Appendix B Frequently Asked Questions 298...
Page 333: ...Revision history 332...


