


Printing a Page
SECTION 2 Pages
30
1, 2, 3…
To change the current printer selection:
1. Click the Name: field and select from the list presented.
2. To change the page orientation from portrait to landscape click the
Landscape setting, (or vice-versa).
3. To change the paper size, click the Size: field, and select the desired
paper size from the list presented.
4. To change the paper source, click the Source: field, and select the desired
paper source from the list presented.
5. Click the
OK
button to exit from the Print Setup dialog box when the
settings are correct.
2-4-2
Print Preview
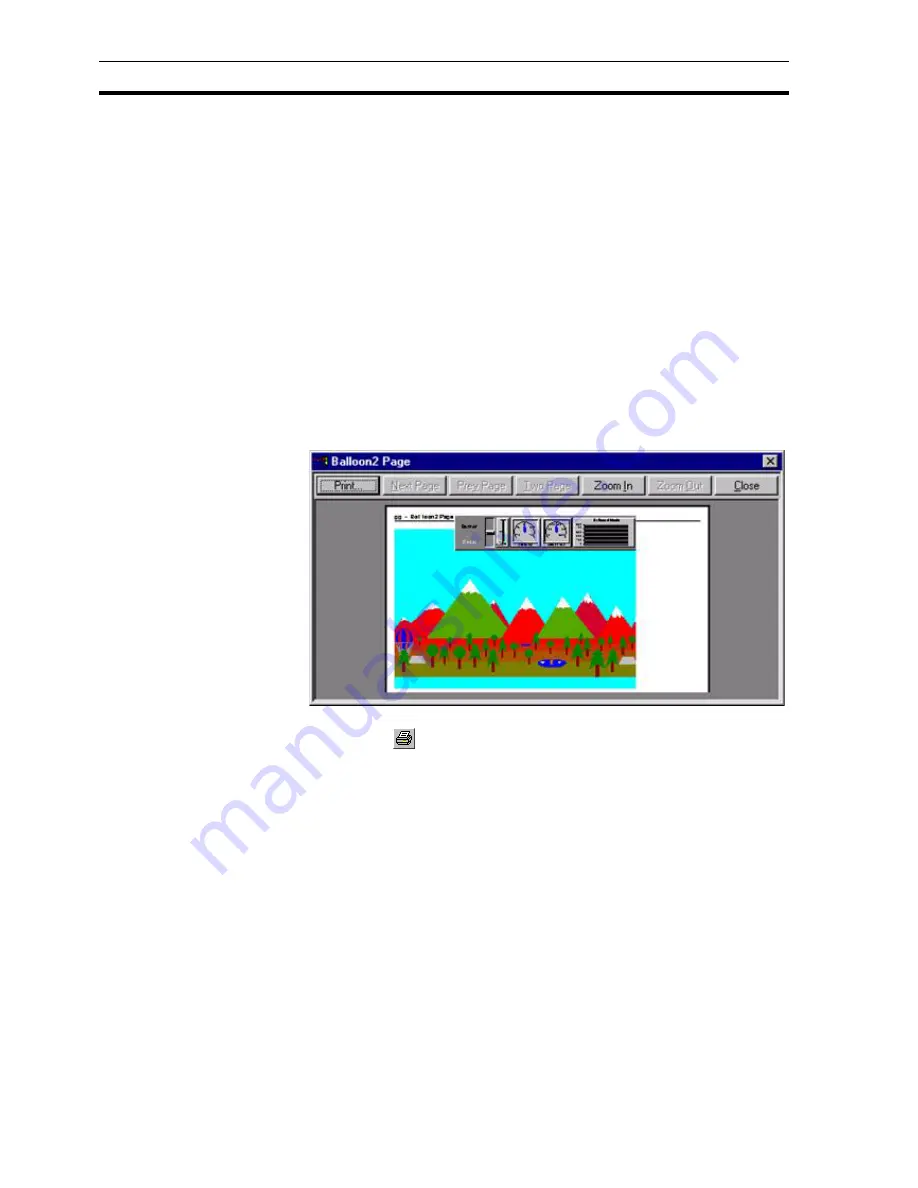
To preview the page before printing, select
Print Preview
from the
File
menu.
This results in a screen display similar to the following:
1, 2, 3…
To print the page:
1. Click the
button, CX-Supervisor displays the
dialog box.
2. To display the next page, click the
Next Page
button.
3. To display the previous page, click the
Prev Page
button.
4. To display the current page, side-by-side with the next page, click the
Two
Page
button. To return to a single page view click the same button again
which now carries the legend,
One Page
.
5. Click the
Zoom In
button. Click it a second time to zoom in to the second
level. This does not zoom into a specific area of the page.
6. To zoom out from a zoomed in view, click the
Zoom Out
button. Click a
second time to zoom right out.
7. To close the preview screen, click the
Close
button.
2-4-3
Printing
To print a page, click the
Print Page
button. The
dialog box opens.
Note:
The Properties button gives access to advanced printer configuration functions
for the selected printer. For details of these functions, refer to the Windows
User Manual, On line Help, or the appropriate Manufacturer's handbook.
Summary of Contents for CX-Supervisor
Page 1: ...CX Supervisor Software Cat No W10E EN 01 User Manual Software Release 3 1...
Page 3: ...Copyright Notice 2...
Page 16: ...15...
Page 17: ...16...
Page 27: ...Tip of the Day SECTION 1 Graphics Editor 26...
Page 35: ...CX Supervisor Preferences SECTION 2 Pages 34...
Page 79: ...Responding to Events SECTION 5 ActiveX Objects 78...
Page 115: ...Printing the Graphics Library SECTION 7 Graphics Library 114...
Page 181: ...Data Logging SECTION 11 Data Logging 180...
Page 201: ...Examples SECTION 12 Databases 200...
Page 243: ...Performance Monitor SECTION 16 Application Analysis Performance Monitor 242...
Page 253: ...Using with Omron s CX Server OPC SECTION 17 Using CX Supervisor as an OPC Cli 252...
Page 259: ...Creating a CX Supervisor Client application SECTION 18 Connecting to a remote CX 258...
Page 263: ...Adding a Point Linked to a Parameter SECTION 19 Connecting to Omron Industrial 262...
Page 271: ...Data Logging SECTION 20 Best Practices 270...
Page 275: ...Configuring a Server PC running Windows NT or 2000 Appendix A Configuring a PC 274...
Page 277: ...Appendix B Frequently Asked Questions 276...
Page 296: ...Appendix B Frequently Asked Questions 295...
Page 297: ...Appendix B Frequently Asked Questions 296...
Page 298: ...Appendix B Frequently Asked Questions 297...
Page 299: ...Appendix B Frequently Asked Questions 298...
Page 333: ...Revision history 332...


