4.2 Troubleshooting
• When the Printing Position is Misplaced
• Is the printing media suitable for use with this printer?
The types, sizes, and thicknesses of the printing media that can be used with this
printer are determined. If there are variations in the materials and thicknesses of the
printing media, printing may not be carried out in the position specified by the
created printing data (the print image), so that for example the printing may be wider
than the margins of the created printing data. In this situation, use the “Position
Adjustment” and “Length Adjustment” functions to adjust the position of the print
image.
Reference
Refer to “5.1 Main Specifications on P.102, and “3.4 Method
of Using the Printer Driver” on P.64.
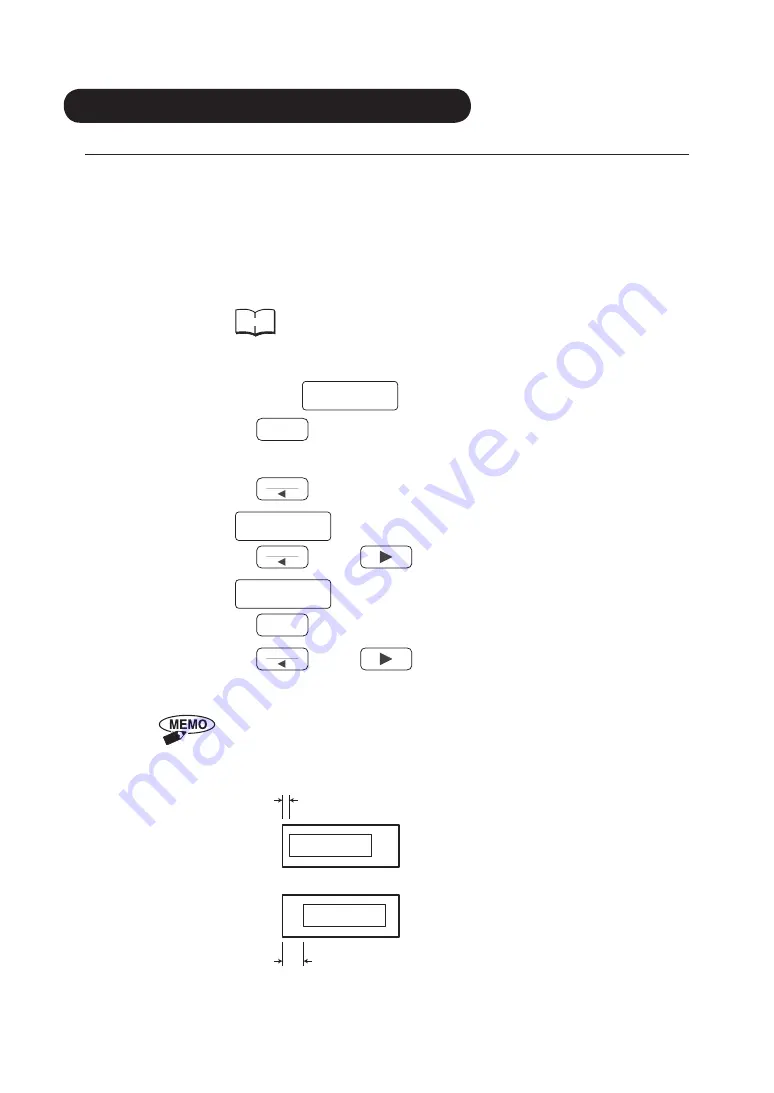
• Position Adjustment Mode
<<Menu>>
Position Adjustment
(1) Press the
Online
key to set the printer to “Offline” (The online lamp will
switch off).
(2) Press the
Menu
key.
•
<<Menu>>
Auto Cleaning
is displayed.
(3) Press the
Menu
key or
key to change the Menu item.
•
<<Menu>>
Position Adjustment
(4) Press the
Enter
key to enter the Position Adjustment mode.
(5) Press the
Menu
key or
key to make the setting in the range
between -1.02mm to 0 (no correction) to +1.02mm.
The position adjustment can be set in units of 0.085mm. Taking 0 (no
correction) as the datum point, set a minus value when you wish to adjust
the printing start position to the left side, and set a plus value when you wish
to adjust the printing start position to the right side.
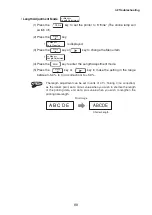
Leading
Edge
Finely adjust this dimension
To increase the width: Apply a plus adjustment
To decrease the width: Apply a minus adjustment
A B C D E
A B C D E
88


