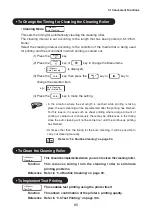
• To Change the Timing for Cleaning the Cleaning Roller
• Cleaning Mode
<<Menu>>
Auto Cleaning
This sets the timing for automatically cleaning the cleaning roller.
The cleaning interval is set according to the length that has been printed (0.5/1/2/5m/
None).
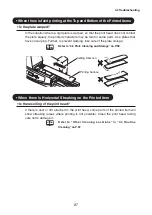
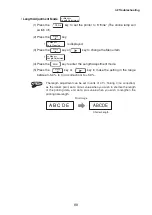
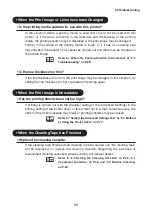
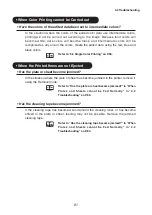
Select the cleaning interval according to the condition of the media that is being used
for printing and the environment in which printing is carried out.
(1) Press the
Menu
key.
(2) Press the
Menu
key or
key to change the Menu items.
•
<<Menu>>
Auto Cleaning
is displayed.
(3) Press the
Enter
key, then press the
Menu
key or
key to
change the selection item.
e.g.:
Auto Cleaning
After Printed 5m
(4) Press the
Enter
key to make the setting.
• In the situation where the set length is reached while printing is taking
place, the auto cleaning will be implemented after the printing has finished.
For this reason, in cases such as sheet printing where a large amount of
printing is carried out continuously, there may be differences in the timing
since the auto cleaning will not be carried out until the continuous printing
has finished.
• At times other than the timing for the auto cleaning, it will be possible to
carry out cleaning manually.
Reference
Refer to “4.4 Routine Cleaning” on page 94.
• To Clean the Cleaning Roller
<<Menu>>
Cleaning…
This should be implemented when you wish to clean the cleaning roller.
Function This removes soiling from the cleaning roller to eliminate
printing problems.
Reference Refer to “4.4 Routine Cleaning” on page 94.
• To Implement Test Printing
<<Menu>>
Test Print
This enables test printing using the printer itself.
Function This allows confirmation of the printer’s printing quality.
Reference Refer to “4.6 Test Printing” on page 100.
80
4.1 Convenient Functions

