


Note
(6) Click on [OK] to return to the Print dialog box, and click on [Print].
The printing data will be sent to the printer.
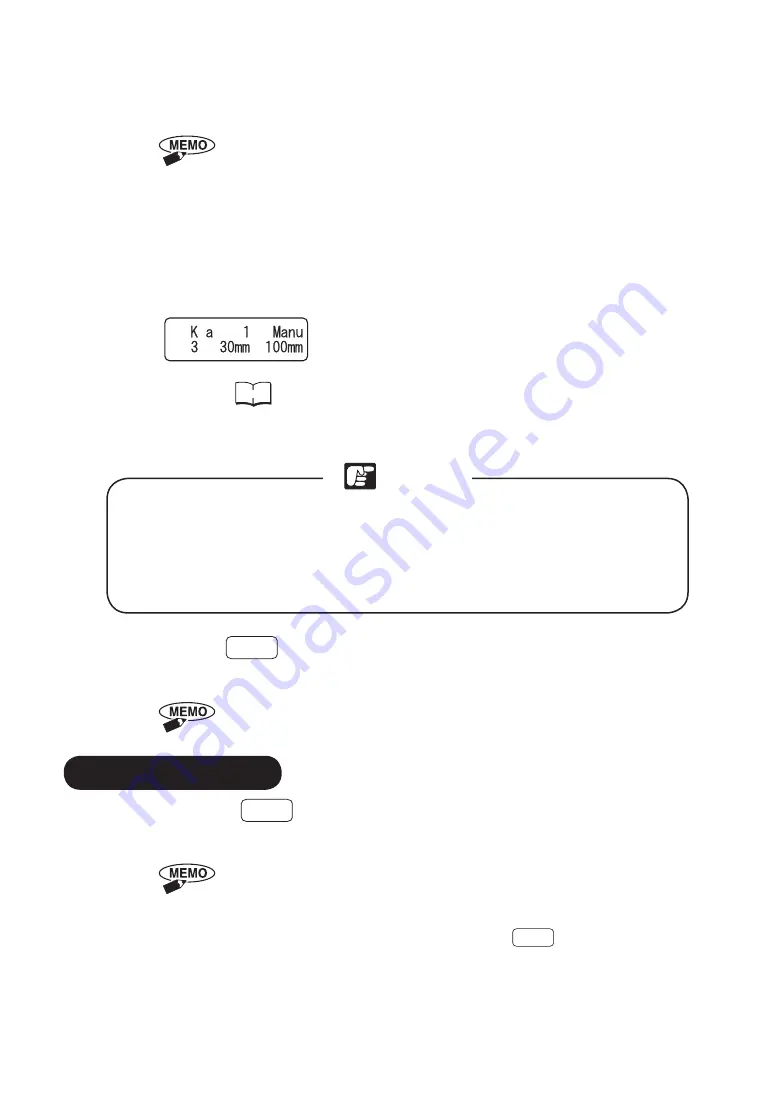
(7) When the printer receives the data, the online lamp will flash. The data content
will be shown on the printer display.
Reference
Refer to “2.6 Setting the Plates” on P.31.
(8) Set a plate for sample printing.
Matching the settings in the WordPad [Page Setup] and [Print]
[Preferences] dialog boxes, set the sheet or plate media in the printer.
If the media does not match the settings, the ribbon of the ribbon cassette
may break. Note that in the situation where the ribbon breaks, it will be
necessary to replace the ribbon cassette with a new one.
(9) Press the
Enter
key.
Printing will begin. After the printing finishes, the plate will be ejected.
Do not pull out the USB cable while printing is taking place.
By pressing the
Cancel
key for 3 seconds or longer, it will be possible to abandon
the printing.
• In the situation where the key is pressed while printing is being carried out,
the printing operation will stop after the single media has been ejected,
and the remaining printing data will be deleted.
• Even before the printing has started, if the
Cancel
key is pressed for 3
seconds or longer, the printing data received from the PC can be deleted
and the printing can be abandoned.
3.2 Using the Printer
• Halting the Printing
55
• When a ribbon cassette of a color other than black has been set, the “Print
in color. Are you sure?” dialog box will be displayed on the PC. Set the
black ribbon cassette in the printer and click on [Yes].
• Depending on the application, there may be situations where it is possible
to make out-of-specification settings of the printer. In these situations,
adjustments will be made so that the settings match the specifications of
the printer main unit.


