11-18 DICOM
(2) Set a default storage server as described before.
(3) After finishing the setting, you can perform image scanning, and each time you
press <End Exam>, the system will send images to the default DICOM storage
server.
Send image/ clip to DICOM storage while storing image/ clip to hard disk
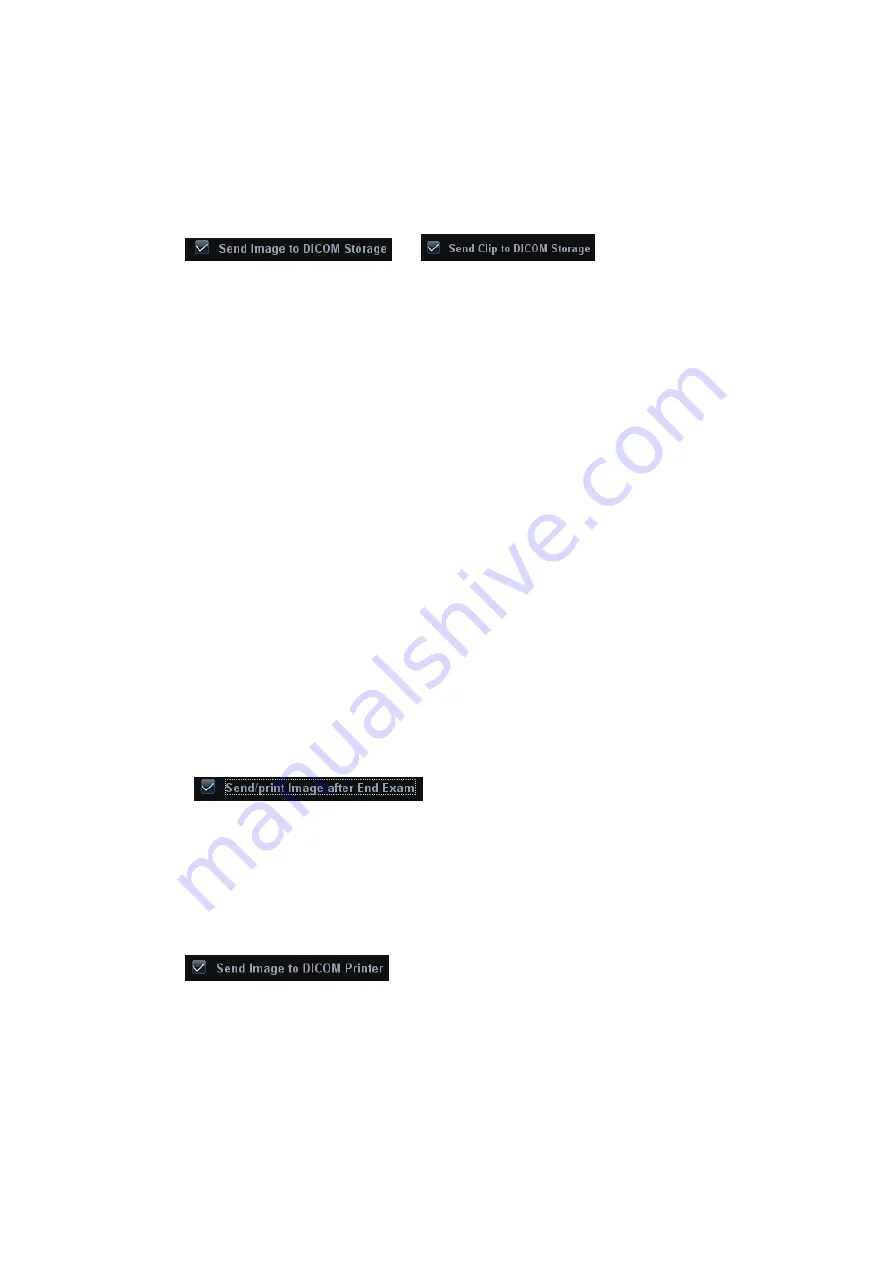
(1) Open [Setup] → [System Preset] →[General], then check
or
in the Image/ clip
Storage area.
(2) Set a default storage server as described before.
(3) After the setting, every time you save images or clips, the system will send images
or clip to DICOM storage automatically.
11.3.2 DICOM Print
DICOM Print is used to send image(s) to DICOM print server to print images.
Print image in iStation/Review/main screens
(1) Select image(s), operations are the same with DICOM storage.
(2) In the Send To dialogue box, select a DICOM print server. (Procedures are the
same with those in DICOM Storage).
(3) Click [OK] to send print task.
To send images by shortcut key
You can send single frame image to DICOM server by shortcut key.
(1) Define the shortcut key for “Send Image to DICOM Server” in the path:
[Setup]→[System Preset] → [Key Config].
(2) Set a default print server. For details, please refer to “11.1.4.2 Print Service
Setting”.
(3) Press XX on the control panel (assigned as the shortcut key), then the system
sends the image to the print server.
To print image after an exam ends
(1) Open [Setup] →[System Preset]→[General], then check
in the Patient Management area.
(2) Set a default print server. For details, please refer to “11.1.4.2 Print Service
Setting”.
(3) After finishing the setting, you can perform image scanning, and each time you
press <End Exam>, the system will send images to the default DICOM print
server.
Send image to DICOM printer while storing image to hard disk
(1) Open [Setup] →[System Preset]→[General], then check
in the Image/ clip Storage area.
(2) Set a default storage server as described before.
(3) After the setting, every time you save images or clips, the system will send images
to DICOM printer to print the image automatically.
Summary of Contents for M5 Exp
Page 2: ......
Page 12: ......
Page 41: ...System Overview 2 11 UMT 200 UMT 300...
Page 246: ...12 2 Probes and Biopsy V10 4B s CW5s 4CD4s P12 4s 7L4s L12 4s P7 3s L14 6Ns P4 2s CW2s...
Page 286: ......
Page 288: ......
Page 336: ......
Page 338: ......
Page 357: ...P N 046 008768 00 V1 0...


