Image Optimization 5-49
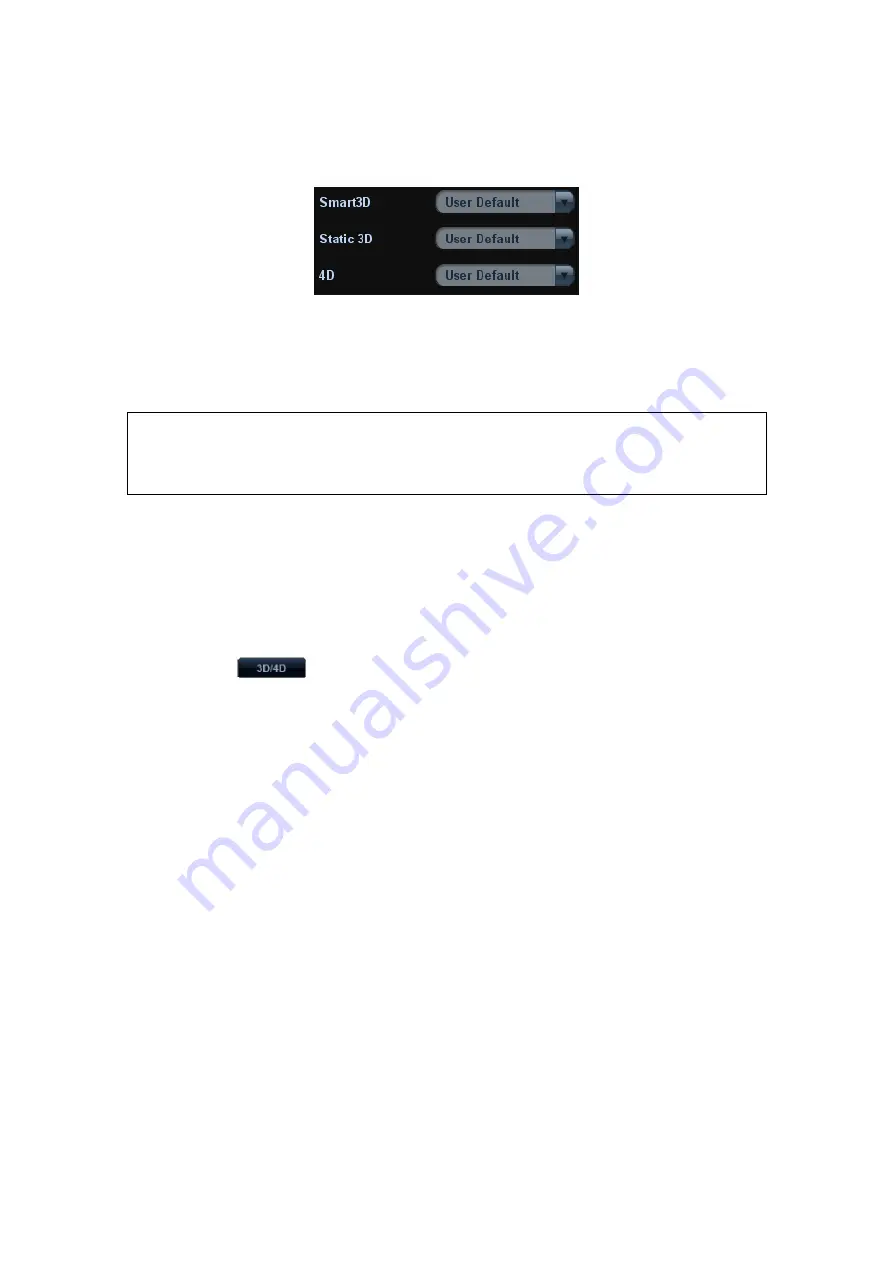
Select Default Preset Package for Sub-modes
After setting preset packages, you can select the default preset package for sub modes.
See the figure below:
5.11.4 Smart 3D
5.11.4.1 Basic Procedures for Smart 3D Imaging
NOTE:
In Smart 3D image scanning, if the probe orientation mark is oriented to the
operator’s finger, please perform the scanning from right to left in linear scan; or
rotate the probe from left to right in fan scanning; otherwise, the 3D image
direction is wrong.
To perform Smart 3D imaging:
1. Select the proper probe and connect it to the ultrasound system. Make sure there is
sufficient gel on the probe for scanning.
2. Select the scanning probe and exam mode, and do parameter setting if necessary.
3. Obtain a 2D image. Optimize the image as usual.
4. Enter 3D/4D imaging preparation status:
Press the user-defined key on the control panel; or,
Click
in the bottom-left corner of the screen to enter the 3D/4D
imaging mode.
5. Switch to Smart 3D imaging by clicking [Smart 3D] on the soft menu, and define the
ROI as well as curve VOI.
6. Select a parameter package, set parameters like [Direction], [Method] (including the
range or angle to be scanned), [Display Format] in the soft menu according to your
preference.
7. Click [Start]; or, press <Update> on the control panel to begin the 3D image
acquisition. For details, please refer to “5.11.4.3 Smart 3D Image Acquisition”.
The system enters into 3D image viewing status when the acquisition is completed; or,
you can finish the acquisition ahead by clicking [Stop] in the soft menu (or press
<Freeze> or <Update> on the control panel).
In image viewing status, you can perform operations like VOI setting, image editing,
for details, please refer to “5.11.4.4 Smart 3D Image Viewing”.
8. Return to image acquisition preparation:
Press <ESC>, <Update> or <Freeze> to return to image acquisition and perform
imaging again if necessary.
9. Exit 3D/4D.
Press<B>, 3D/4D shortcut key, or press <ESC> twice to exit Smart 3D imaging.
5.11.4.2 Smart 3D Acquisition Preparation
Select a parameter package, set parameters like [Method] (including the scanning range
and angle), [Direction], and [Disp Format].
Summary of Contents for M5 Exp
Page 2: ......
Page 12: ......
Page 41: ...System Overview 2 11 UMT 200 UMT 300...
Page 246: ...12 2 Probes and Biopsy V10 4B s CW5s 4CD4s P12 4s 7L4s L12 4s P7 3s L14 6Ns P4 2s CW2s...
Page 286: ......
Page 288: ......
Page 336: ......
Page 338: ......
Page 357: ...P N 046 008768 00 V1 0...


