Patient Data Management 10-15
(4) After the writing process is completed, click
to pop up the Disc Option
dialogue box, and select [Eject] to eject the CD/DVD.
To erase data from a CD/DVD
(1) Put the CD/DVD in the tray.
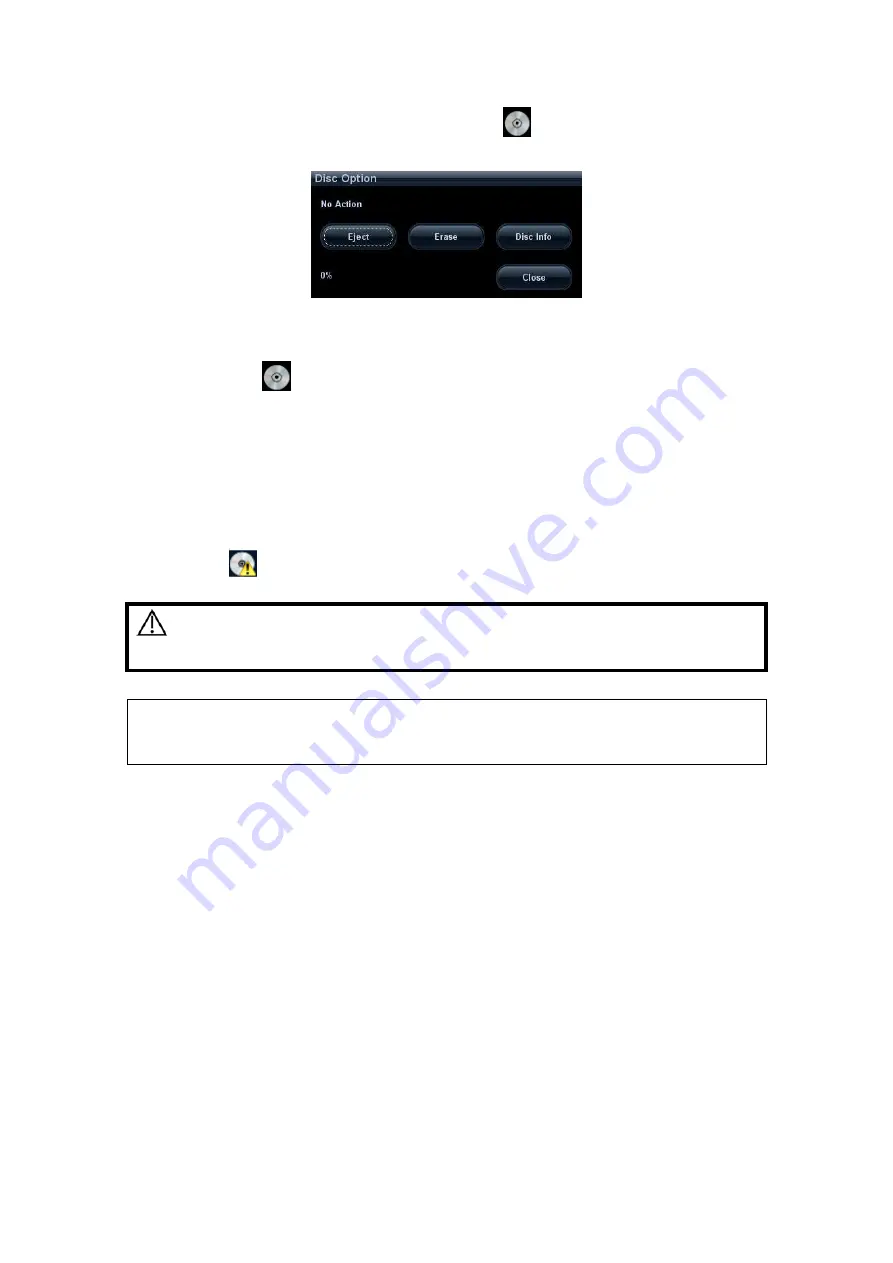
(2) Click the
symbol to pop up the Disc Option dialogue box, as shown in the
figure below.
(3) Click [Erase] to erase data from a CD/DVD.
(4) After the erasing process is completed, click [Eject] in the Disc Option dialogue
box.
Tips:
Writing data using “Send To” supports PC format transfer function, while CD/DVD
written by “Backup” supports only system-relevant formats.
The
symbol indicates that the input CD/DVD is damaged or with data of
wrong format.
CAUTION:
During the backup process, if a CD/DVD is forcibly taken out
or you perform other operations, the backup process will fail
or the system may malfunction.
NOTE
: Directly removing a DVD-RW drive may result in the damage of DVD-RW drive
and /or the system, please refer to 3.6 Connecting/ Removing a USB Memory
Device” for disconnection.
Summary of Contents for M5 Exp
Page 2: ......
Page 12: ......
Page 41: ...System Overview 2 11 UMT 200 UMT 300...
Page 246: ...12 2 Probes and Biopsy V10 4B s CW5s 4CD4s P12 4s 7L4s L12 4s P7 3s L14 6Ns P4 2s CW2s...
Page 286: ......
Page 288: ......
Page 336: ......
Page 338: ......
Page 357: ...P N 046 008768 00 V1 0...


