


Editing
70
Setting the MIDI channel to match an external device
If you’re using the RADIAS as a MIDI sound module or as a master keyboard, you must set the RADIAS’
global MIDI channel to match the MIDI channel of your external MIDI device.
For details on this setting, refer to p.17 “MIDI channel settings – Getting ready to play.”
Synchronizing with an external MIDI device
You can sync a sequencer, rhythm machine, or other external MIDI device to the tempo of the RADIAS’ ar-
peggiator, or synchronize the RADIAS’ arpeggiator to MIDI clock data from an external MIDI device.
Settings for synchronization with a connected external MIDI device are made using the Global mode P04:
MIDI page “Clock” parameter.
1
Use a MIDI cable to connect the RADIAS to your external MIDI sound module.
2
Turn on the power of the RADIAS and your external MIDI sound module.
3
Press the [GLOBAL] button to enter the Global mode.
4
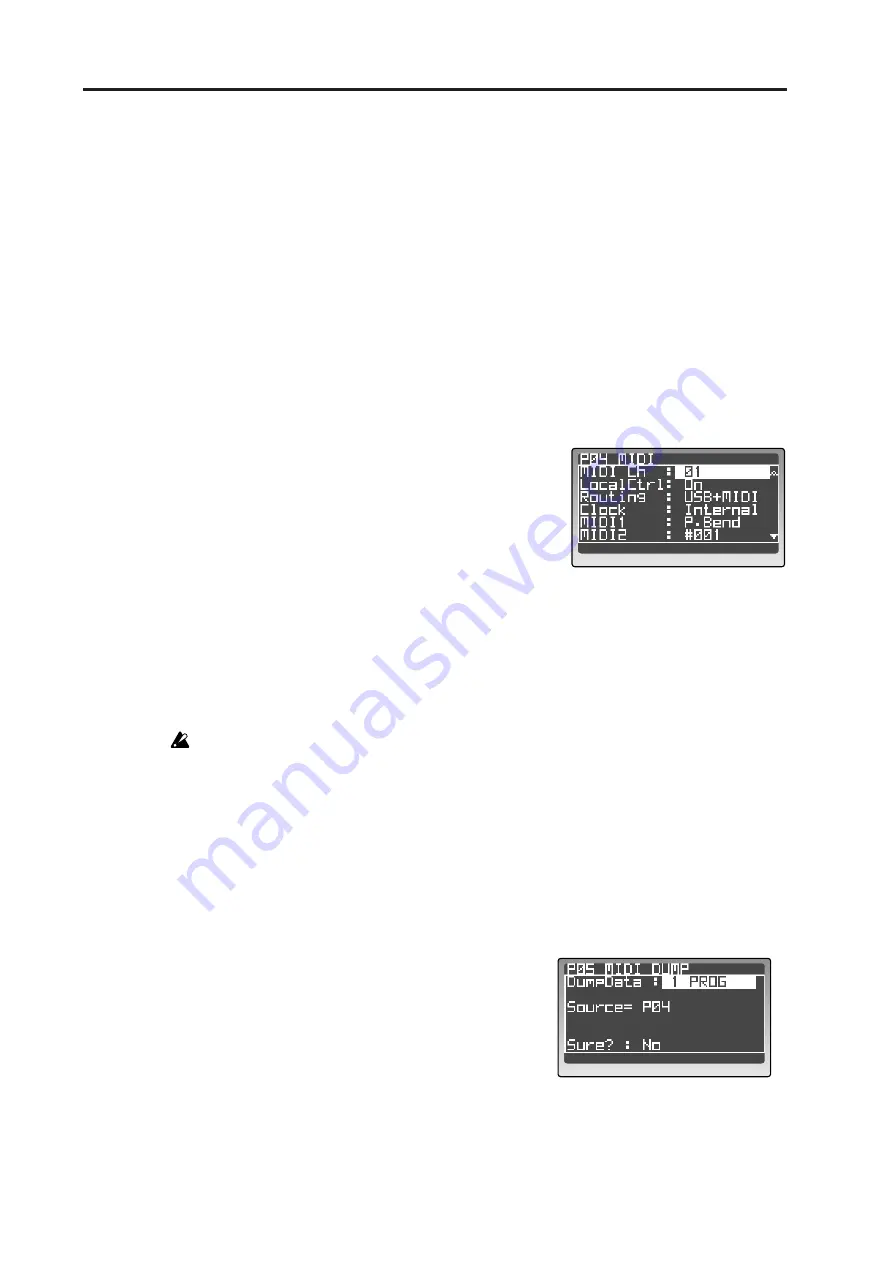
Go to the P04: MIDI page.
5
Use “Clock” to specify how the RADIAS will syn-
chronize with the external MIDI device.
With the Internal setting, the RADIAS will transmit
MIDI Clock messages at the tempo specified by the
arpeggiator’s [TEMPO] knob.
With the Ext-USB or Ext-MIDI setting, the step
sequencer or arpeggiator will operate in synchroniza-
tion with the tempo of the external MIDI device.
(
6
Make MIDI clock settings on your external MIDI device.
If you set the RADIAS’ “Clock” to Internal, set your external MIDI device to receive MIDI Clock
messages (i.e., to operate as a slave).
If you set the RADIAS’ “Clock” to Ext-USB or Ext-MIDI, set your external MIDI device to trans-
mit MIDI Clock messages (i.e., to operate as the master).
For details on synchronization settings for your external MIDI device, refer to the owner’s manual
of your device.
Saving data on an external device (Data Dump)
You can transmit the RADIAS’ settings as MIDI exclusive data, and save them on a connected MIDI data
filer or other MIDI device. Before you proceed, connect a device that is able to receive MIDI data dumps (e.g.,
a data filter, computer, or another RADIAS unit) and set the global MIDI channel to match.
As an example, here’s how to transmit data for a single program.
1
Press the [GLOBAL] button to enter the Global mode.
2
Go to the P05: MIDI DUMP page.
3
Use the [PROGRAM/VALUE] dial to select 1 PROG.
With the 1 PROG setting, only the currently selected
program will be transmitted.
4
Prepare your external MIDI device to receive a MIDI
data dump.
5
Change “Sure?” to “Press [YES],” and then press the
[EDIT/YES] button. The data will be transmitted.
When transmission is finished, the “Completed” indication will appear.
Summary of Contents for MMT RADIAS
Page 1: ...2 E Owner s Manual...
Page 6: ...Table of Contents vi...
Page 7: ...Operation Introduction Front and rear panels Setup Quick Start Editing...
Page 78: ...Editing 72...
Page 79: ...Parameter Program parameters Drum parameters Global parameters Effect guide...
Page 150: ...Effect guide 144...
Page 151: ...Appendices...