


MIDI driver installation and settings
153
11
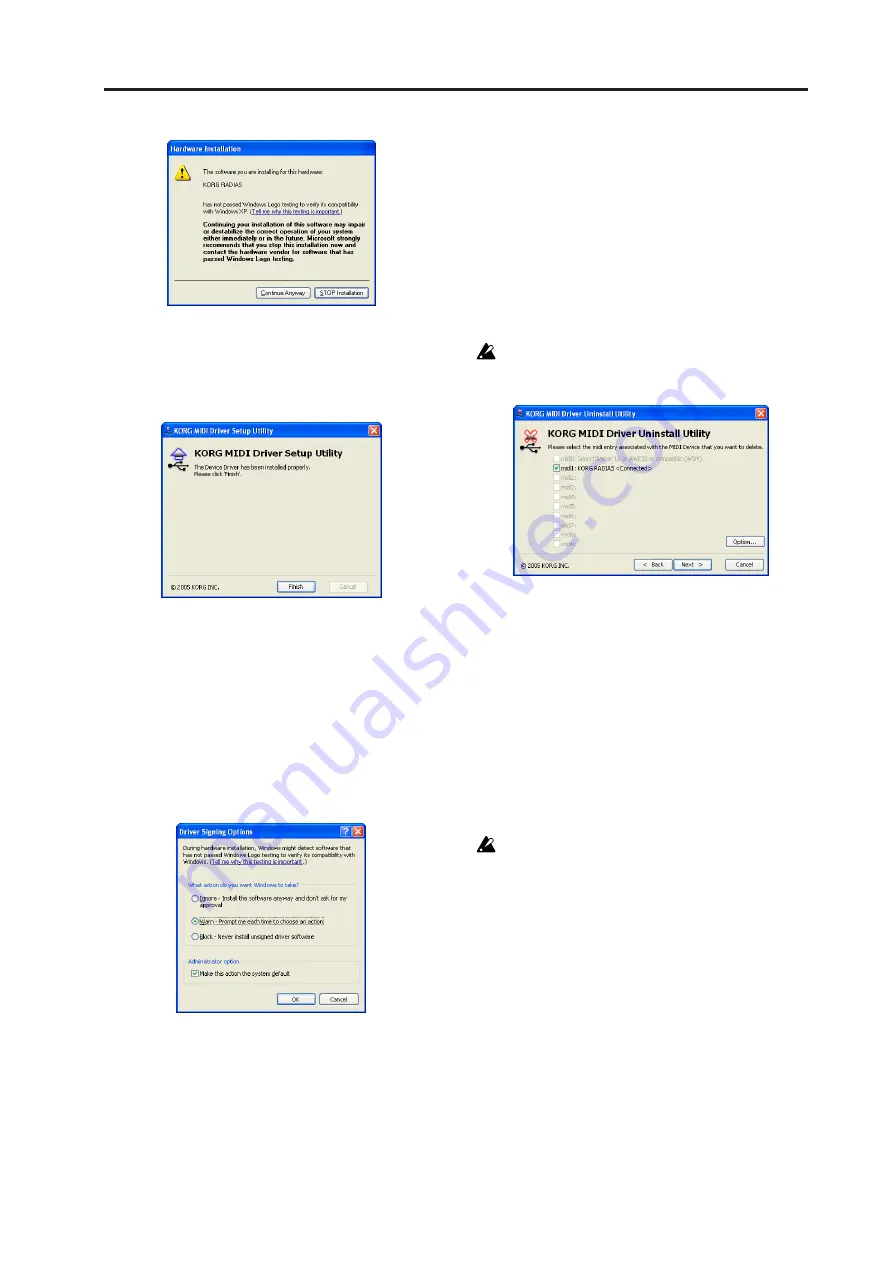
Driver installation will be completed. Click
[Finish] to exit the installer. If you are asked to
restart Windows, select [Yes] to restart your com-
puter.
Bypassing digital signature authentication dur-
ing driver installation
If your computer is set so that drivers with a digital sig-
nature cannot be installed, you must change this setting
so that the KORG USB-MIDI driver can be installed.
1
From the taskbar, click [Start]
➞
[Control Panel]
to open the control panel.
From the control panel, start up “System” and
click the [Hardware] tab. Click [Driver Signing].
2
If “What action do you want Windows to take?”
is set to “Block,” it will not be possible to install
the driver.
Choose either [Ignore] or [Warn], and then click
[OK]. If necessary, you can set this back to the
original setting after installing the driver.
Uninstalling the KORG USB-MIDI Driver for
Windows XP
1
From the taskbar, select [Start]
➞
[All Pro-
grams]
➞
[KORG]
➞
[KORG USB-MIDI Driver
Tools]
➞
[Uninstall KORG USB-MIDI Device] to
start up the setup utility. Click [Next>].
2
A list of currently-installed KORG MIDI
devices will appear. Add a check mark only to
the MIDI device(s) you want to remove. Click
[Next>].
Be aware that all MIDI devices with a check mark
will be removed.
3
A confirmation dialog box will appear. Click
[Yes].
4
Click [Finish] to end the procedure. Restart Win-
dows to ensure that the changes have been
applied.
Mac OS X users
Installing the KORG USB-MIDI Driver for Mac
OS X
This driver is only for Mac OS X 10.2 or later.
1
Use a USB cable to connect the RADIAS to your
computer, and turn on the power of the
RADIAS.
2
In the CD-ROM, navigate to the “KORG USB-
MIDI Driver” folder and double-click “KORG
USB-MIDI Driver.pkg” to start up the installer.
3
Depending on the version of your operating sys-
tem, an authentication dialog box may appear. If
so, enter the password and click [OK]. When the
installer starts up, the following screen will
appear. Click [Continue].
Summary of Contents for MMT RADIAS
Page 1: ...2 E Owner s Manual...
Page 6: ...Table of Contents vi...
Page 7: ...Operation Introduction Front and rear panels Setup Quick Start Editing...
Page 78: ...Editing 72...
Page 79: ...Parameter Program parameters Drum parameters Global parameters Effect guide...
Page 150: ...Effect guide 144...
Page 151: ...Appendices...