4-6
Single Scan Operation
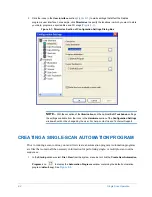
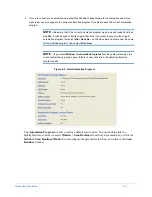
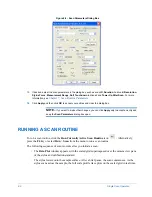
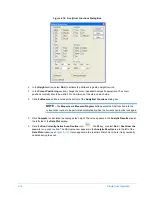
Figure 4-5: Scan Parameters Dialog Box
15
If desired, adjust the scan parameters in the dialog box, such as scan
ID
,
Duration
, horizontal
Resolution
,
Stylus Force
,
Measurement
Range, Soft Touchdown
(optional) and
Tower Up After Scan
. For more
information, see
Chapter 7, Scan Routine Parameters
16
Click
Apply
and then click
OK
to accept your entries and close the dialog box.
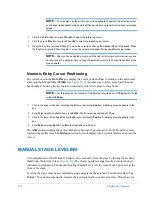
NOTE –
If you want to make other changes, you can click
Apply
only to accept an entry and
keep the
Scan Parameters
dialog box open.
RUNNING A SCAN ROUTINE
To run a scan routine, click the
Run Currently Active Scan Routine
icon
. Alternatively,
press the
F4
key or select
Run
>
Scan
from the menu to run a scan routine.
The following sequence of events occurs after you initiate a scan:
•
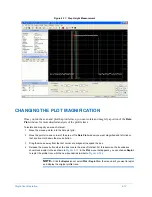
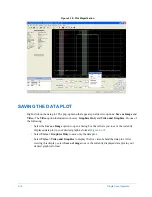
The
Data Plot
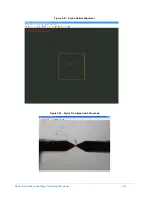
window appears with the scaled grid superimposed over the camera view pane
of the stylus and calibration standard.
•
The stylus lowers onto the sample surface. After a brief pause, the scan commences. As the
stylus scans across the sample, the full scale profile trace plots on the scaled grid in real time.
Содержание Dektak 150
Страница 1: ......
Страница 2: ...P N 980 294 Standard P N 980 298 Cleanroom Revision A DEKTAK 150 SURFACE PROFILER USER S MANUAL ...
Страница 7: ......
Страница 17: ......
Страница 81: ......
Страница 105: ......
Страница 149: ......
Страница 191: ......
Страница 251: ......
Страница 257: ...A 6 Facilities Specifications Figure A 6 Dektak 150 without Enclosure Side View ...
Страница 258: ...Facilities Specifications A 7 Figure A 7 Dektak 150 Dimensions without Enclosure Top View ...
Страница 259: ...A 8 Facilities Specifications Figure A 8 Dektak 150 without Enclosure Center of Mass ...
Страница 273: ......
Страница 283: ......
Страница 320: ...3D Mapping Function E 37 Figure E 26 Database Options Button Figure E 27 Database Options Dialog Box ...
Страница 321: ......
Страница 331: ......
Страница 333: ......
Страница 336: ......
Страница 337: ......
Страница 349: ......

