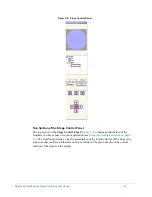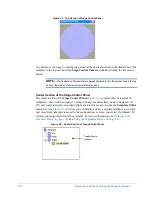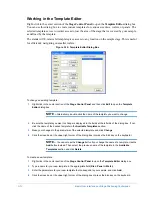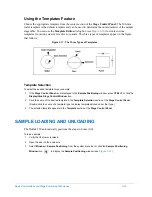
Basic User Interface and Stage Positioning Techniques
3-11
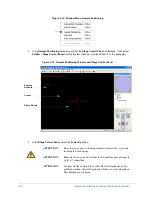
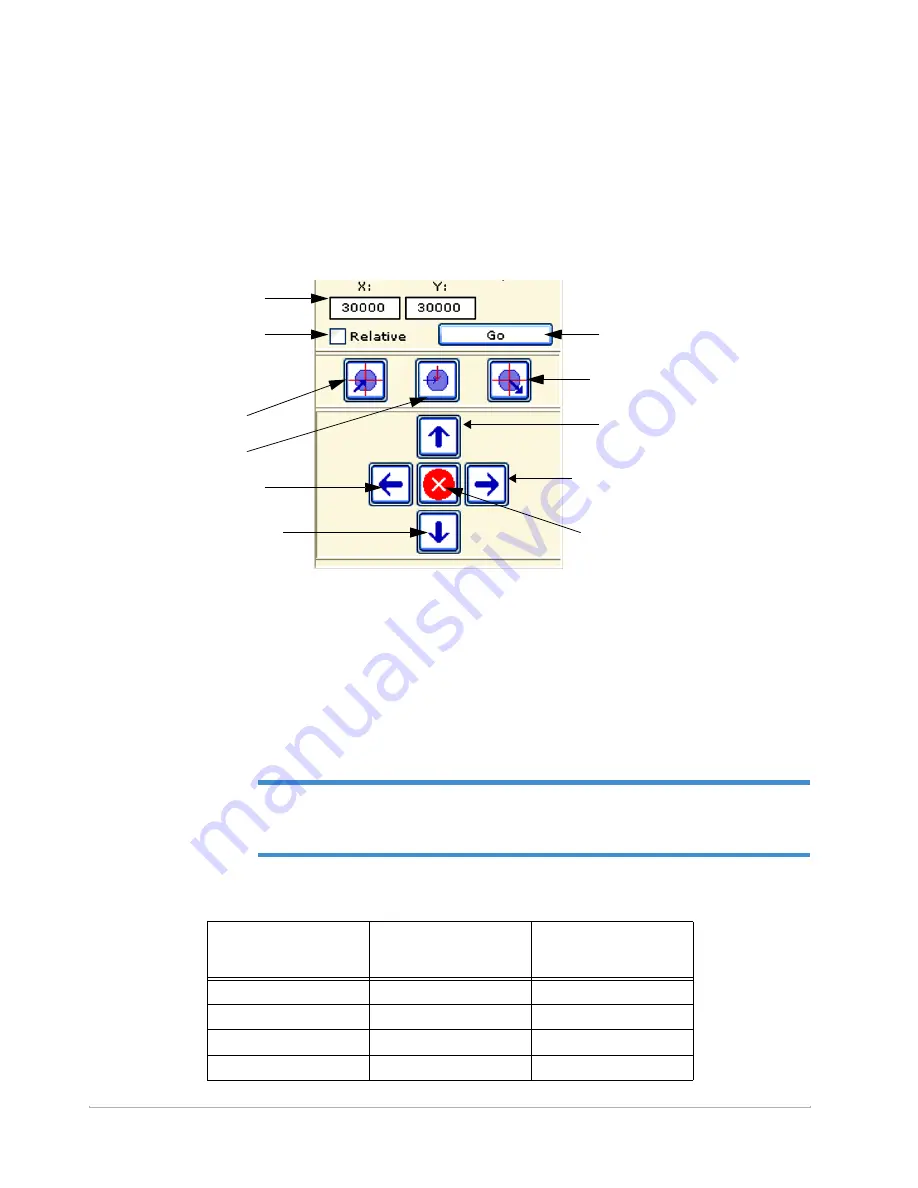
Bottom Section of the Stage Control Panel
The bottom section of the
Stage Control Panel
contains fields and buttons for monitoring
and controlling the positions of the stage and stylus. The stage can be moved in the X and Y
directions to place the stylus over any desired location on your sample.
Figure 3-9: Bottom Section of Stage Control Panel
In the bottom section of the
Stage Control Panel
, you can move the stage either by:
•
Pressing the control buttons. (Holding down the CTRL key and a button moves the stage
at an accelerated speed.)
•
Typing new values in the
X
or
Y
fields and pressing
Enter
or clicking the
Go
button.
If you want the updated position to be relative to the current positions, select the
Relative
check
box; otherwise, the movement will be to the absolute positions that you specify. The
units are in microns.
NOTE –
Since the camera is mounted on the X-Y auto stage at the right side of the stylus,
the physical motions stage are at right angles to the motions of the image of your sample that
you see in the camera view pane (see
).
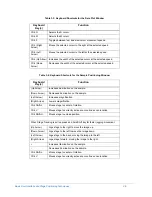
Table 3-2: Stylus Motions and Resulting Image Movement
Button
Stylus Moves
Image Moves
(for Gross Stylus
Movements)
Move Stage Up
To the right
Up
Move Stage Down
To the left
Down
Move Stage Left
To the back
Left
Move Stage Right
Forward
Right
Move stage to unload
position
Move stage to unload
position
Move stage up
Move stage
right
Stop stage
motion
Move stage down
Move stylus left
Move to new position
Make new position
relative to current
positions.
Move stage to current
scan routine location
Move stage to center
of rotation
Move stage to unload
position
View current stage
position
Содержание Dektak 150
Страница 1: ......
Страница 2: ...P N 980 294 Standard P N 980 298 Cleanroom Revision A DEKTAK 150 SURFACE PROFILER USER S MANUAL ...
Страница 7: ......
Страница 17: ......
Страница 81: ......
Страница 105: ......
Страница 149: ......
Страница 191: ......
Страница 251: ......
Страница 257: ...A 6 Facilities Specifications Figure A 6 Dektak 150 without Enclosure Side View ...
Страница 258: ...Facilities Specifications A 7 Figure A 7 Dektak 150 Dimensions without Enclosure Top View ...
Страница 259: ...A 8 Facilities Specifications Figure A 8 Dektak 150 without Enclosure Center of Mass ...
Страница 273: ......
Страница 283: ......
Страница 320: ...3D Mapping Function E 37 Figure E 26 Database Options Button Figure E 27 Database Options Dialog Box ...
Страница 321: ......
Страница 331: ......
Страница 333: ......
Страница 336: ......
Страница 337: ......
Страница 349: ......

