3-12
Basic User Interface and Stage Positioning Techniques
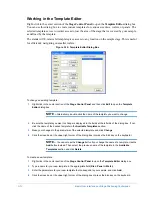
Working in the Template Editor
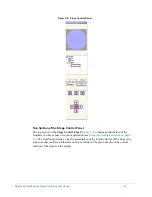
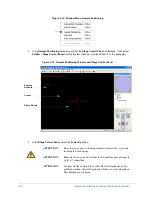
Right-click in the center section of the
Stage Control Panel
to open the
Template Editor
dialog box.
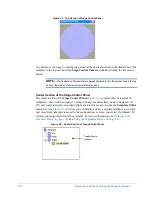
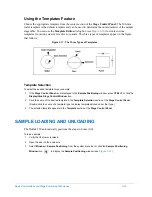
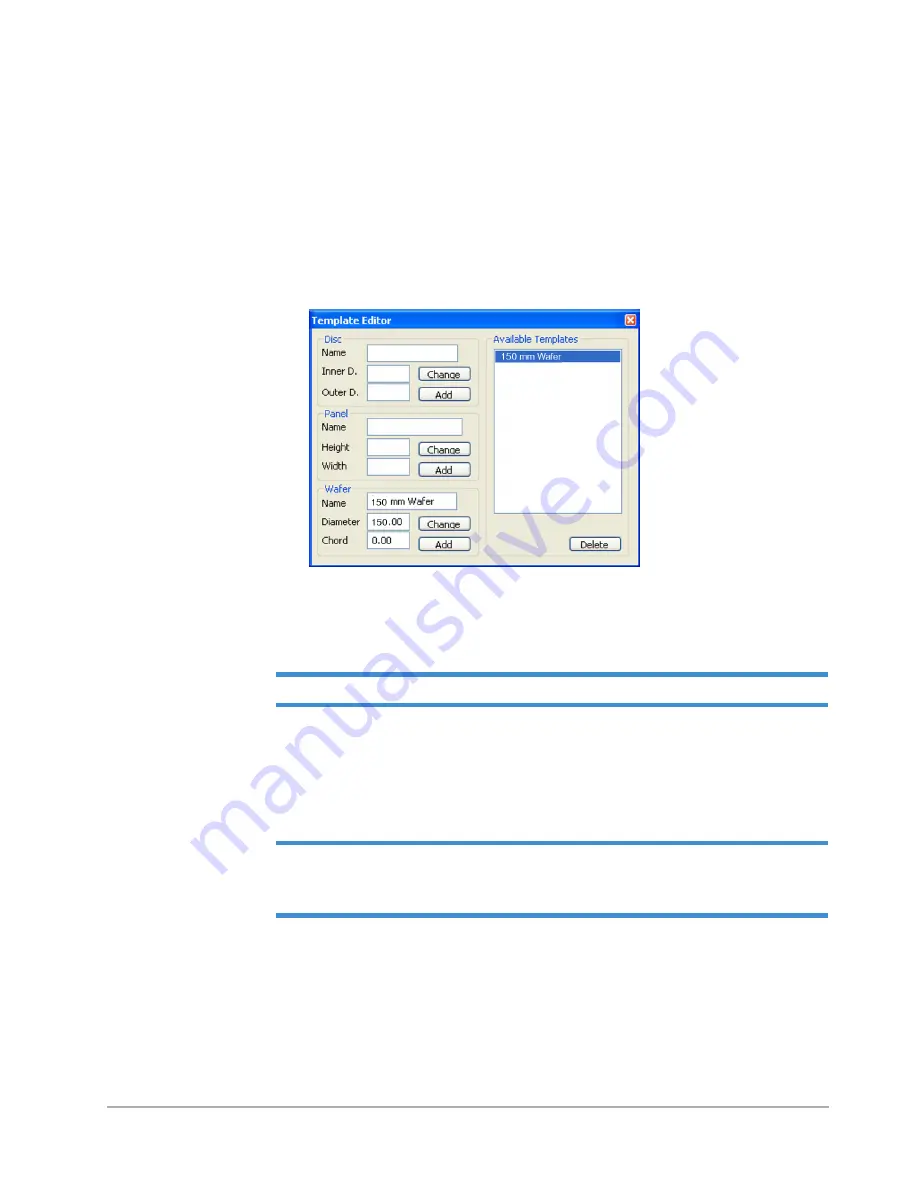
You can use this dialog box to create custom templates for various size discs, wafers, or panels. The
selected template serves to restrict access to just the area of the stage that is covered by your sample,
as defined by the template.
The standard 150-mm wafer template gives access to any location on the sample stage. This is useful
for efficiently navigating on smaller wafers.
Figure 3-10: Template Editor Dialog Box
To change an existing template:
1
Right-click in the center section of the
Stage Control Panel
and then click
Edit
to open the
Template
Editor
dialog box.
NOTE –
Alternatively, double-click the name of the template you want to change.
2
Be sure the template you want to change is displayed in the fields at the left side of the dialog box. If not,
click the name of the desired template in the
Available Templates
section.
3
Make your changes to the parameters of the selected template and click
Change
.
4
Click the close box at the upper right corner of the dialog box (or press the E
SC
key on the keyboard).
NOTE –
You cannot use the
Change
button if you change the name of a template. Use the
Add
button instead. Then select the previous name of the template in the
Available
Templates
section and click
Delete
.
To create a new template:
1
Right-click in the center section of the
Stage Control Panel
to open the
Template Editor
dialog box.
2
Type a name for your new template in the appropriate field (
Disc
,
Panel
or
Wafer
).
3
Enter the parameters for your new template that correspond to your sample, and click
Add
.
4
Click the close box at the upper right corner of the dialog box or press the E
SC
key on the keyboard.
Содержание Dektak 150
Страница 1: ......
Страница 2: ...P N 980 294 Standard P N 980 298 Cleanroom Revision A DEKTAK 150 SURFACE PROFILER USER S MANUAL ...
Страница 7: ......
Страница 17: ......
Страница 81: ......
Страница 105: ......
Страница 149: ......
Страница 191: ......
Страница 251: ......
Страница 257: ...A 6 Facilities Specifications Figure A 6 Dektak 150 without Enclosure Side View ...
Страница 258: ...Facilities Specifications A 7 Figure A 7 Dektak 150 Dimensions without Enclosure Top View ...
Страница 259: ...A 8 Facilities Specifications Figure A 8 Dektak 150 without Enclosure Center of Mass ...
Страница 273: ......
Страница 283: ......
Страница 320: ...3D Mapping Function E 37 Figure E 26 Database Options Button Figure E 27 Database Options Dialog Box ...
Страница 321: ......
Страница 331: ......
Страница 333: ......
Страница 336: ......
Страница 337: ......
Страница 349: ......

