Basic User Interface and Stage Positioning Techniques
3-17
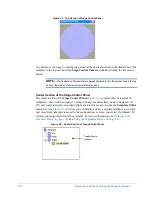
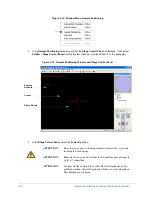
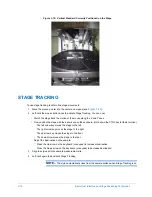
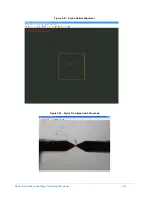
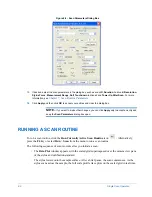
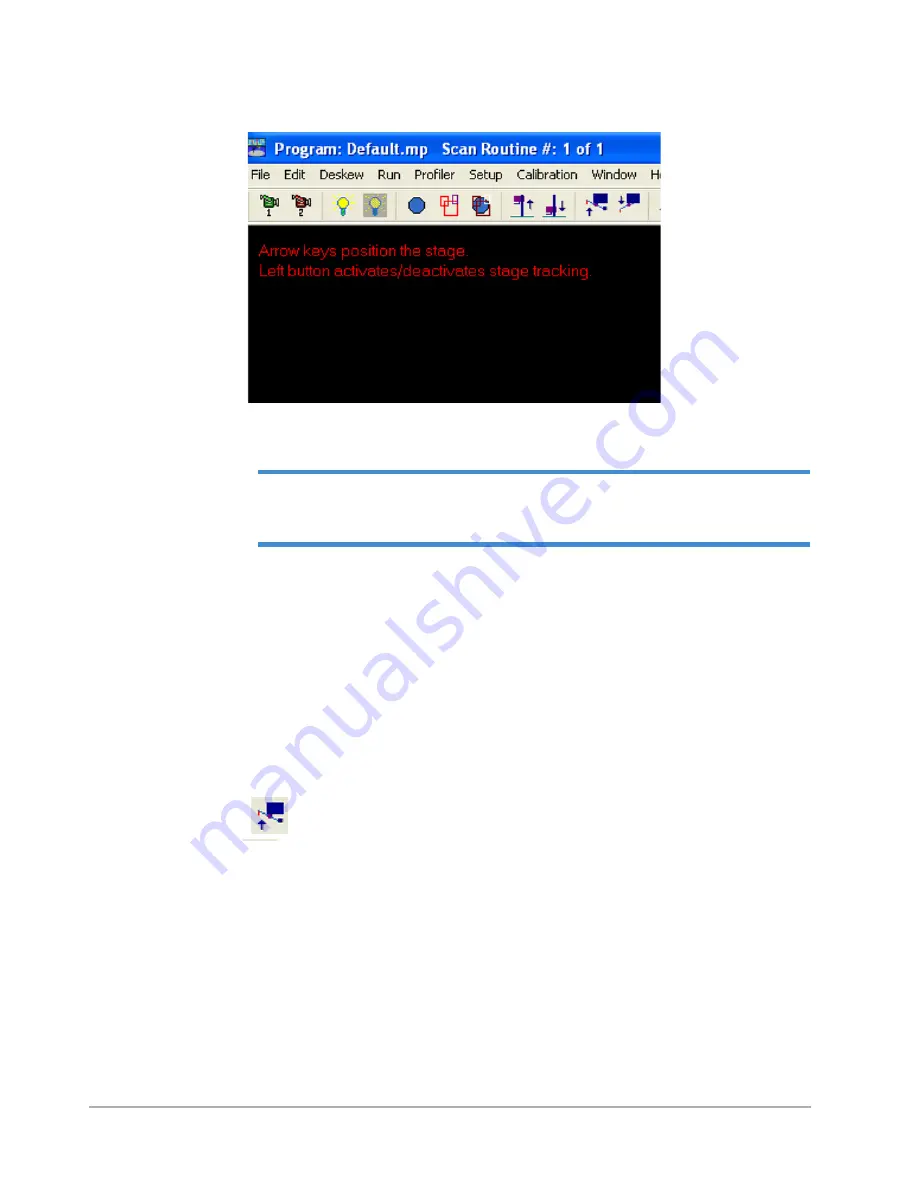
Figure 3-16: Camera View Pane (Partial View)
5
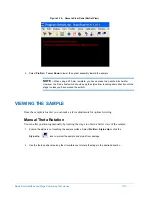
Select
Profiler
>
Tower Down
to lower the optical assembly toward the sample.
NOTE –
When using a 200-mm template, you have access to an entire 8-inch wafer.
However, the Z-axis limit switch should keep the stylus from touching down directly onto the
stage (unless you have moved the switch).
VIEWING THE SAMPLE
Once the sample is loaded, you can make a few adjustments for optimal viewing.
Manual Theta Rotation
You can alter positioning manually by rotating the stage to obtain a better view of the sample.
1
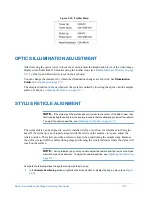
Ensure the stylus is not touching the sample surface. Select
Profiler
>
Stylus Up
or click the
Stylus Up
icon to protect the sample and stylus from damage.
2
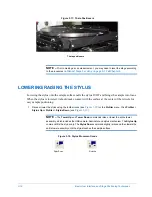
Use the theta positioners along the circumference to rotate the stage in the desired direction.
Содержание Dektak 150
Страница 1: ......
Страница 2: ...P N 980 294 Standard P N 980 298 Cleanroom Revision A DEKTAK 150 SURFACE PROFILER USER S MANUAL ...
Страница 7: ......
Страница 17: ......
Страница 81: ......
Страница 105: ......
Страница 149: ......
Страница 191: ......
Страница 251: ......
Страница 257: ...A 6 Facilities Specifications Figure A 6 Dektak 150 without Enclosure Side View ...
Страница 258: ...Facilities Specifications A 7 Figure A 7 Dektak 150 Dimensions without Enclosure Top View ...
Страница 259: ...A 8 Facilities Specifications Figure A 8 Dektak 150 without Enclosure Center of Mass ...
Страница 273: ......
Страница 283: ......
Страница 320: ...3D Mapping Function E 37 Figure E 26 Database Options Button Figure E 27 Database Options Dialog Box ...
Страница 321: ......
Страница 331: ......
Страница 333: ......
Страница 336: ......
Страница 337: ......
Страница 349: ......

