3-16
Basic User Interface and Stage Positioning Techniques
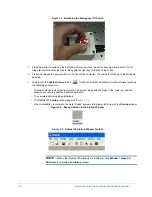
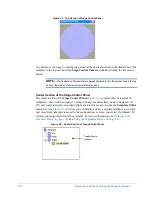
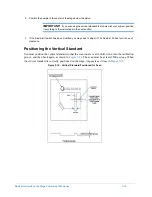
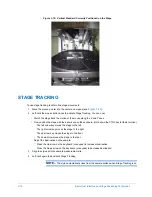
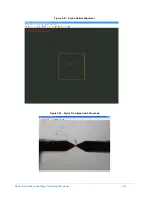
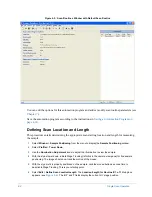
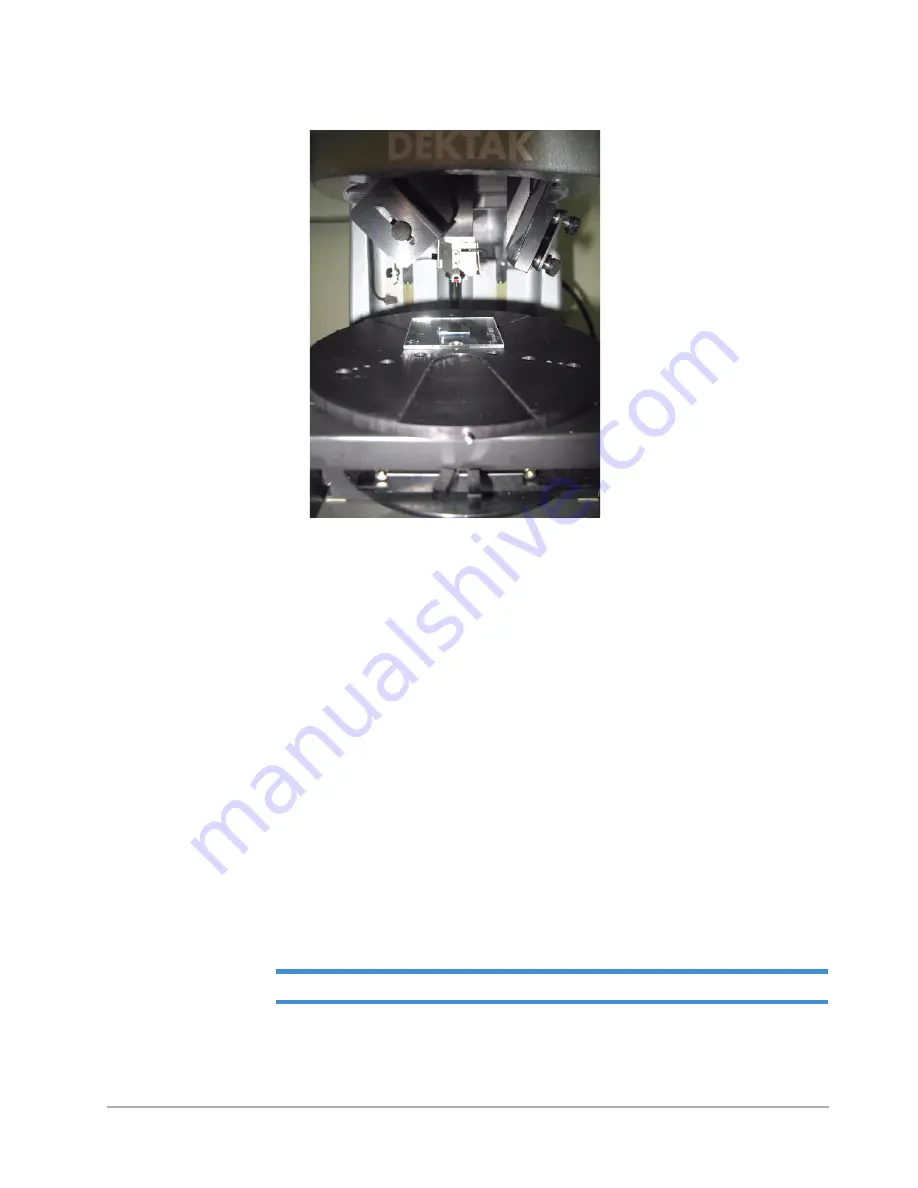
Figure 3-15: Vertical Standard Correctly Positioned on the Stage
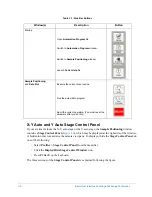
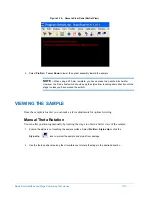
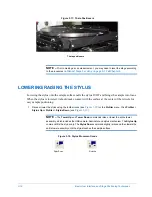
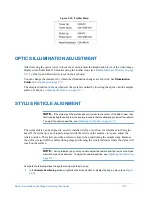
STAGE TRACKING
To use stage tracking to obtain fine stage movements:
1
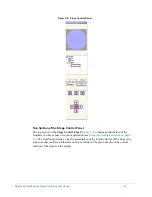
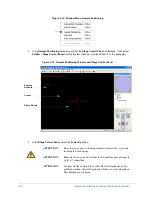
Move the mouse pointer into the camera view pane (see
).
2
Left-click the mouse button once to activate Stage Tracking. You can now:
•
Watch the stage track the motion of the mouse along the X and Y axes.
•
Fine-position the stage with the arrow keys on the keyboard. (Hold down the CTRL
key for faster motion.)
•
The left arrow key moves the stage to the left.
•
The right arrow key moves the stage to the right.
•
The up arrow key moves the stage to the front.
•
The down arrow moves the stage to the rear.
•
Adjust the illumination on the sample.
•
Press the Up arrow on the keyboard (or keypad) to increase illumination.
•
Press the Down arrow on the keyboard (or keypad) to decrease illumination.
3
Align the stylus with the sample measurement site.
4
Left-click again to deactivate Stage Tracking.
NOTE –
The stylus automatically rises from the sample surface when Stage Tracking is on.
Содержание Dektak 150
Страница 1: ......
Страница 2: ...P N 980 294 Standard P N 980 298 Cleanroom Revision A DEKTAK 150 SURFACE PROFILER USER S MANUAL ...
Страница 7: ......
Страница 17: ......
Страница 81: ......
Страница 105: ......
Страница 149: ......
Страница 191: ......
Страница 251: ......
Страница 257: ...A 6 Facilities Specifications Figure A 6 Dektak 150 without Enclosure Side View ...
Страница 258: ...Facilities Specifications A 7 Figure A 7 Dektak 150 Dimensions without Enclosure Top View ...
Страница 259: ...A 8 Facilities Specifications Figure A 8 Dektak 150 without Enclosure Center of Mass ...
Страница 273: ......
Страница 283: ......
Страница 320: ...3D Mapping Function E 37 Figure E 26 Database Options Button Figure E 27 Database Options Dialog Box ...
Страница 321: ......
Страница 331: ......
Страница 333: ......
Страница 336: ......
Страница 337: ......
Страница 349: ......

