


: Feb. 9 2004
1
AR-M550/M620/M700 SETTING AND ADJUSTMENTS 7 - 33
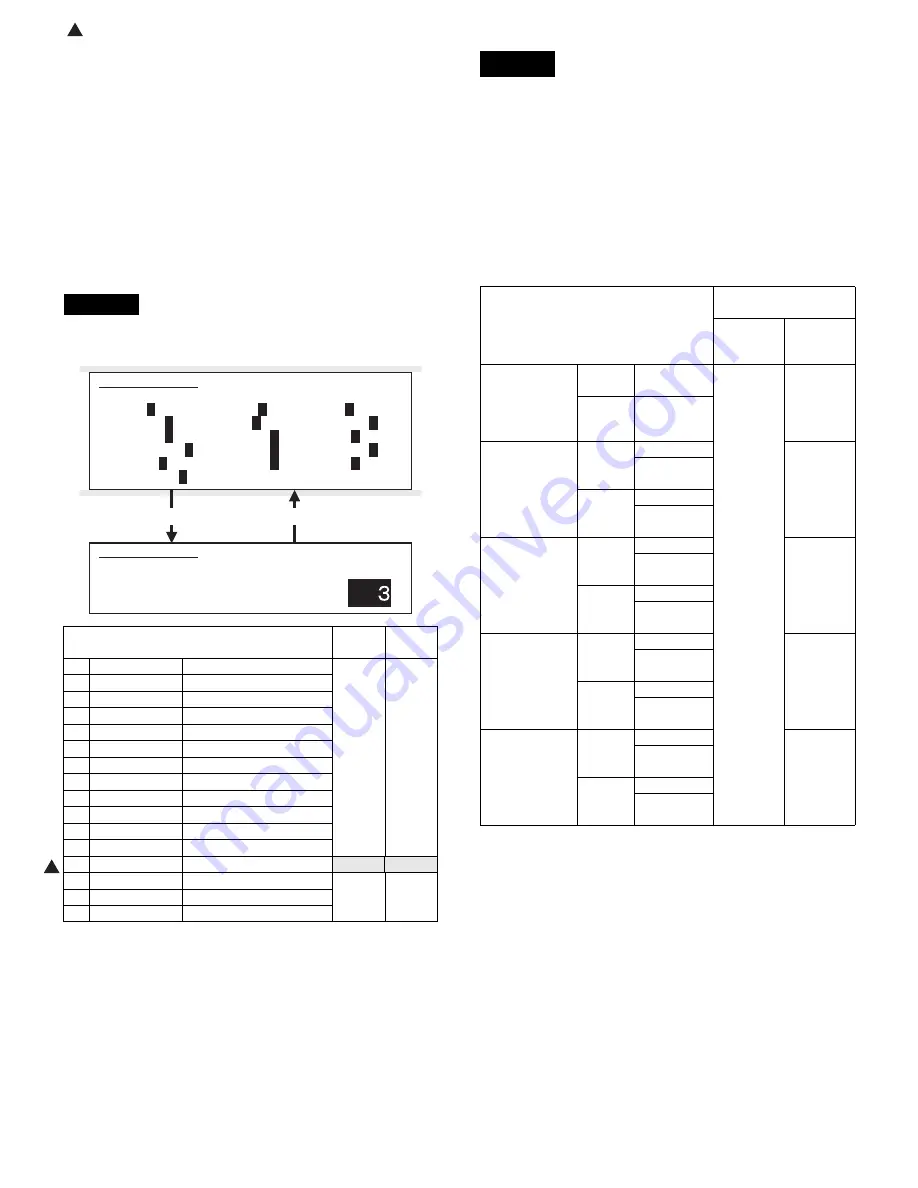
3) Using the numeric keypad, select the number that corresponds to
the copy mode for which to make adjustments.
(Choose from numbers 3 to 14.)
4) Press the Start key
5) Enter the gamma adjustment value using the numeric keypad.
A larger value provides larger gamma gradient and higher image
contrast.
6) Press the P or Start key
Pressing the Start key starts copy (print) operation as well as
applying the adjustment value.
7) Check the copied image gamma (copy density levels for low and
high density areas) (contrast).
Repeat steps 5 to 7 until an acceptable copied image is obtained.
1) Set the original on the original table.
2) Go through the modes specified in Simulation 46-31.
3) Using the numeric keypad, select the number that corresponds to
the copy mode for which to make adjustments.
(Choose from numbers 1 to 16.)
4) Press the Start key
5) Adjust the sharpness by entering an appropriate value through the
numeric keypad.
A larger value provides higher sharpness.
6) Press the P or Start key
Pressing the Start key starts copy (print) operation as well as
applying the adjustment value.
7) Check the copied image sharpness.
Repeat steps 5 to 7 until an acceptable copied image is obtained.
This adjustment is needed in the following situations:
• The CCD unit has been replaced.
• U2 trouble has occurred.
• The MFP control PWB has been replaced.
• The EEPROM on the MFP control PWB has been replaced.
• The scanner control PWB has been replaced.
• The EEPROM on the scanner control PWB has been replaced.
• One or more parts of the scanner (reading) section have been
replaced.
(Fax mode image density adjustment items)
(Fax mode density)
The print density settings should be normally left at defaults but should
be adjusted according to user requests, if any.
ADJ 9F
Adjust the copied image sharpness
Press [START] key.
Press [CUSTOM SETTINGS] key.
Item
Set
range
Default
1
OC_AE
AE mode (OC)
1 - 5
3
2
OC_CHARA
Text mode (OC)
3
OC_MIX
Text/Photo mode (OC)
4
OC_PHOTO
Photo mode (OC)
5
SPF1_AE
AE mode (SPF1)
6
SPF1_CHARA
Text mode (SPF1)
7
SPF1_MIX
Text/Photo mode (SPF1)
8
SPF1_PHOTO
Photo mode (SPF1)
9
SPF2_AE
AE mode (SPF2)
10
SPF2_CHARA
Text mode (SPF2)
11
SPF2_MIX
Text/Photo mode (SPF2)
12
SPF2_PHOTO
Photo mode (SPF2)
13
CIS_AE
AE mode (CIS)
1 - 5
4
14
CIS_CHARA
Text mode (CIS)
1 - 5
3
15
CIS_MIX
Text/Photo mode (CIS)
16
CIS_PHOTO
Photo mode (CIS)
SIMULATION 46-31
SHARPNESS LEVEL SETUP. SELECT 1-12, AND PRESS START.
1.OC_AE
3
2.OC_CHARA
3
3.OC_MIX
3
4.OC_PHOTO
3
5.SPF1_AE
3
6.SPF1_CHARA
3
7.SPF1_MIX
3
8.SPF1_PHOTO
3
9.SPF2_AE
3
10.SPF2_CHARA
3
11.SPF2_MIX
3
12.SPF2_PHOTO
3
13.CIS_AE
3
14.CIS_CHARA
4
15.CIS_MIX
3
16.CIS_PHOTO
3
SIMULATION 46-31
SHARPNESS LEVEL SETUP. INPUT VALUE 0-3, AND PRESS
START.
1.OC_AE
1
ADJ 10
Adjusting the print quality in fax
mode
Image mode
Simulation for
adjustment
All-mode
adjustment
Individual-
mode
adjustment
Fax mode print
density
adjustment
(standard
mode)
Auto
mode
Binary mode
46-12
46-13
Manual
Binary mode
Fax mode print
density
adjustment
(small-
character
mode)
Auto
mode
Binary mode
46-14
Half tone
mode
Manual
Binary mode
Half tone
mode
Fax mode print
density
adjustment (fine
mode)
Auto
mode
Binary mode
46-15
Half tone
mode
Manual
Binary mode
Half tone
mode
Fax mode print
density
adjustment
(super fine
mode)
Auto
mode
Binary mode
46-16
Half tone
mode
Manual
Binary mode
Half tone
mode
Fax mode print
density
adjustment
(600dpi mode)
Auto
mode
Binary mode
46-45
Half tone
mode
Manual
Binary mode
Half tone
mode
Содержание AR-M550N
Страница 456: ...Memo ...
Страница 457: ...Memo ...