Pearl-2 User Guide
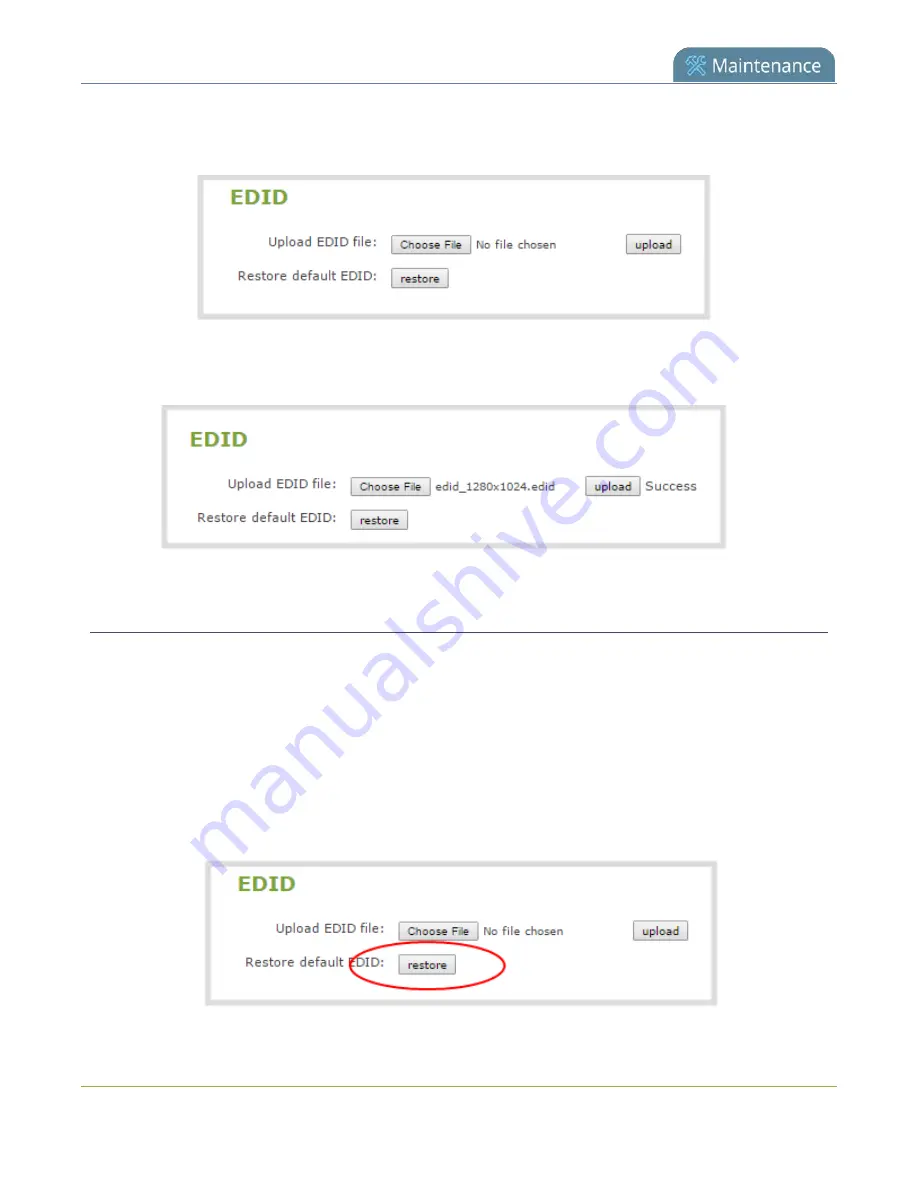
4. From the Inputs menu, select the input port for which you want to upload the EDID.
5. On the configuration page for that source, scroll to the
EDID upload
section and click
Choose FIle
.
6. Browse to the location where the custom EDID file was saved and select it, then click
open
.
7. Click
upload
. When the upload is complete, the page updates to reflect success or failure.
Restore factory default EDID
When you no longer want a custom EDID assigned to an input port, you can restore the input port to use the
factory default EDID. Currently there is no way to tell if your input port is using a custom EDID. If you are
unsure, restoring to factory default is the best approach.
To restore the default EDID:.
1. Login to the Admin panel as
admin
2. From the Inputs menu, select the source you want to restore. The source configuration page opens.
3. Scroll to the
EDID
section and click
restore
.
466
Содержание Pearl-2 Rackmount
Страница 139: ...Pearl 2 User Guide Mute audio 4 Click Apply 126 ...
Страница 151: ...Pearl 2 User Guide Mirror the video output port display 138 ...
Страница 156: ...Pearl 2 User Guide 4K feature add on 143 ...
Страница 180: ...Pearl 2 User Guide Delete a configuration preset 167 ...
Страница 377: ...Pearl 2 User Guide Delete a recorder 3 Click Delete this recorder and click OK when prompted 364 ...
Страница 440: ...Pearl 2 User Guide Register Pearl 2 427 ...
Страница 488: ...l Pro audio inputs l 512 GB data storage SSD l Touchscreen ...
Страница 497: ... and 2019 Epiphan Systems Inc ...


