Pearl-2 User Guide
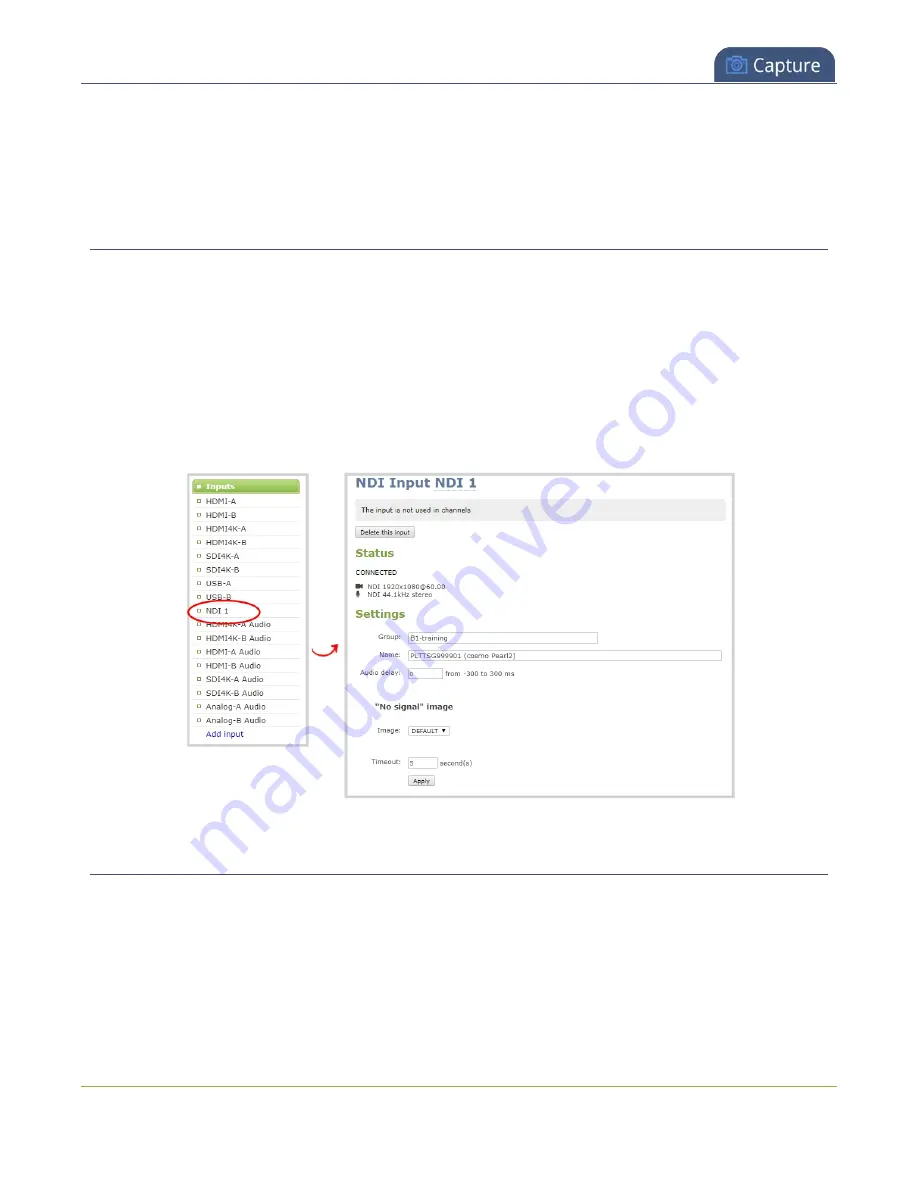
Change an NDI input resource
After your NDI source is connected, you can view basic video and audio signal information and packet loss
statistics for the source under the
Status
header at the top of the page. Any warnings or errors associated
with the NDI signal are also displayed there.
Change an NDI input resource
You can choose an NDI resource when you first create an NDI input on Pearl-2 using the Admin panel. Pearl-2
automatically discovers all the available NDI resources on the same network and lists them for you, see
.
If you created an NDI input on Pearl-2 without assigning an NDI resource to it, you can go back later and
assign one. You can also change the assigned NDI resource at any time using the Admin panel.
From the NDI input details page, enter the NDI name and NDI group (if applicable) of the resource in the
Settings section and click
Apply
to assign a new NDI resource to the input. You must know the exact NDI
name and NDI group (if applicable) to assign a resource using this method.
Connect an AV.io video grabber
You can connect an Epiphan AV.io frame grabber to a USB input port just the same as you would connect a
web camera.
Pearl-2 treats the video source from the frame grabber just like any other video source.
288
Содержание Pearl-2 Rackmount
Страница 139: ...Pearl 2 User Guide Mute audio 4 Click Apply 126 ...
Страница 151: ...Pearl 2 User Guide Mirror the video output port display 138 ...
Страница 156: ...Pearl 2 User Guide 4K feature add on 143 ...
Страница 180: ...Pearl 2 User Guide Delete a configuration preset 167 ...
Страница 377: ...Pearl 2 User Guide Delete a recorder 3 Click Delete this recorder and click OK when prompted 364 ...
Страница 440: ...Pearl 2 User Guide Register Pearl 2 427 ...
Страница 488: ...l Pro audio inputs l 512 GB data storage SSD l Touchscreen ...
Страница 497: ... and 2019 Epiphan Systems Inc ...


