Pearl-2 User Guide
Delete a channel
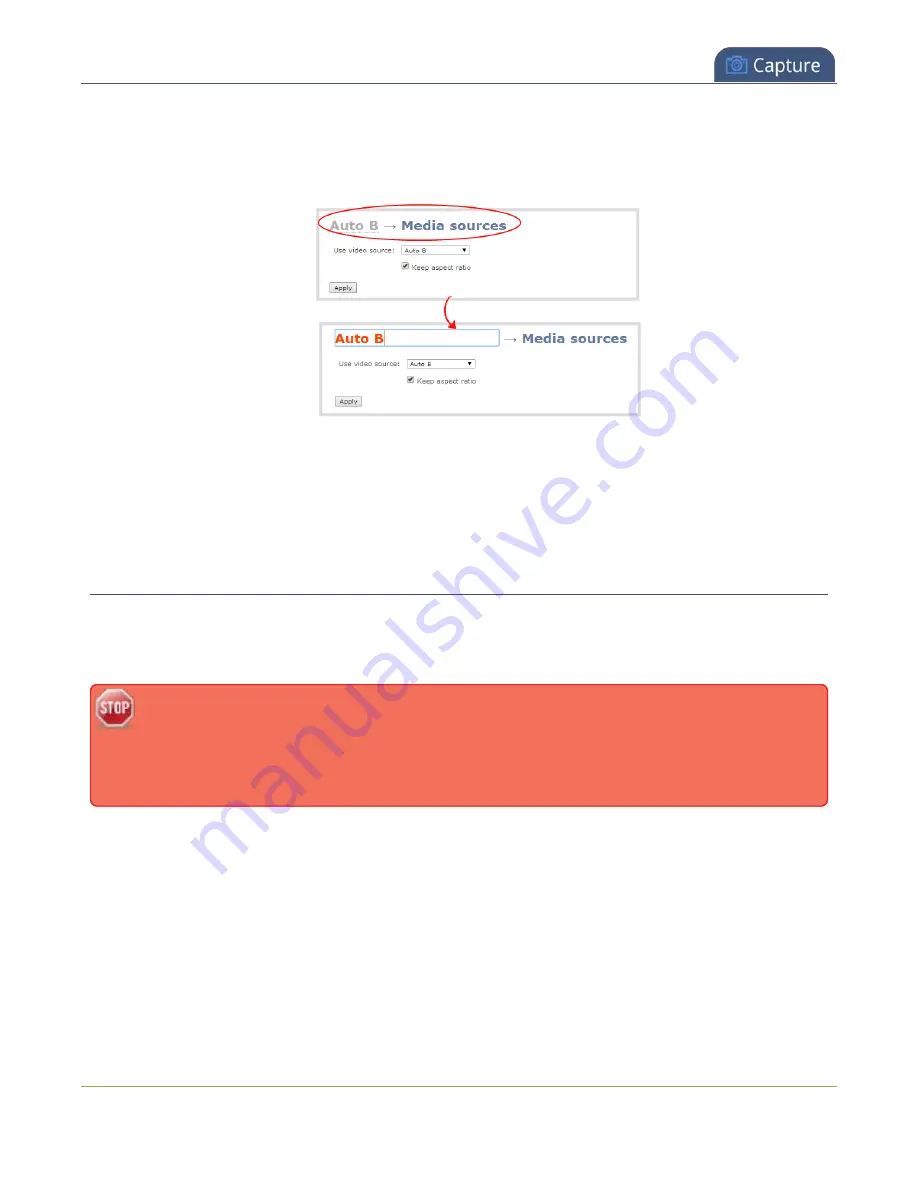
2. From the Channels menu, select a channel and click any of menu options for the channel. For example,
click
Metadata
.
3. Click on the channel name that appears at the top of the page. The text turns red.
4. Enter the new name using alphanumeric characters. We recommend using underscores to separate
words rather than using spaces.
5. Press
Enter
using your keyboard to save the new name.
Delete a channel
You can delete a channel using the Admin panel. Deleting a channel removes all recorded files that are
associated with that channel. You cannot recover recordings for a channel after the channel is deleted. We
recommend that you stop recording or streaming for the channel before deleting the channel.
If you have multiple configuration presets, deleting a channel removes all recorded files that are
related to that channel across all presets. For important information about how channels are
indexed in Pearl-2 and how that affects deleting channels when configuration presets are used,
see
Configuration preset considerations
To delete a channel, follow the steps below.
1. Login to the Admin panel as
admin
2. From the Channel menu, select a channel and click
Status
. The Status page for the channel opens.
215
Содержание Pearl-2 Rackmount
Страница 139: ...Pearl 2 User Guide Mute audio 4 Click Apply 126 ...
Страница 151: ...Pearl 2 User Guide Mirror the video output port display 138 ...
Страница 156: ...Pearl 2 User Guide 4K feature add on 143 ...
Страница 180: ...Pearl 2 User Guide Delete a configuration preset 167 ...
Страница 377: ...Pearl 2 User Guide Delete a recorder 3 Click Delete this recorder and click OK when prompted 364 ...
Страница 440: ...Pearl 2 User Guide Register Pearl 2 427 ...
Страница 488: ...l Pro audio inputs l 512 GB data storage SSD l Touchscreen ...
Страница 497: ... and 2019 Epiphan Systems Inc ...


