・
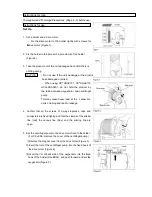
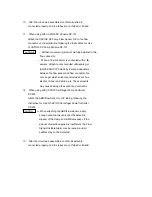
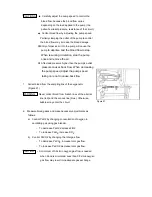
Make sure that the underside of the centrifugal
pump is in close contact with the pump receptacle
and that the slide hook is in position (Figure 6).
・
Make sure that the rim of back side of the
oxygenator and the hook of the exclusive holder
are connected to the slide hook (Figure 7).
・
Only when the display of the motor rpm indication
shows “0”, the centrifugal pump can be attached or
detached
.
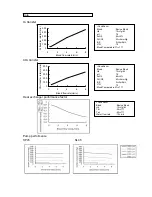
6. Connect the water lines (inner diameter of the tube;
12.7mm (1/2”) or couplers) to the water ports of CAPIOX
EBS circuit (Figure 8-a, 8-b).
7. Start water circulation through heat exchanger and circulate
for at least 5 minutes. Check for leaks.
Do not use an oxygenator that leaks. Replace it with
another EBS circuit.
8. Connect the thermistor probe and the temperature monitor
cable (Figure 8-c).
For a monitor, Y.S.I. 400 Series manufactured by
Measurement Specialties Inc. can be used. Use it
with its exclusive cable.
9. Connect the gas line (inner diameter of the tube; 6.4mm (1/4”))
to the gas port (GAS IN) (Figure 8-d).
Do not block the gas port (GAS OUT).
WARNING
CAUTION
CAUTION
CAUTIONS
Summary of Contents for CAPIOX EBS Circuit with X coating
Page 1: ...CAPIOX Emergency Bypass System Instructions for use...
Page 4: ...CAPIOX EBS Circuit with X coating Instructions for use...
Page 8: ...Structure Structure...
Page 25: ...EBS and X coating are trademarks of TERUMO CORPORATION 2019 XX...
Page 26: ...CAPIOX EBS Cannula Kit with X coating Instructions for use...
Page 29: ...CAPIOX Centrifugal Pump Controller SP 200 Instructions for use...
Page 175: ...Memo 146...
Page 176: ...147 Memo...

