Creation Flow
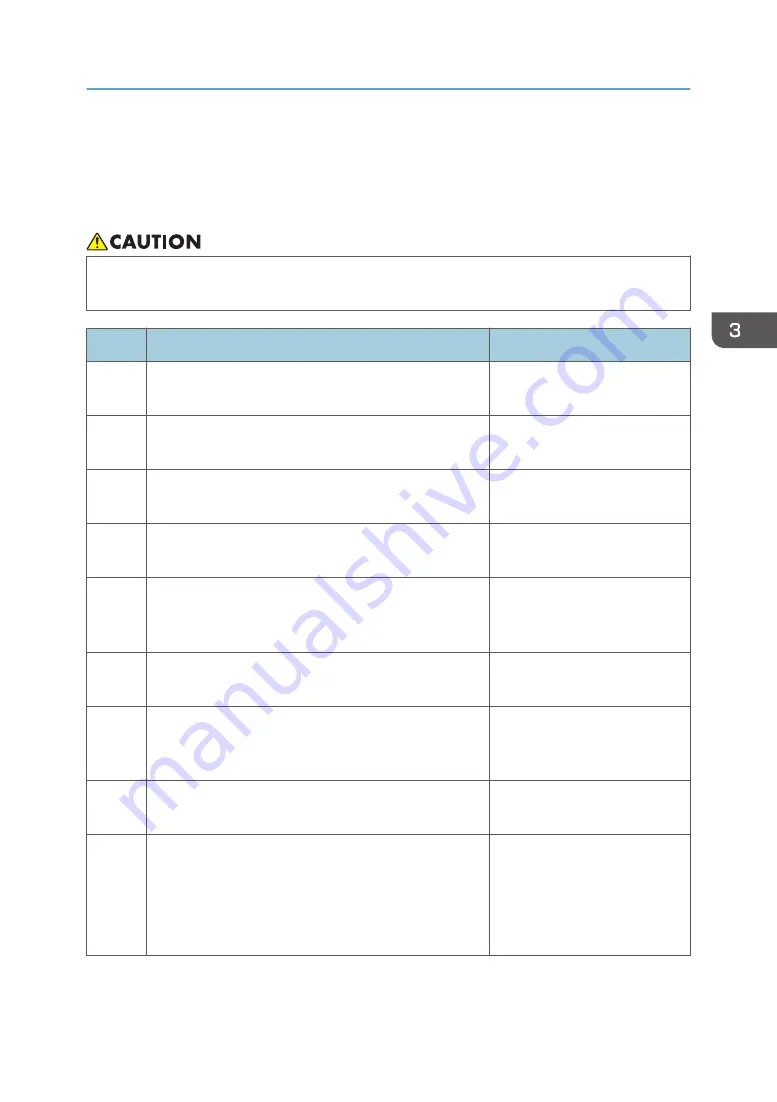
The operation flow for printing on T-shirts is as follows. Steps 3 to 7 are the operations using the Design
Software.
• Do not use the optional finisher for purposes other than flattening fibers, removing wrinkles, and
fixing ink. Doing so may cause a fire.
Step
Task
Reference for full details
1
This is the process to print on T-shirts clearly. The
optional finisher is used.
page 84 "Removing Dust and
Flattening Fibers"
2
Load a T-shirt into the cassette in accordance with the
size of the T-shirt.
page 85 "Loading a T-shirt in
the Cassette"
3
Launch the Design Software and configure the settings
for the printing fabric you want to use.
page 86 "Specifying the Type
and Thickness of the Fabric"
4
Select the cassette size to be used and the printing
direction in the Design Software.
page 87 "Selecting the
Cassette Size and Direction"
5
Select the image to print, and then fetch it in the Design
Software. It is also possible to shoot an image in your
tablet or smart phone using the camera on the spot.
page 88 "Selecting the Image
to Print"
6
Edit the image using the Design Software and lay it out.
page 90 "Configuring the
Layout Settings"
7
Load the cassette in the machine, and then print the
image created by the Design Software using the
machine.
8
Remove the printed T-shirt from the cassette.
page 95 "Removing the T-shirt
from the Cassette"
9
Use the optional finisher to fix the printed image onto the
T-shirt.
For reference, in the case of a commercially available
heat press, ink was fixed at 330°F (approx. 165°C) in
90 seconds.
According this flow, each procedure is explained in detail below.
Creation Flow
83
Summary of Contents for Ri 100
Page 2: ......
Page 16: ...14 ...
Page 28: ...1 About This Product 26 ...
Page 39: ...6 Close the right front cover DSA161 Installing the Ink Cartridges 37 ...
Page 82: ...2 Preparing for Printing 80 ...
Page 93: ...3 Click Print DSB022 Configuring the Layout Settings 91 ...
Page 104: ...3 Printing on T shirts 102 ...
Page 110: ...4 Printing via the Printer Driver 108 ...
Page 145: ...6 Press the Enter key 7 Press the Escape key Using the System Menu 143 ...
Page 170: ...6 Monitoring and Configuring the Machine 168 ...
Page 182: ...7 Using the Machine with a Macintosh 180 ...
Page 202: ...8 Maintenance 200 ...
Page 240: ...9 Troubleshooting 238 ...
Page 254: ...10 Appendix 252 ...
Page 257: ...MEMO 255 ...
Page 258: ...MEMO 256 EN GB EN US EN AU J088 6622B ...
Page 259: ......
Page 260: ...EN GB EN US EN AU J088 6622B 2017 Ricoh Co Ltd ...


