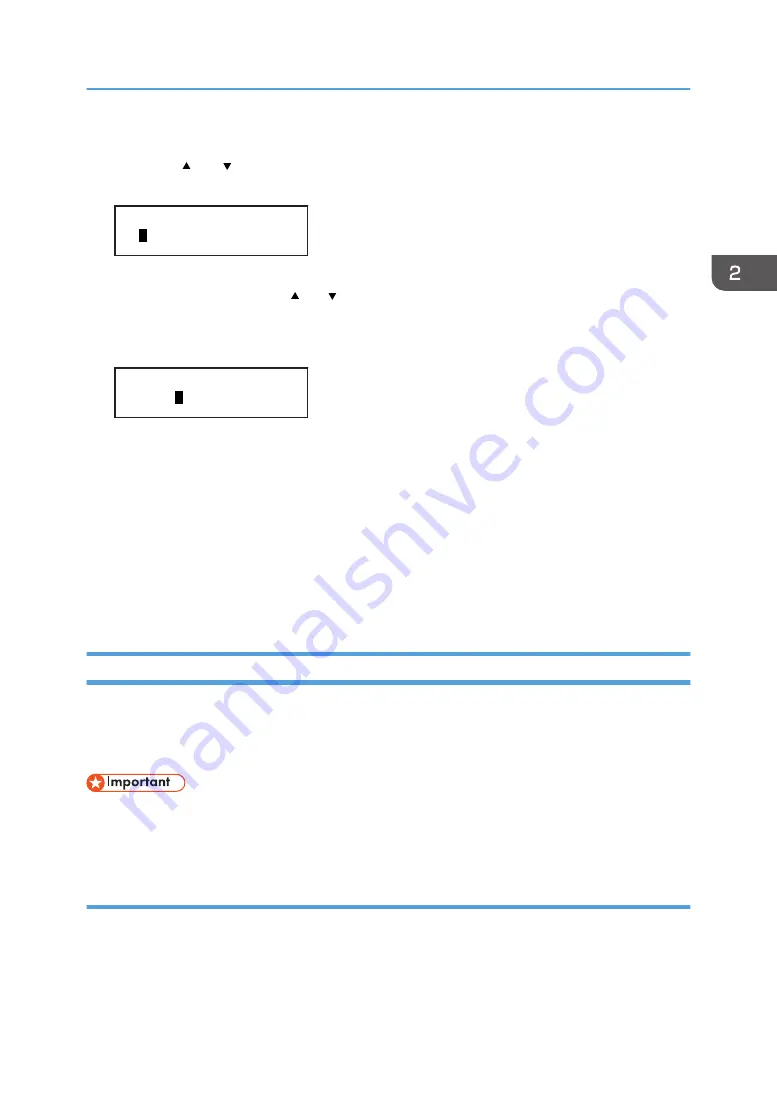
The current IP address appears on the display.
6.
Press the [ ] or [ /Menu] key to enter the left most entry field of the IP address, and then
press the [#Enter] key.
<IPv4 Address>
01 .022.033.044
To get an IP address for the machine, contact your network administrator.
The value moves by 10 if the [ ] or [ /Menu] key is kept pressed.
7.
Press the [#Enter] key.
The entered value is confirmed, and the cursor moves to the next field.
<IPv4 Address>
192.02 .033.044
To return to the previous field, press the [Escape] key.
8.
Specify values in all fields, and then press the [#Enter] key.
9.
Specify "IPv4 Subnet M." and "IPv4 Gatewy.Ad." in the same way.
10.
After you have made all the settings, press the [Escape] key.
The specified settings are set and the initial screen reappears.
You can print the configuration page to confirm the specified settings.
For details about how to print a configuration page, see page 117 "Printing a Configuration
Page".
Connecting the Machine via a Wireless LAN Interface
This section explains how to connect the machine to the network via a wireless LAN interface in the
infrastructure mode.
In the infrastructure mode, communication is established via a wireless LAN access point.
• Ad hoc mode is not supported.
• Ethernet and wireless LAN settings cannot be enabled at the same time.
Checking your wireless network environment
Before using the wireless LAN, configure the following settings and make the check.
Connecting the Computer and Installing the Software (Network Connection)
53
Summary of Contents for Ri 100
Page 2: ......
Page 16: ...14 ...
Page 28: ...1 About This Product 26 ...
Page 39: ...6 Close the right front cover DSA161 Installing the Ink Cartridges 37 ...
Page 82: ...2 Preparing for Printing 80 ...
Page 93: ...3 Click Print DSB022 Configuring the Layout Settings 91 ...
Page 104: ...3 Printing on T shirts 102 ...
Page 110: ...4 Printing via the Printer Driver 108 ...
Page 145: ...6 Press the Enter key 7 Press the Escape key Using the System Menu 143 ...
Page 170: ...6 Monitoring and Configuring the Machine 168 ...
Page 182: ...7 Using the Machine with a Macintosh 180 ...
Page 202: ...8 Maintenance 200 ...
Page 240: ...9 Troubleshooting 238 ...
Page 254: ...10 Appendix 252 ...
Page 257: ...MEMO 255 ...
Page 258: ...MEMO 256 EN GB EN US EN AU J088 6622B ...
Page 259: ......
Page 260: ...EN GB EN US EN AU J088 6622B 2017 Ricoh Co Ltd ...


