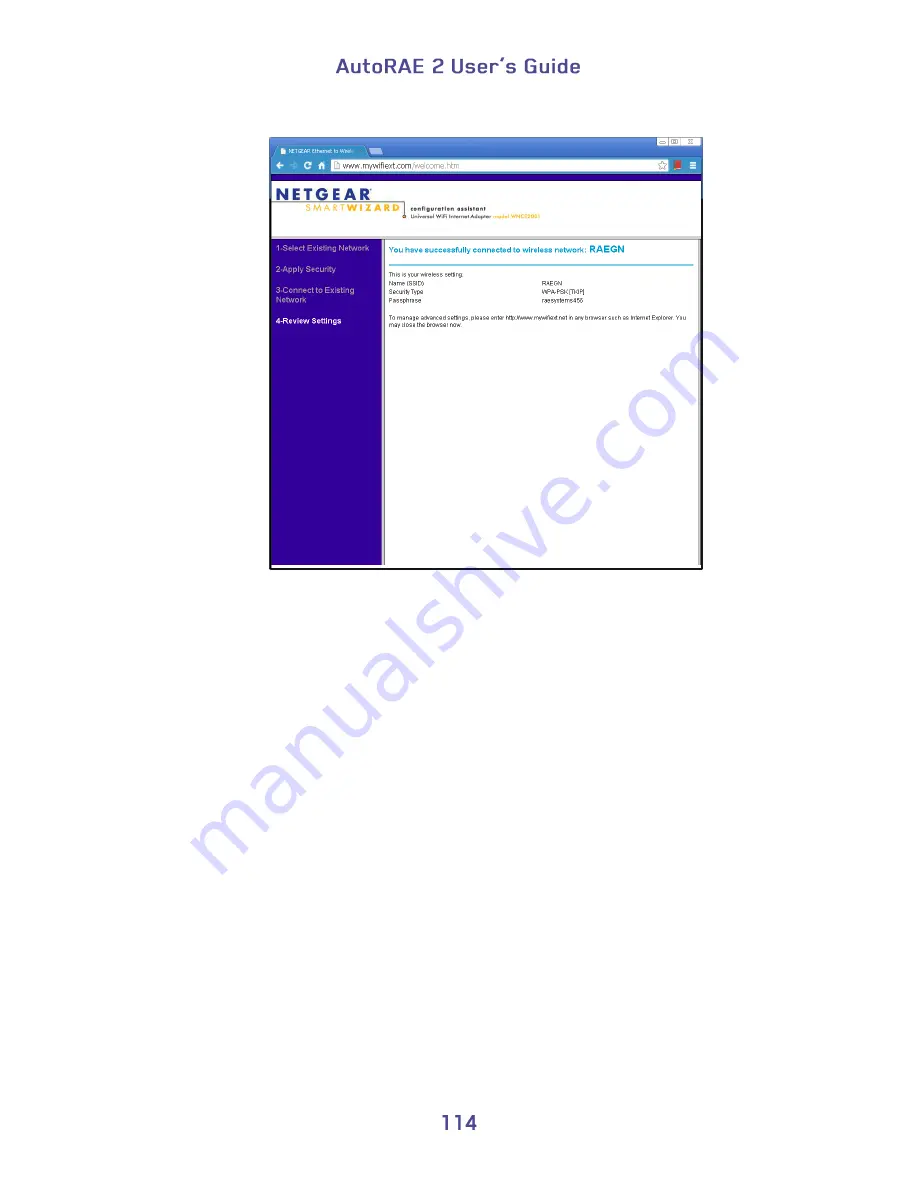
Figure 6. Confirm that the WiFi Internet adapter successfully connected to the selected
wireless network.
6.
Exit the WiFi Internet Adapter setup. Unplug the Ethernet cable between the
WiFi Internet Adapter and the PC, and connect it to the AutoRAE 2 Controller.
7.
Restart the AutoRAE 2 Controller.
8.
Disable the PC’s Ethernet port.
9.
Enable the PC’s Wi-Fi and connect the PC to the same wireless network as the
WiFi Internet Adapter. (In this example, the wireless network used is RAEGN as
shown in Figure 4.)
10.
There are two ways to connect, using manual or automatic connection.
a. Manually.
Open the corresponding TCP/IP properties of the PC Wi-Fi
(wireless) port. Manually set the IP address, subnet mask and default gateway as
shown in Figure 4 for connection to the AutoRAE 2 Controller, which has DHCP
disabled.
b. Automatically (DHCP enabled).
At the AR2 site, enter the AutoRAE 2
network setting menu. (See Figure 3.) Enable the DHCP function of the AutoRAE
2 Controller Ethernet port then exit to AR2 normal mode. Keep the PC wireless
port setting as shown in Figure 3 (that is, set it to get the IP address
automatically).
Summary of Contents for AutoRAE 2
Page 1: ......
Page 38: ...Select Exit to return the monitor to Normal Measurement Mode...
Page 43: ...When you click on Gas Config 8 the two gas bottles Gas Inlet 15 and Gas Inlet 16 are shown...
Page 76: ......
Page 95: ...Set the password for access to the AutoRAE 2 Note The default value is 0000...
Page 121: ......


