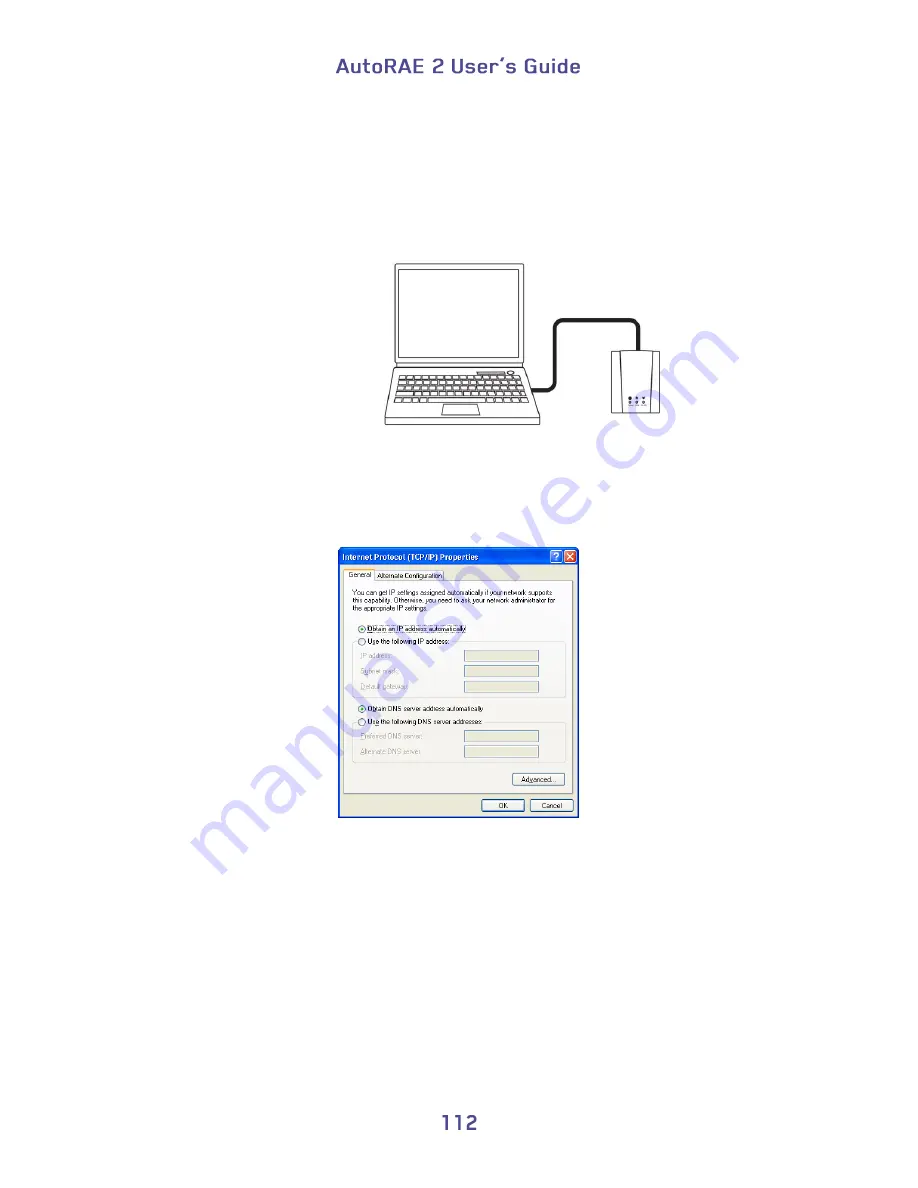
1.
Keep all the network settings that you provided in Part One. Disconnect and
remove the Ethernet cable.
2.
Connect a Wi-Fi Internet Adapter (the Netgear WNCE2001 NetGear Universal
Wi-Fi Internet Adapter is recommended) to the PC’s network port using the
Ethernet cable shipped with the WiFi Internet Adapter. Connect power to the
WiFi Internet Adapter.
3.
Open the Internet Protocol (TCP/IP) Properties of the PC network port. Set
“Obtain an IP address automatically” as in Figure 3 for the WiFi Internet Adapter
setup. Also make sure the “Obtain DNS server address automatically” button is
selected.
Figure 3. Set PC network properties to automatic for the WiFi Internet Adapter.
4.
Make sure that the PC has no other Ethernet connection (wired or wireless),
except the connection to the WiFi Internet Adapter. Open a web browser in
Windows. The WiFi Internet Adapter setup menu will be shown as Figure 4 to
Figure 6. Note: You must select a region. Then click the “Continue” button.
5.
Following the process shown in Figure 4 to Figure 6, select a wireless network,
enter the password for the wireless network, and confirm settings/connection.
Summary of Contents for AutoRAE 2
Page 1: ......
Page 38: ...Select Exit to return the monitor to Normal Measurement Mode...
Page 43: ...When you click on Gas Config 8 the two gas bottles Gas Inlet 15 and Gas Inlet 16 are shown...
Page 76: ......
Page 95: ...Set the password for access to the AutoRAE 2 Note The default value is 0000...
Page 121: ......


