


OmniTek OTR 1001 User Guide, v3.1
B-11
Button Bar
Associated with each display is a Button Bar.
In the Gen and Config windows, the Button Bar is always shown at the bottom of the screen.
In the View window, the default arrangement is for the Button Bar to temporarily take the
place of the Status Bar at the bottom of the screen but there are other options. (For details, see
Section C.1.)
The Button Bar is a command bar and it provides direct access to some commonly-required
actions. In particular, several Button Bar options provide shortcuts to settings within the
Properties control (described below). In most cases, successive presses of the Tile button cycle
through the possible options while pressing and holding the Tile button brings up the Properties
control with the focus on the selected feature.
The options shown depend on the window being shown and the action being carried out.
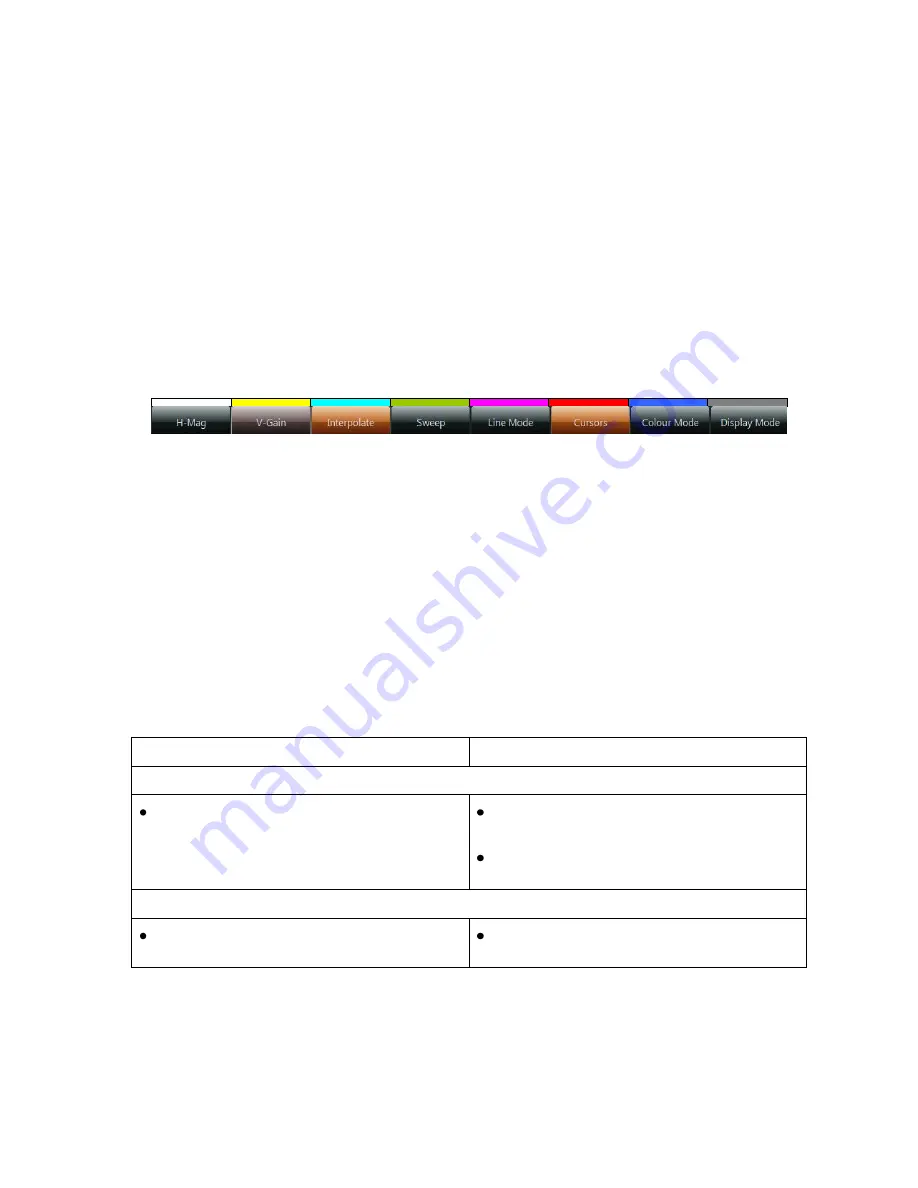
A sample Button Bar is shown below.
Figure B-6:
Sample Button Bar
The standard colouring for any button is a dark grey, changing to a lighter grey when the feature
it selects is not currently available. Where options on the Button Bar turn on or turn off particular
features, the button is additionally highlighted (copper-coloured) when that feature is currently
selected.
Picking out Items to work with
Throughout the OTR 1001 application, items in windows or menus are picked out to work with
by moving the ‘focus’ of the window to the required item, after which it may be necessary to
further select the item in order to either change it or activate it.
The item that currently has the focus on it is identified by blue highlighting, which is replaced by
copper-coloured highlighting when the item is selected for further work.
Basic Navigation:
Control Panel
Mouse & Keyboard
To move the focus to any item on the current window (blue highlighting),
Twist the GENERAL knob on the Control
Panel.
Scroll the thumbwheel on the mouse
until
the required item is selected.
Alternatively, click on the item then press
the Backspace key.
To select an item for further work (copper-coloured highlighting)
Move the focus to the item as described
above, then push the GENERAL knob.
Simply click on it.
Note:
There is no reason for concern if currently nothing on the screen is shown either as having
the focus on it or as being selected. Simply turn the GENERAL knob and a coloured boundary
will appear as the focus moves from one item to another.
Summary of Contents for OTR 1001
Page 1: ...Advanced Measurement Technology OTR 1001 User Guide Software Version 3 1 October 2013...
Page 28: ...OmniTek OTR 1001 User Guide v3 1a A 16...
Page 52: ...OmniTek OTR 1001 User Guide v3 1 B 24...
Page 96: ...OmniTek OTR 1001 User Guide v3 1a E 24...
Page 116: ...OmniTek OTR 1001 User Guide v3 1 G 6...
Page 124: ...OmniTek OTR 1001 User Guide v3 1 H 8...
Page 184: ...OmniTek OTR 1001 User Guide v3 1 J 22...
Page 238: ...OmniTek OTR 1001 User Guide v3 1 M 14...
Page 250: ...OmniTek OTR 1001 User Guide v3 1 N 12...
Page 254: ...O 4 OmniTek OTR 1001 User Guide v3 1...
Page 292: ...Q 26 OmniTek OTR 1001 User Guide v3 1...
Page 326: ...OmniTek OTR 1001 User Guide v3 1a S 26...
Page 358: ...OmniTek OTR1001 User Guide v3 1 U 12...
Page 364: ...OmniTek OTR 1001 User Guide v3 1 V 6...
Page 379: ...OmniTek OTR 1001 User Guide v3 1 I 15 Example XML Statements Example Result...
Page 386: ...OmniTek OTR 1001 User Guide v3 1 II 6...
Page 389: ...OmniTek OTR 1001 User Guide v3 1...


