


One-Net/DASDEC User Manual
7-4
v3.0 | r1016
(Station ID, ORG Code, Alert Language(s)) and a check box. To disable the audio, video,
and serial communication for any of these channels, uncheck the associated check box.
Set Event
Select the desired EAS code from the pull-down menu. Codes shown in this menu
are the ones added to the
Configured Available Encoder EAS Codes
list found on the
Setup > Alert Agent™ > EAS Code Groups
screen. If the list needs to be corrected, click
the
Set Event
hyperlink, make the desired modifications, and return the
Send Alerts >
General Alerts
screen.
Set Duration, Date and Time
The default duration is 15 minutes and corresponds with the minimum allowed dura
-
tion. Change the alert duration as needed, based on the alert being issued. The FCC al
-
lows alerts under an hour to be set in 15 minute increments. Alerts of an hour or more
are set in 30 minute increments. The EAS device interface enforces this FCC compli
-
ance.
Use current time for the effective Start Time for alert
When checked, the EAS alert message will contain the current date and time (month,
day, and year followed by the current time). Users can manually set the effective
(starting) date and time for the alert by unchecking this box and manually entering the
desired information.
Set Location(s)
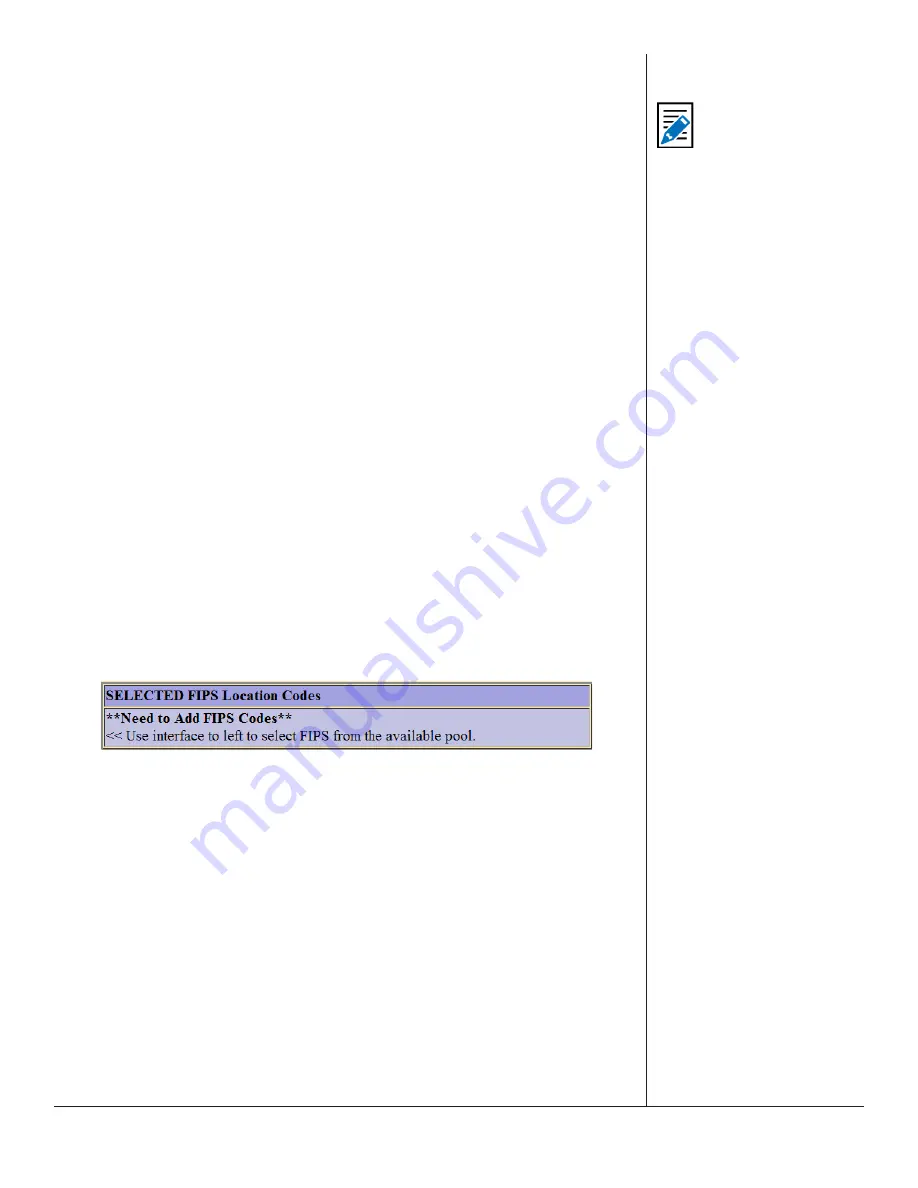
An EAS alert must be issued for specific locations. Until FIPS location codes are en
-
tered, the EAS device will not display a
Send Alert
button. Instead, a message box will
show on the right side of the screen stating,
**Need to Add FIPS Codes**
. Two ad
-
ditional red message boxes will appear (one in the Set [Content Language] Message
Contents section and the other in the Send Alert section) stating
Alert NOT Ready to
send::Specify FIPS Codes
.
SELECTED FIPS Location Codes Message Box
To set the FIPS location(s) for the alert code, select from the list of
Available FIPS Code
.
The codes shown are the ones that were added on the
Setup > Alert Agent™ > FIPS
Groups
screen.
(To correct the list, click on
Set Location(s)
hyperlink. Add FIPS codes to
the Configured Available Encoder FIPS Location list. Use the Back button to return to the
Send Alerts > General Alerts screen to continue constructing the alert.)
For each location, select one or more FIPS, and click
Add Selected FIPS->
button. Up to
31 FIPS location codes may be added using the FIPS selection table.
As you build the list of current FIPS locations for the alert, locations will display on the
right in the
SELECTED FIPS Location Codes
frame. The sub-region of the FIPS location
can be edited for every chosen location. If a different sub-region is desired, select one
of the choices presented in the pull-down menu displayed to the left of the FIPS code.
If a FIPS location needs to be removed, click the corresponding
Remove
button.
Note
Only specially configured
EAS devices allow
origination of National
Alerts – Emergency Action
Notification and National
Periotic Test (EAN & NPT).


