Options
Version 6.03, May 2017
Page 181 of 192
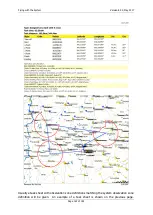
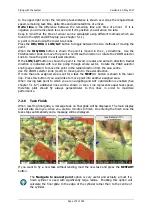
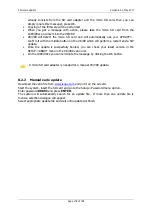
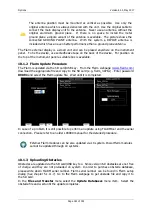
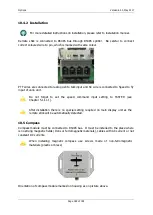
The antenna position must be mounted as vertical as possible. Use only the
original antenna which is always delivered with the unit. Use the original cable to
connect the main display unit to the antenna. Never use an antenna without the
original aluminium ground plane. If there is no space to install the metal
ground plane a dipole variant of the antenna is available. The picture shows the
connected GROUND PLANE antenna. With the system a DIPOLE antenna is
included which has an even better performance than a ground plane antenna.
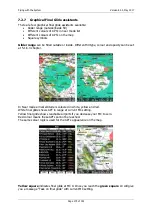
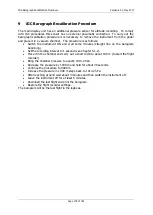
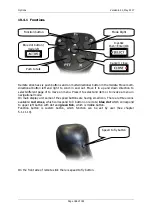
The Flarm external display is a small unit and can be placed anywhere on the instrument
panel. To fix the device, use self-adhesive tape on the back of the device. For position on
the top of the instrument panel a suitable box is available.
10.1.2
Flarm Update Procedure
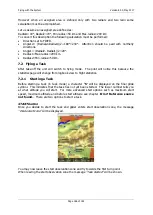
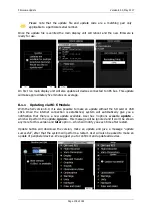
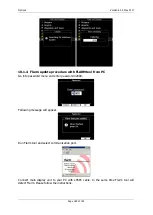
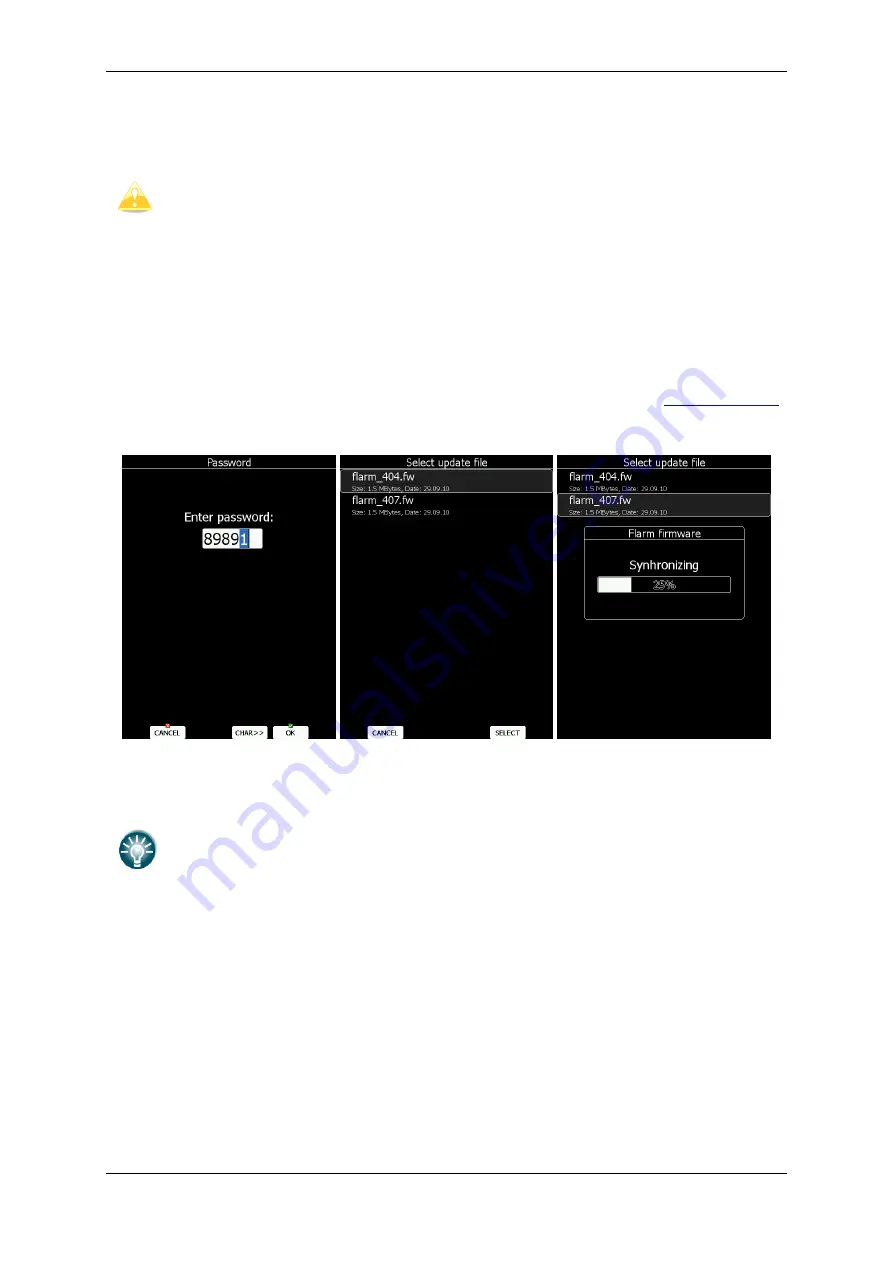
The Flarm is updated via the SD card/USB key. From the Flarm webpage (
download the appropriate file and copy to the SD card (e.g. flarm_407.fw). Enter password
89891
and select the Flarm update file. Wait until it is completed.
In case of a problem it is still possible to perform an update using FLARMtool and the serial
connection. Please refer to an older LX8000 manual for the detailed procedure.
External Flarm modules can be also updated via LX system. PowerFlarm modules
cannot be updated through LX systems.
10.1.3
Uploading Obstacles
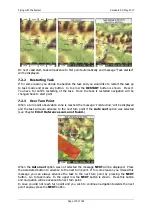
Obstacles are updated via the SD card/USB key too. Since version 6.0 obstacles are not free
of charge and they are not preloaded on system. In order to purchase obstacle database,
please write down FLARM serial number. Flarm serial number can be found in Flarm setup
dialog (See chapter 5.1.11.7). Go to the Flarm webpage to get obstacle file and copy it to
the SD card.
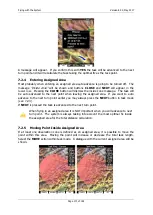
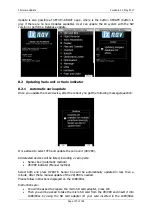
In the
Files and Transfer
menu select the
Update Databases
menu item. Select the
obstacle file and wait until the update completes.

