28
IBM
Eserver
xSeries 455 Planning and Installation Guide
diagnostics monitored server subsystems. In the event that maintenance is
required the customer can slide the server out from the rack and, using the LEDs,
find the failed or failing component.
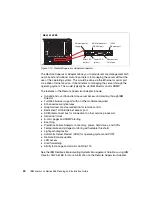
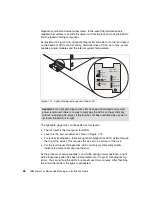
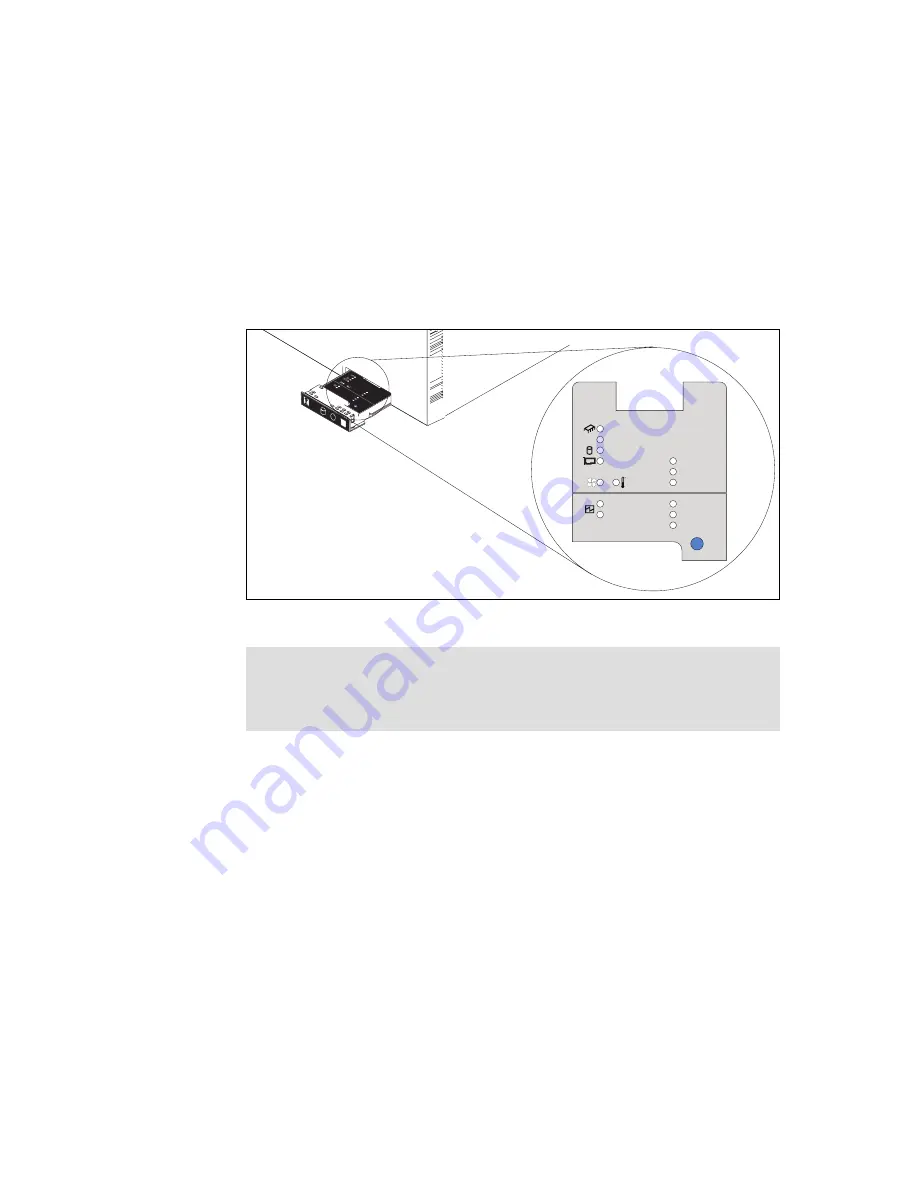
As illustrated in Figure 1-15, light path diagnostics are able to monitor and report
on the health of CPUs, main memory, hard disk drives, PCI-X slots, fans, power
supplies, power modules and the internal system temperature.
Figure 1-15 Light path diagnostics panel on the x455
The light path diagnostics on the x455 has four levels:
The first level is the front panel fault LED.
Level 2 is the pop-out panel, as shown in Figure 1-15.
For further investigation, there are light path diagnostics LEDs visible through
the top of the server. This requires the server to be slid out of the rack.
For the fourth level of diagnostics, LEDs on major system components
indicate the component causing the error.
As the processor-board assembly is not visible during normal operation, a light
path diagnostics button has been incorporated into it to assist with diagnosing
errors. You can light up the LEDs for a maximum of two minutes. After that time,
the circuit that powers the lights is exhausted.
Important: If a light path diagnostics LED has been illuminated and system
power is removed, there is no way to redisplay the LEDs on the system tray
without re-applying AC power. If the fault has not been rectified when power is
restored, the LED will re-light.
CP
U
VR
M
M
EM
O
RY
DA
SD
NM
I
BO
AR
D
EV
EN
T L
O
G
FA
N
PO
W
ER
SU
PP
LY
PC
I B
US
2
1
NO
N R
ED
OV
ER
S
PE
C
TE
M
P
RE
M
IN
D
i
!
CPU
VRM
MEMORY
DASD
NMI
BOARD
EVENT LOG
FAN
POWER
SUPPLY
PCI-X BUS
2
1
NON REDUND
OVER SPEC
TEMP
REMIND
Light Path
Diagnostics™
Summary of Contents for 88553RX
Page 2: ......
Page 214: ...200 IBM Eserver xSeries 455 Planning and Installation Guide Figure 5 14 Connect to the x455...
Page 228: ...214 IBM Eserver xSeries 455 Planning and Installation Guide...
Page 229: ...IBM Eserver xSeries 455 Planning and Installation Guide...
Page 230: ......
Page 231: ......

