


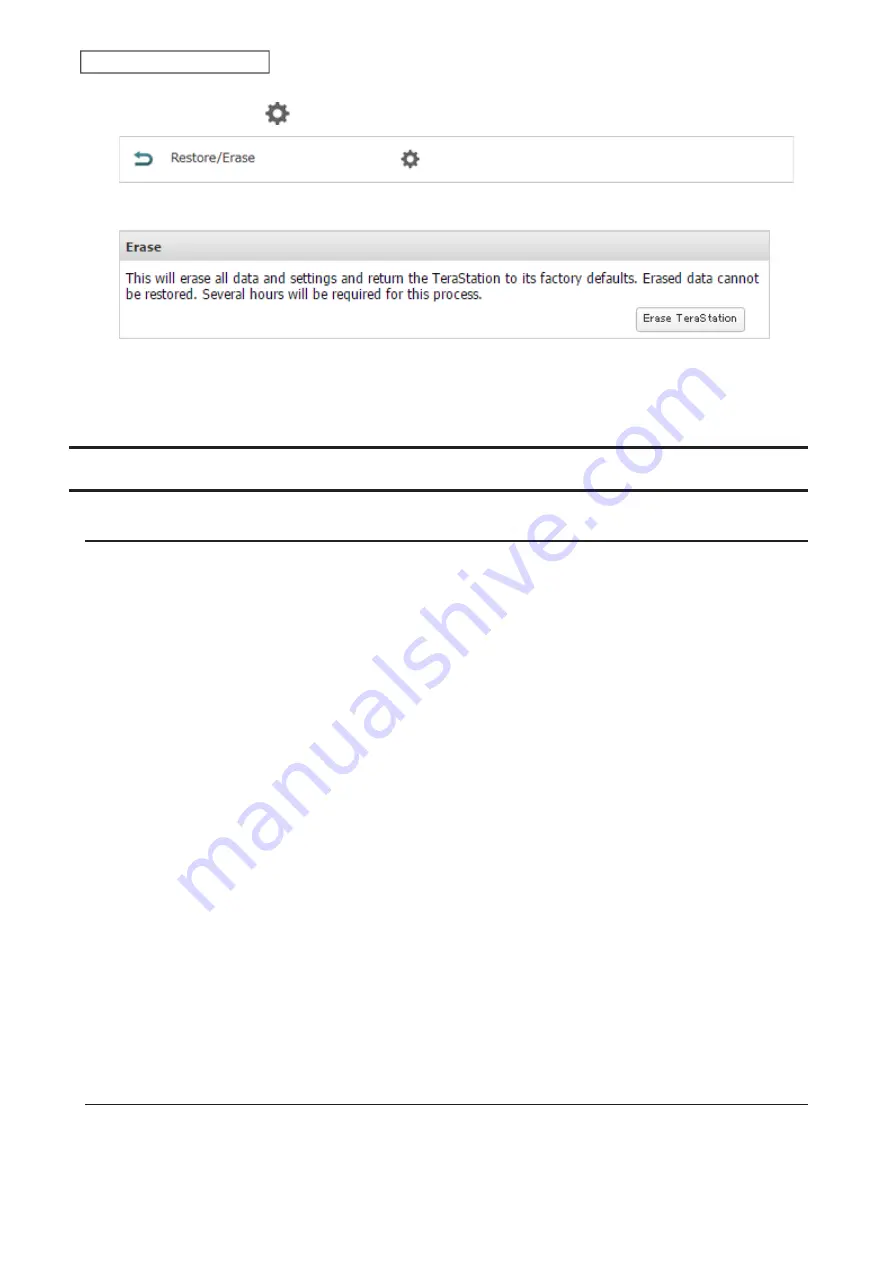
2
Click the settings icon (
) to the right of “Restore/Erase”.
3
Click
Erase TeraStation
.
4
The “Confirm Operation” screen will open. Enter the confirmation number, then click
OK
.
5
All data on the TeraStation will be permanently erased.
Using the TeraStation as an iSCSI Device
Introduction
iSCSI is a protocol for carrying SCSI commands over IP networks. Unlike traditional SAN protocols such as Fibre
Channel, which requires special-purpose cabling, iSCSI can be run over long distances using existing network
infrastructure. Normal Windows formatting such as NTFS is supported.
Differences Between NAS and iSCSI
With iSCSI, the TeraStation is connected to a single computer, such as a server. Other computers on the network
access files on the TeraStation through the computer it’s connected to. The TeraStation can be used as a local drive
from Windows Server. Features of Windows Server such as Active Directory can be used normally.
As a NAS, the TeraStation is a server, and computers (including other servers) on the network can access shared
folders on it directly. A separate server is not required, and features such as backup are built-in.
Network Configuration
Use gigabit or faster network equipment with iSCSI. For best results, a dedicated network for iSCSI is recommended,
separate from the regular network. By default, the IP address of the TeraStation is automatically assigned from a
DHCP server. However, in this case, if you turn off and restart the TeraStation, the IP address may be changed and
the volumes on the TeraStation may not be accessible. To avoid changing the IP address unexpectedly, using a static
IP address for the TeraStation is recommended.
Connection Tool
The Microsoft iSCSI Software Initiator is already installed on your computer. You don’t need to download and install
it.
Creating an iSCSI Volume
To use the TeraStation as an iSCSI drive, create a volume first. Configure the TeraStation as described below.
62
Chapter 4 Storage Management
Summary of Contents for TeraStation 6000 Series
Page 32: ...3 Click Add Group 31 Chapter 3 File Sharing...
Page 120: ...2 Click Time Machine 119 Chapter 5 Backup...
Page 121: ...3 Click Select Backup Disk 4 Select the TeraStation then click Use Disk 120 Chapter 5 Backup...
Page 123: ...7 Time Machine will count down from 120 seconds then backup will begin 122 Chapter 5 Backup...
Page 132: ...5 Click Edit 131 Chapter 6 Remote Access...
Page 144: ...4 Click the Options tab 5 Click Edit 143 Chapter 6 Remote Access...
Page 153: ...4 Click the Options tab 152 Chapter 6 Remote Access...
Page 154: ...5 Click Edit 153 Chapter 6 Remote Access...
Page 169: ...11Click the NFS Rules tab 12Click Add 168 Chapter 7 Advanced Features...


