


5
Swing the lock back down until it clicks into place.
6
When the replaced drive is recognized, the status LED will flash red and the I31 message will appear on the
LCD panel.
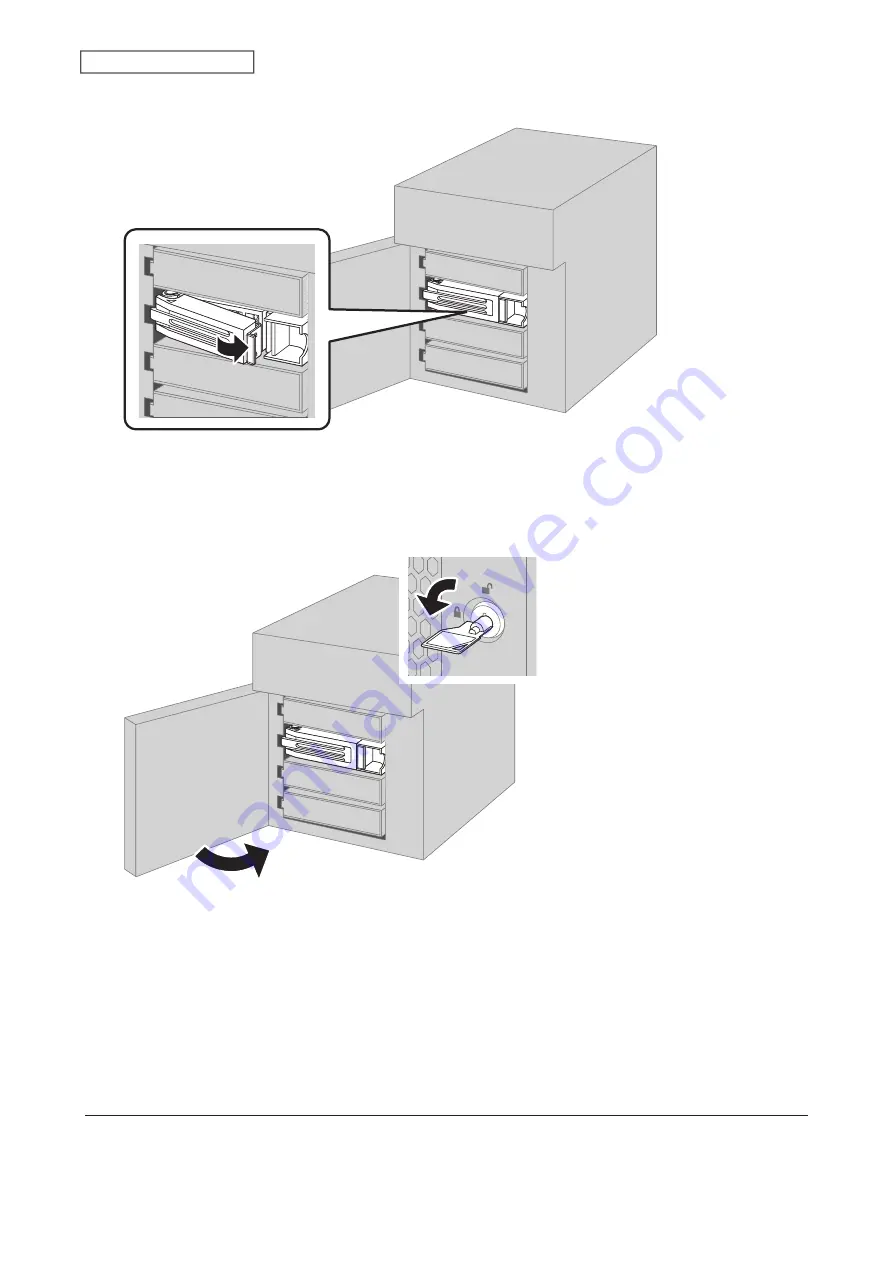
7
Close the front cover.
8
Press the function button on the front of the TeraStation. The TeraStation will beep once. Press and hold the
button until the TeraStation beeps again.
If replacing multiple malfunctioning drives at once or replacing one drive in an environment where two or
more arrays are in degraded mode, you will have to rebuild the RAID array from Settings. Log in to Settings and
navigate to
Storage
>
RAID
, then select the replaced drive and click
Recover RAID Array
.
The TeraStation will start rebuilding the RAID array automatically. After a few minutes, the I18 message will be
displayed until the array is rebuilt. Wait until the message disappears.
Using RAID 0
Drives in a RAID 0 array do not automatically turn off in the event of a malfunction. Shut down the TeraStation
before replacing the failed drive. This section describes the process of replacing a drive with
the TeraStation off
.
205
Chapter 8 Drive Replacement
Summary of Contents for TeraStation 6000 Series
Page 32: ...3 Click Add Group 31 Chapter 3 File Sharing...
Page 120: ...2 Click Time Machine 119 Chapter 5 Backup...
Page 121: ...3 Click Select Backup Disk 4 Select the TeraStation then click Use Disk 120 Chapter 5 Backup...
Page 123: ...7 Time Machine will count down from 120 seconds then backup will begin 122 Chapter 5 Backup...
Page 132: ...5 Click Edit 131 Chapter 6 Remote Access...
Page 144: ...4 Click the Options tab 5 Click Edit 143 Chapter 6 Remote Access...
Page 153: ...4 Click the Options tab 152 Chapter 6 Remote Access...
Page 154: ...5 Click Edit 153 Chapter 6 Remote Access...
Page 169: ...11Click the NFS Rules tab 12Click Add 168 Chapter 7 Advanced Features...


