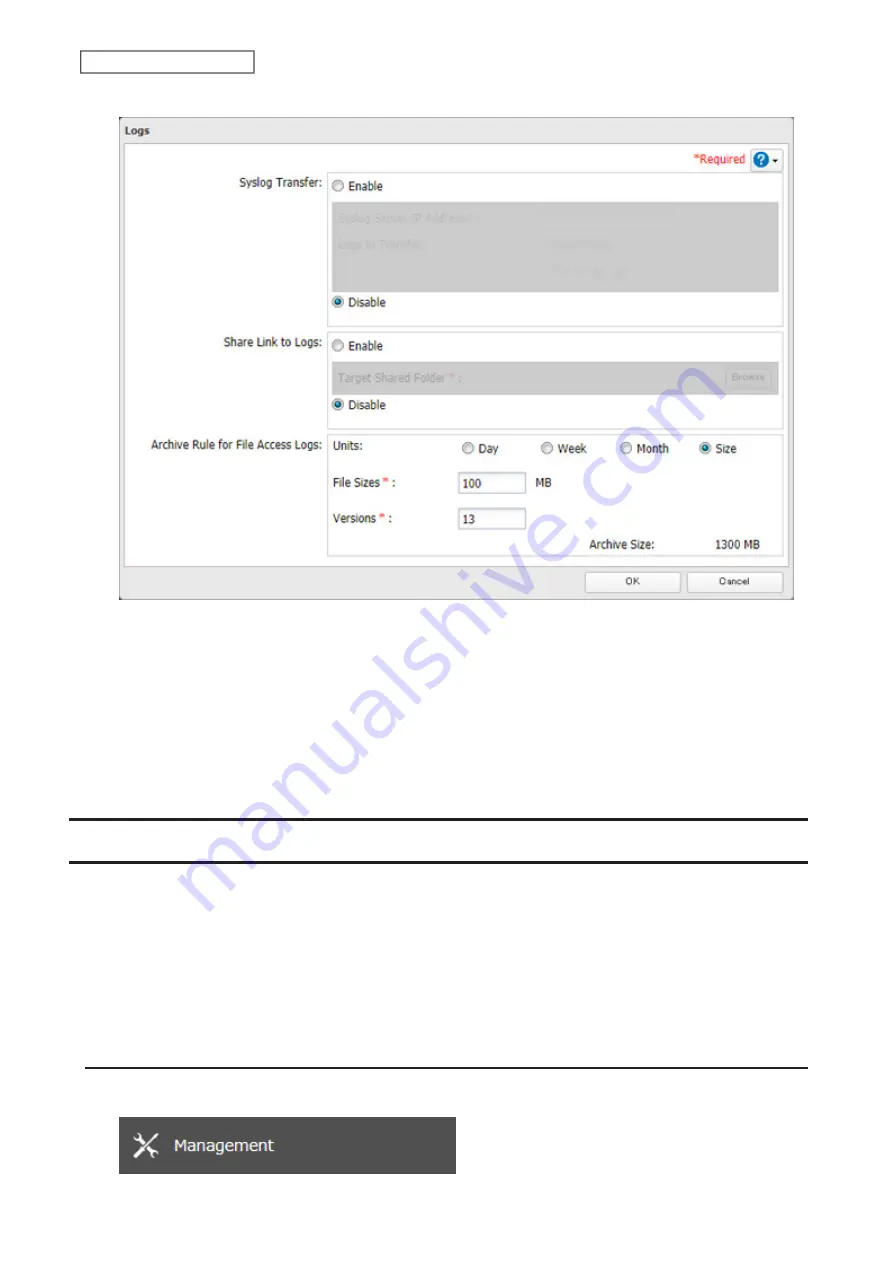
• Unit (Size): 1–100 for file sizes and 1–13 for all versions
5
Click
OK
.
Notes:
• To delete the saved logs, click
Delete
at the window in step 3.
• If there is not enough space to save logs, the I70 message will appear on the LCD panel. When it appears, delete
unnecessary logs or move them to another device from the TeraStation. To access logs, go to the “system_log”
folder created on the shared folder that you have configured the link to logs. If no free space is available
elsewhere, older logs will automatically be deleted.
Updating the Firmware
If new firmware is available, a message is displayed when the TeraStation boots. You can update the firmware either
manually or automatically.
Notes:
• If all drives and RAID arrays on the TeraStation have LVM enabled but no LVM volumes have been created, you will
not able to update the firmware from Settings.
• Settings will not be available while the firmware is updating. Don’t try to access Settings from another computer
until the update is completed.
Updating Manually
1
From Settings, click
Management
.
183
Chapter 7 Advanced Features
Summary of Contents for TeraStation 6000 Series
Page 32: ...3 Click Add Group 31 Chapter 3 File Sharing...
Page 120: ...2 Click Time Machine 119 Chapter 5 Backup...
Page 121: ...3 Click Select Backup Disk 4 Select the TeraStation then click Use Disk 120 Chapter 5 Backup...
Page 123: ...7 Time Machine will count down from 120 seconds then backup will begin 122 Chapter 5 Backup...
Page 132: ...5 Click Edit 131 Chapter 6 Remote Access...
Page 144: ...4 Click the Options tab 5 Click Edit 143 Chapter 6 Remote Access...
Page 153: ...4 Click the Options tab 152 Chapter 6 Remote Access...
Page 154: ...5 Click Edit 153 Chapter 6 Remote Access...
Page 169: ...11Click the NFS Rules tab 12Click Add 168 Chapter 7 Advanced Features...


